The Sleuth Kit
What The Sleuth Kit does
Guided SUSA tool journey
The Sleuth Kit supports timeline and correlation. In this guide, you will use it to examine a training image and produce a focused file-system timeline. The procedure and screenshots provide the practical reference; the surrounding context explains what to record and how to judge the result.
Tool guide at a glance
Examine a training image and produce a focused file-system timeline.
Verified training artefacts with known source time zones and provenance.
A normalised, filtered timeline whose important rows remain traceable to source evidence.
Evidence and safety
Retain original timestamp values and precision. Chronological proximity does not prove causation. Record the input identifier, tool version, relevant commands or settings, time and time zone, output location, and any errors or limitations as you work.
Choose your journey
01Understand the evidenceLearn the timeline and correlation concepts and limitations.Complete when you can explain what the evidence can and cannot show.Beginner · No tool required · 15–25 min 02Follow the The Sleuth Kit guideWork through the commands, screenshots, and instructional sequence below.Complete when the documented workflow produces its expected output.Guided · SUSA workstation · Time varies 03Interactive labPractise the tool workflow in a safe browser simulation.Complete when the guided result is supported by the case evidence.Beginner · Browser only · 10–20 min 04Full LabInvestigate an authorised training scenario with fewer prompts and preserve a reviewable result.Complete when another analyst can reproduce and verify the outcome.Intermediate · Isolated lab · 45–90 min
How the labs complement this guide
The Interactive Lab is a safe browser simulation for practising the workflow and validation logic. The Full Lab is an independent exercise for an isolated, authorised environment. Confirm the installed tool version and expected output before relying on either exercise in a real case.
Accessing The Sleuth Kit in SUSA
The Sleuth Kit (TSK) is a free, open-source collection of command-line digital forensic tools used to examine disk images and file systems.
Install TSK on WSL
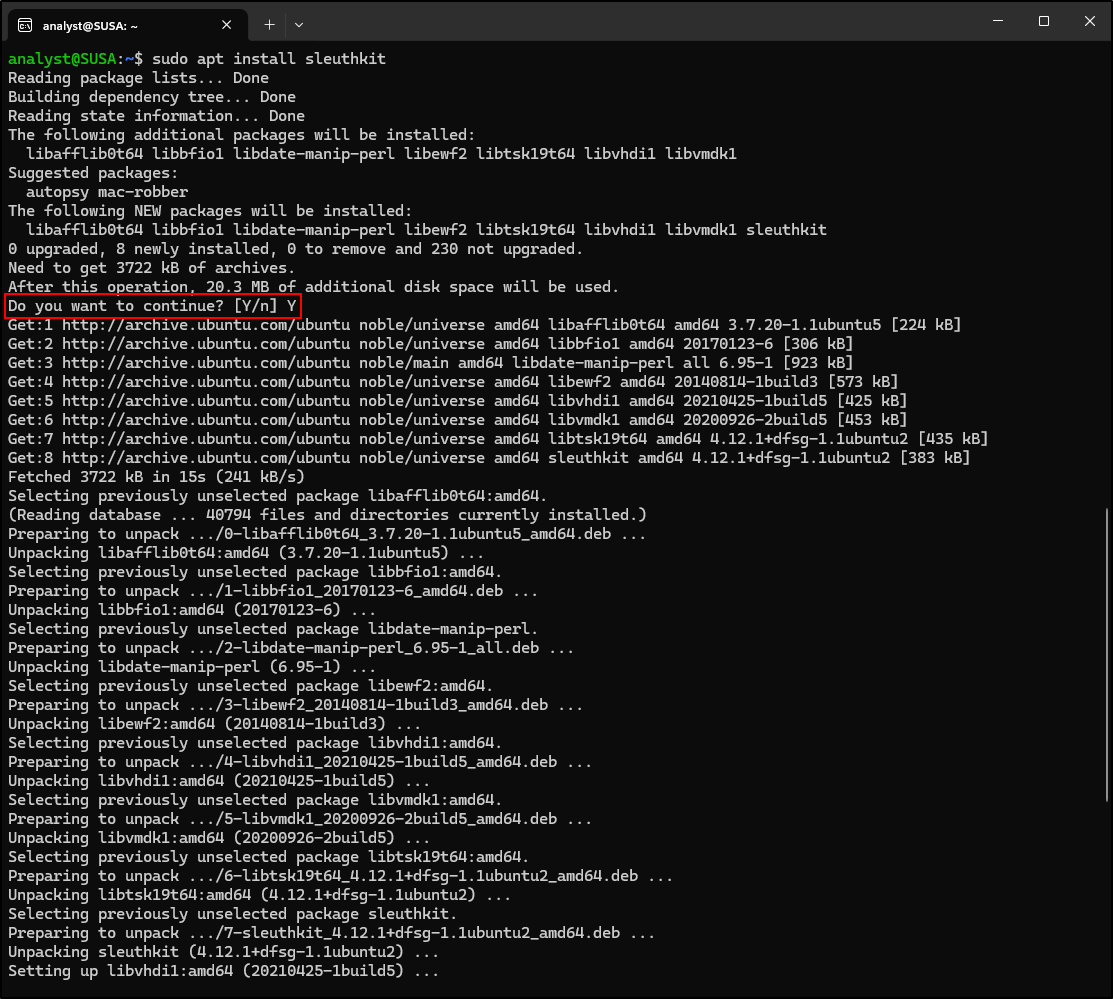
Open a WSL terminal and install TSK:
When asked whether you want to continue, type Y.
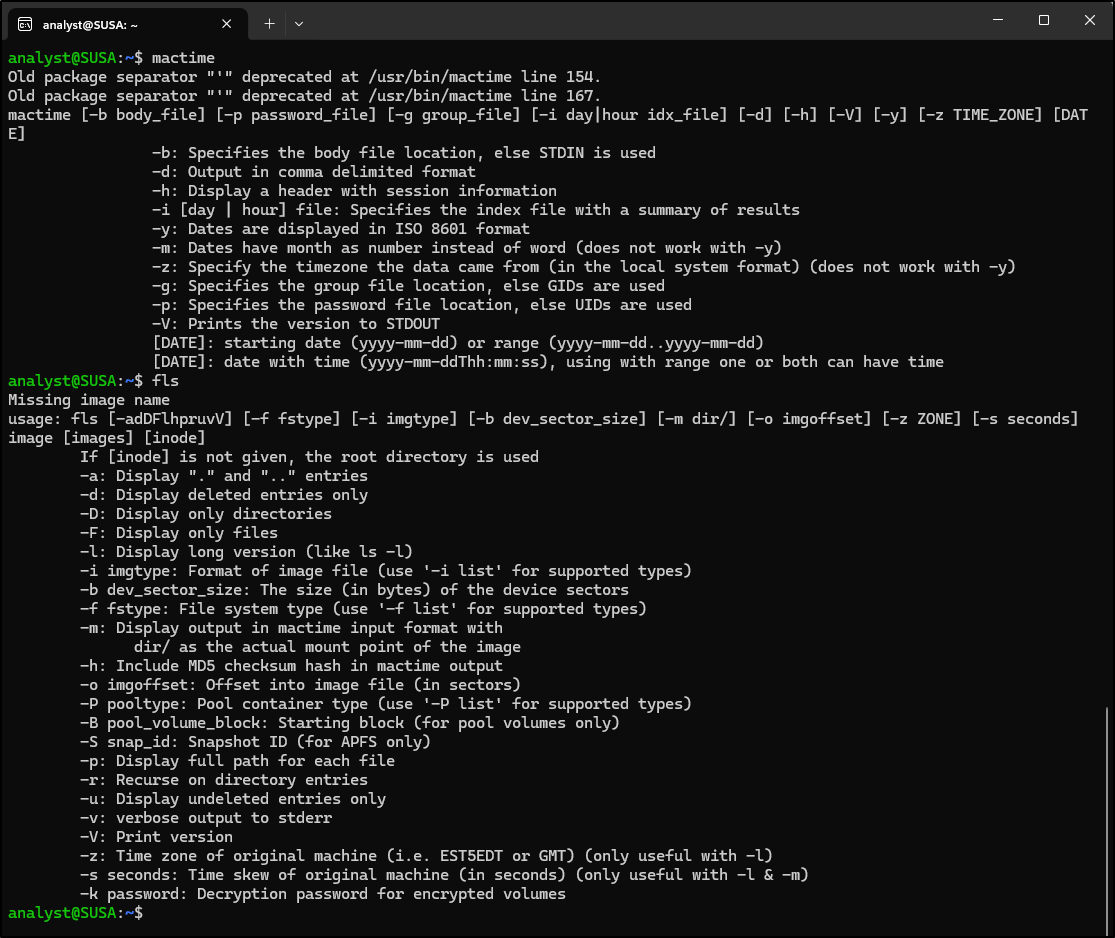
Verify TSK has been installed successfully by typing mactime and fls:
Install TSK on Windows
Download TSK from here.
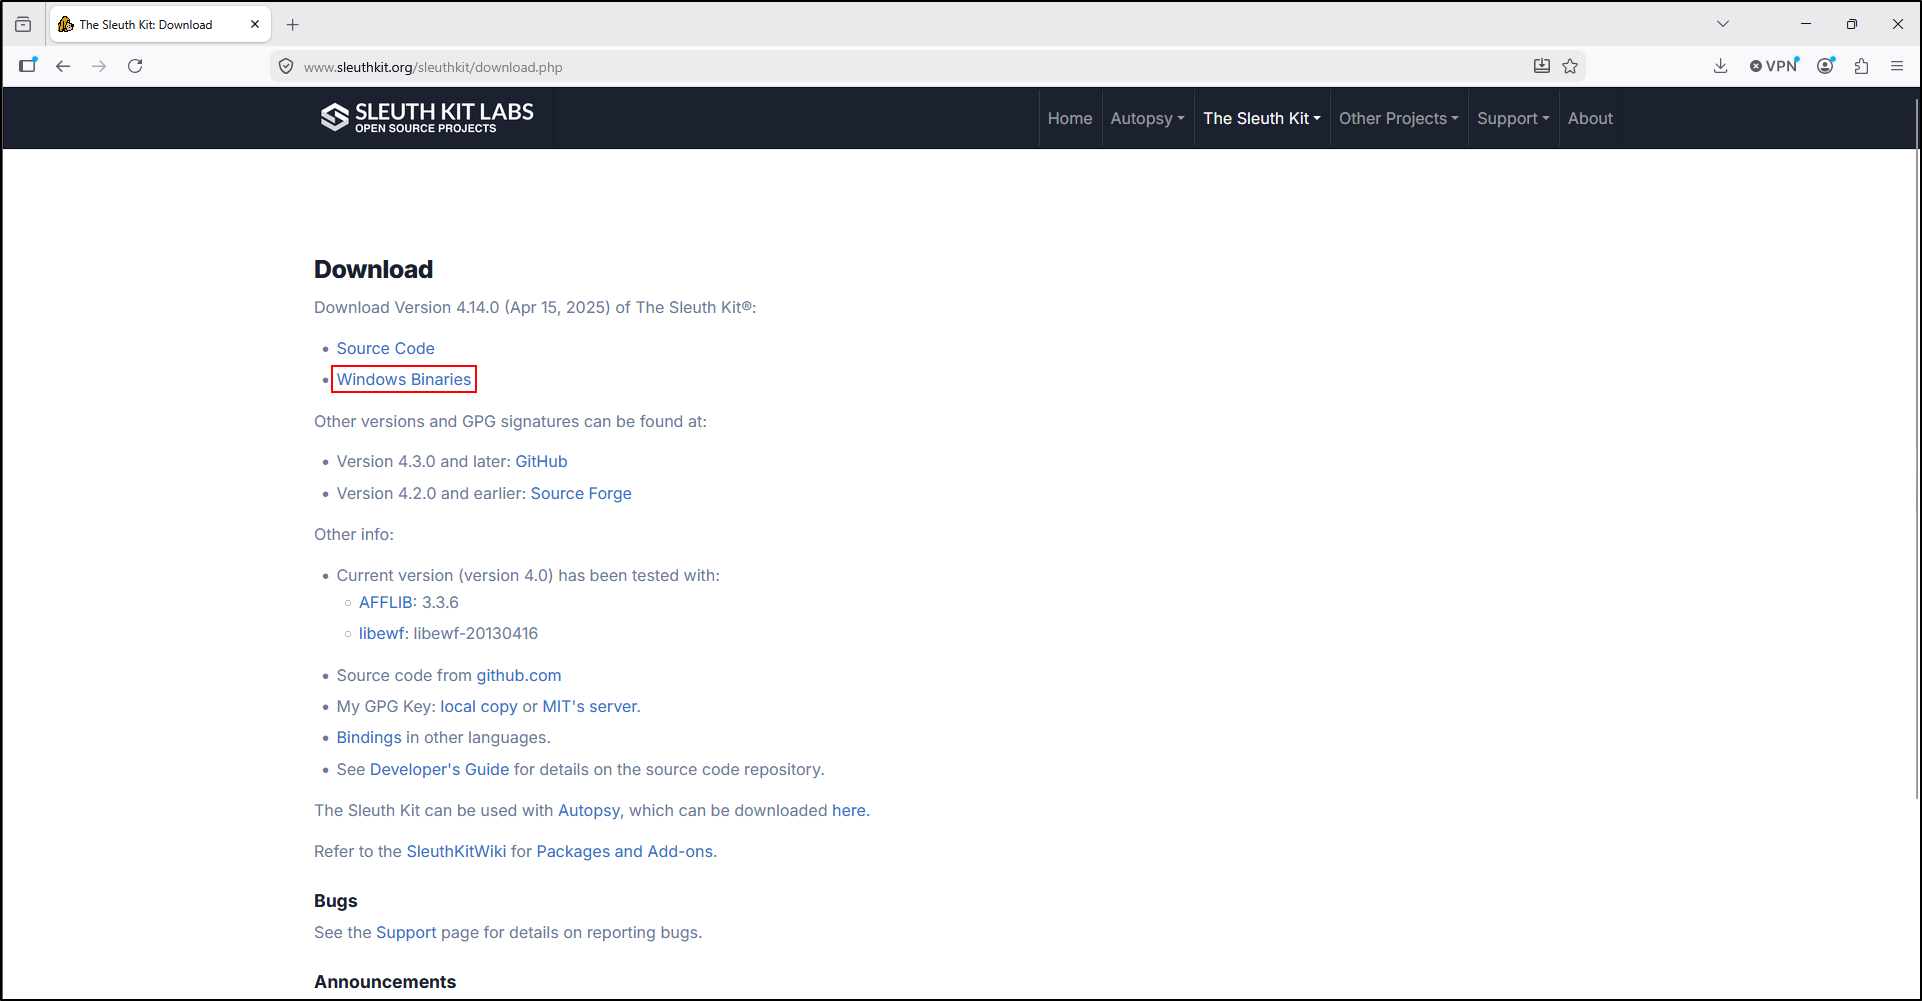
Extract the contents of the ZIP archive to the C:\Tools\The Sleuth Kit directory.
Adding TSK to PATH environment variable
Open Environment Variables (Start → Environment Variables → Edit the system environment variables → Environment Variables).
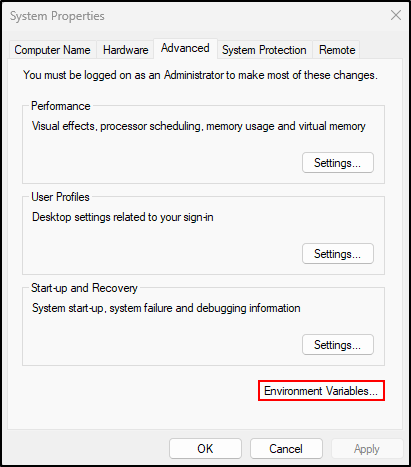
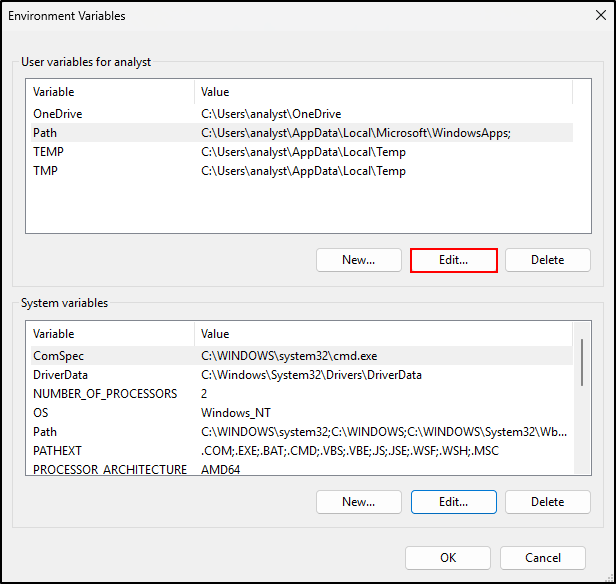
Under User variables, select path and click Edit.
Click New and add (one entry per line):
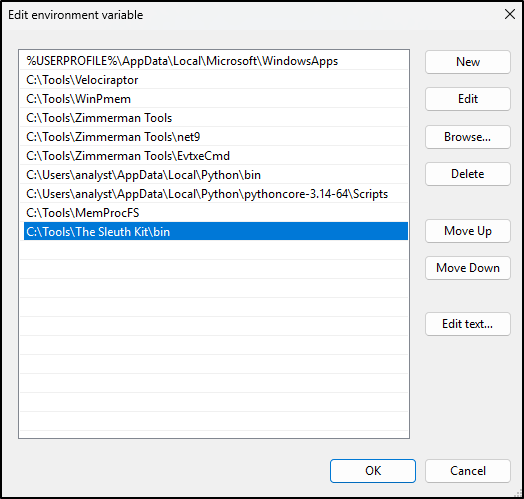
Click OK (then OK on other windows to save changes).
Create a Disk Image of a Windows VM using FTK Imager
Install and run FTK Imager on a Windows VM.
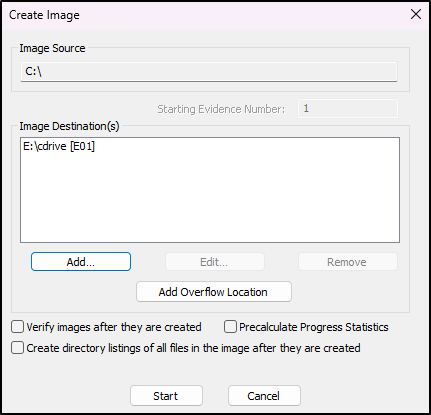
Select File → Create Disk Image → Logical Drive.
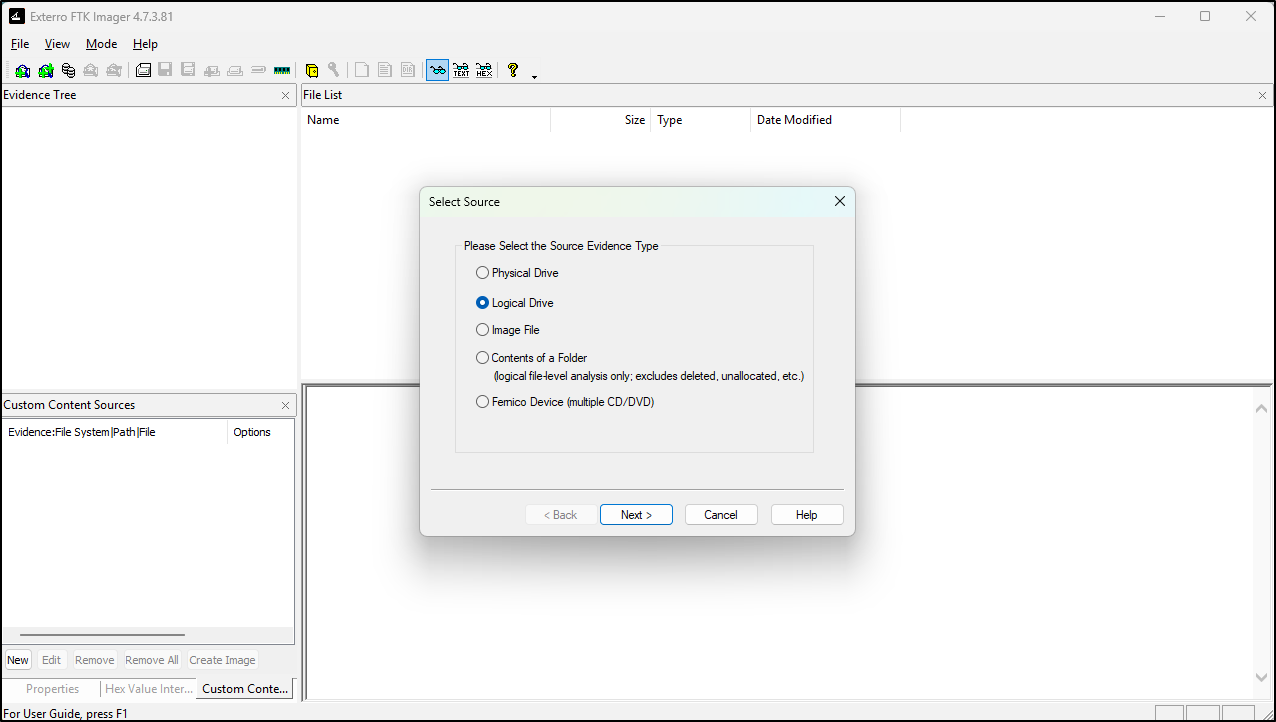
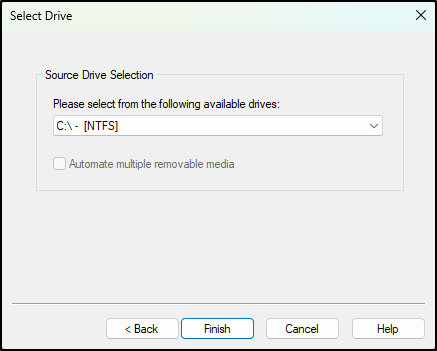
Select C drive as the source drive and click Finish.
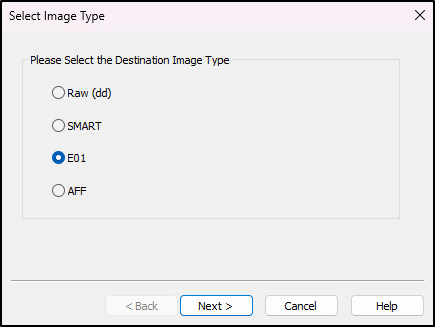
Click Add for Image Destination and select E01 as the image type. Click Next.
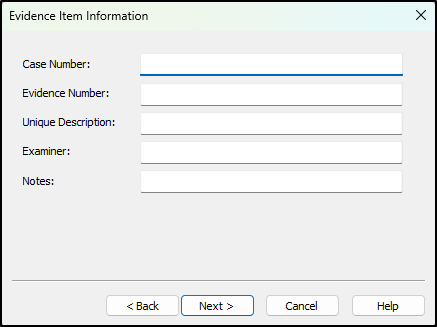
Leave Evidence Item Information as blank and click Next.
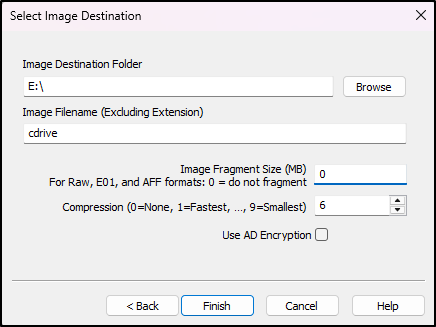
Select Image Destination Folder as E drive. Put cdrive as the Image Filename, select 0 for Image Fragment Size and click Finish.
Click Start.
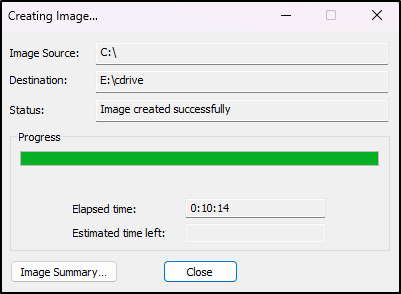
One the image creation is complete, click Close.
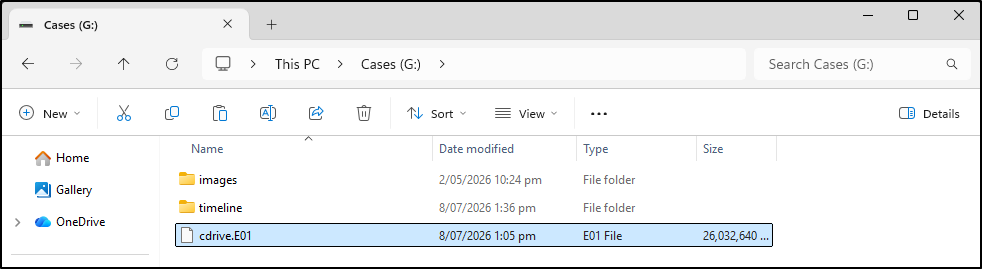
Copy the cdrive.E01 file into the forensics VM’s G drive.
Create Triage Timeline Bodyfile using fls
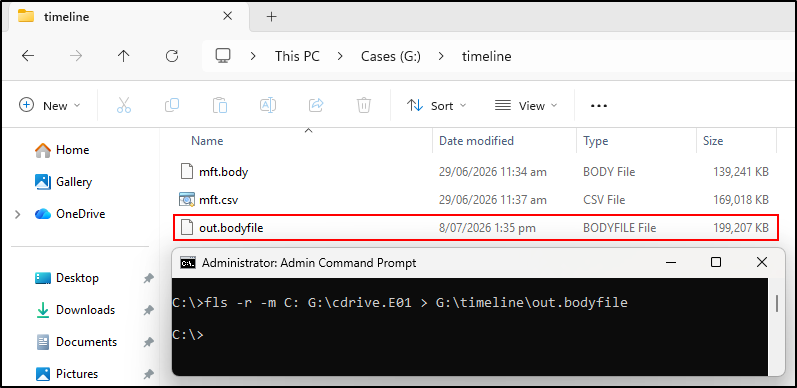
The fls tool within the TSK suite extracts filename and metadata information for files.
Open an administrator Command Prompt and run the following command to create triage timeline bodyfile:
Parse the bodyfile using mactime
The mactime is a tool within TSK suite that parses the bodyfile, make it human-readable and sort chronologically.
Create Filesystem Timeline in CSV Format
Open WSL terminal and run the following command to create the filesystem timeline in CSV format:

[Useful Options for mactime]
-b: Bodyfile location (data file) [minimum parameter]
-y: Dates are displayed in ISO 8601 format
-z: Specify the time zone (see time zone chart)
-d: Comma-delimited format
Create a keyword_filter.txt that contains a filter list to remove files from the timeline that are noisy and likely to show false positives.
\(\$FILE\_NAME\)
\/WinSxS\/
\/assembly\/
odlsent
\.odl
Cache_Data
Code\ Cache
Service\ Worker
\/Packages\/
\/windowsapps\/microsoft\/
\/Program Files\/WindowsApps\/
SystemApps
\/Microsoft\ Office\/
\/Acrobat\ Reader\ DC\/
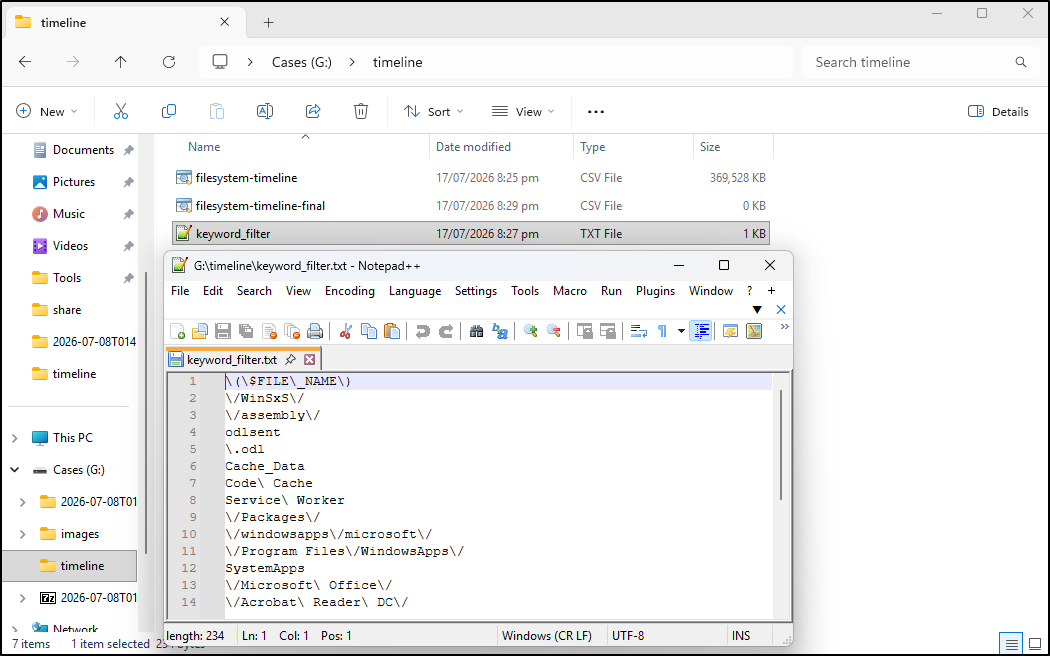
On the WSL terminal, navigate to the /mnt/g/timeline directory, and filter the timeline using grep and keyword_filter.txt
cd /mnt/g/timeline
grep -a -v -i -f /mnt/g/timeline/keyword_filter.txt filesystem-timeline.csv > filesystem-timeline-final.csv

The mactime output formats file paths using the Unix nomenclature of forward slashes. We need to replace those forward slashes with backslashes since we are investigating Windows systems.

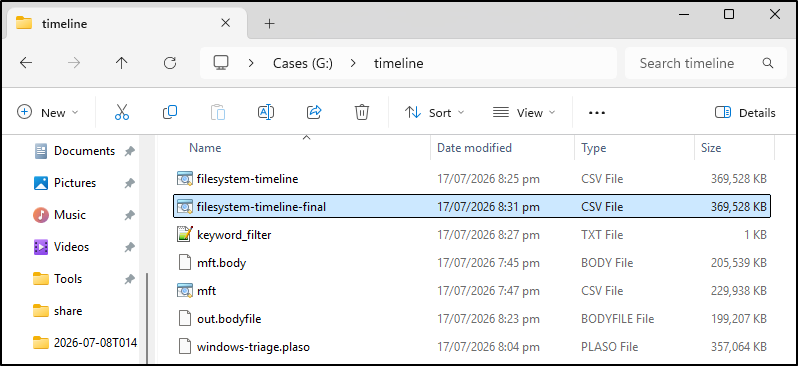
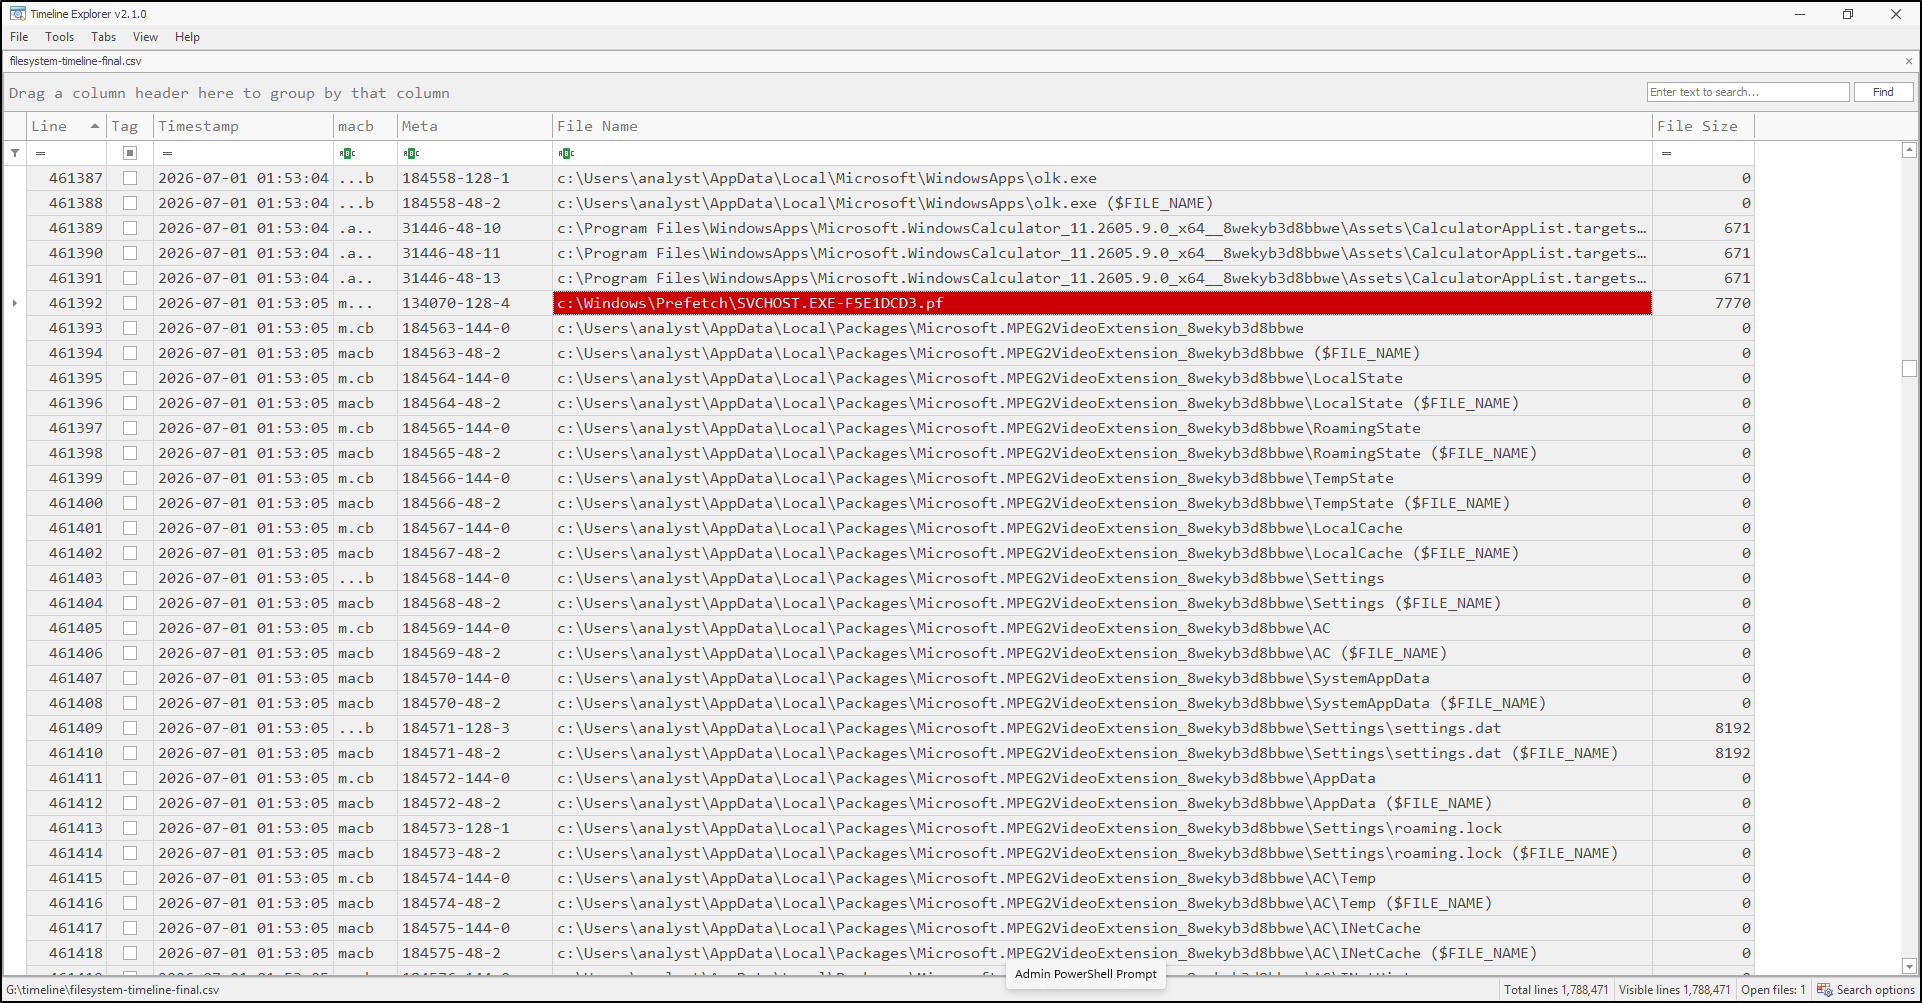
The filesystem timeline can be opened in Timeline Explorer for further analysis.