Install and Open WinPmem
Download WinPmem
Review the current WinPmem releases. The preserved procedure below uses the standalone winpmem_mini_x64.exe interface documented by the project; newer release assets may use a different filename or command-line interface. Record the download URL, release identifier, filename, date and published hash where available, and follow the documentation for the exact binary you retain.
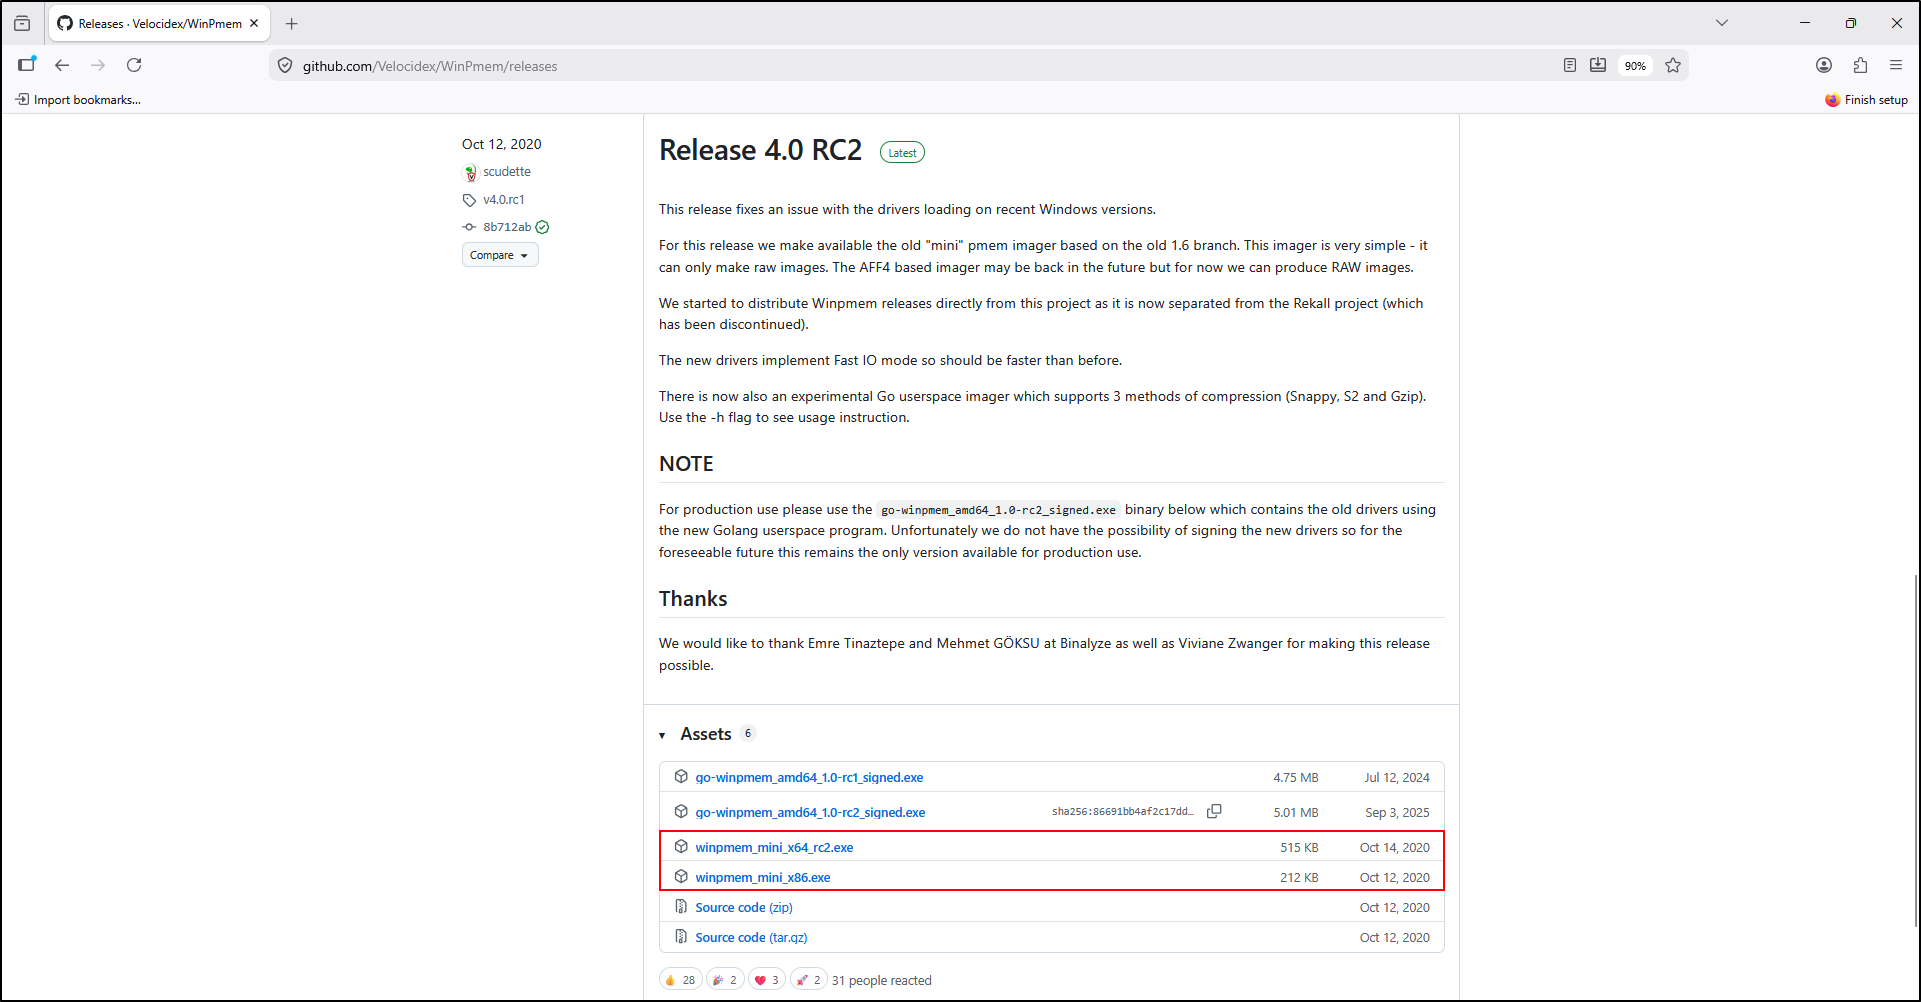
Move the downloaded executable to C:\Tools\WinPmem. Preserve its original filename in the case notes before applying any local naming convention.
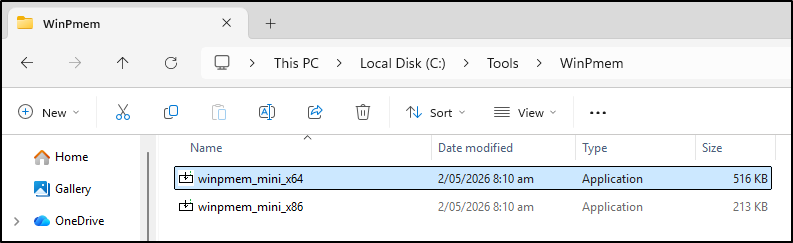
Version and trust checkpoint
A repository location is not a trust decision. Verify the release source, preserve a checksum and test the selected binary in an isolated environment before relying on it during an investigation.
Add WinPmem to PATH
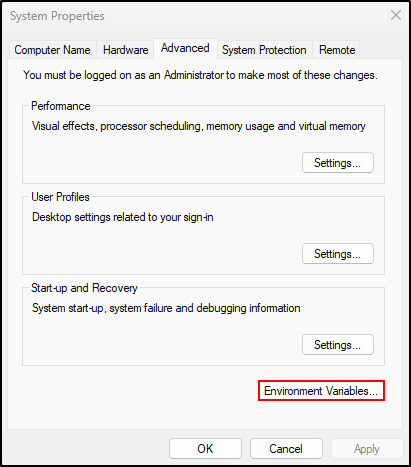
Open Environment Variables from Edit the system environment variables.
Under User variables, select Path, then select Edit.
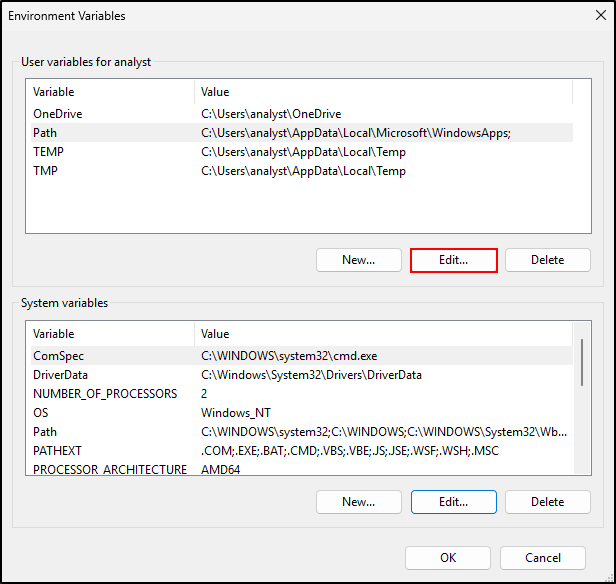
Add one entry:
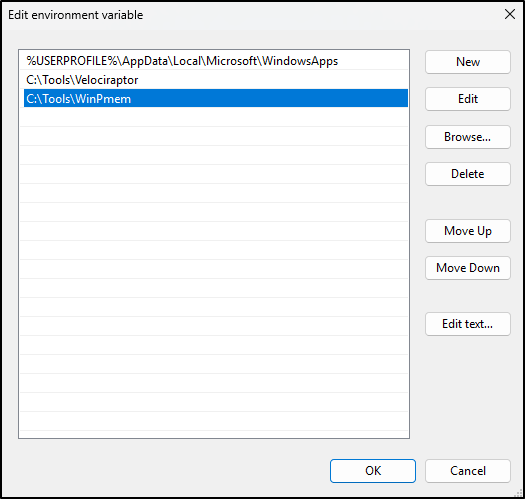
Open a new Command Prompt so it receives the updated environment. Confirm that the expected executable resolves from C:\Tools\WinPmem, and record its version or release identifier before acquisition.
The documented mini executable is self-contained, selects the appropriate embedded driver and unloads the driver after acquisition. Confirm this behaviour for the retained version rather than assuming all release variants behave identically.