Deploy Windows clients
Use one of the preserved client deployment options, then verify that the Windows endpoint appears in the Velociraptor Admin GUI.
Prefer a server-generated package and record its filename, version, checksum and source.
Preserve the client ID, hostname, operating system, install time and first-seen time.
Confirm the expected frontend, certificate trust and last-seen state before collection.
Configuration and writeback are not interchangeable
The client configuration tells the endpoint which deployment to trust. The writeback stores local client state and identity. Do not casually copy, delete or reuse writeback files between endpoints; duplicated identity can corrupt attribution. Stop the service and follow the current official deployment procedure before replacing an existing configuration.
Deploying Velociraptor Clients (Windows)
Option 1: Create an Installation Package for Windows clients
In the Velociraptor web GUI select Server Artifacts from the sidebar on the left side of the page.
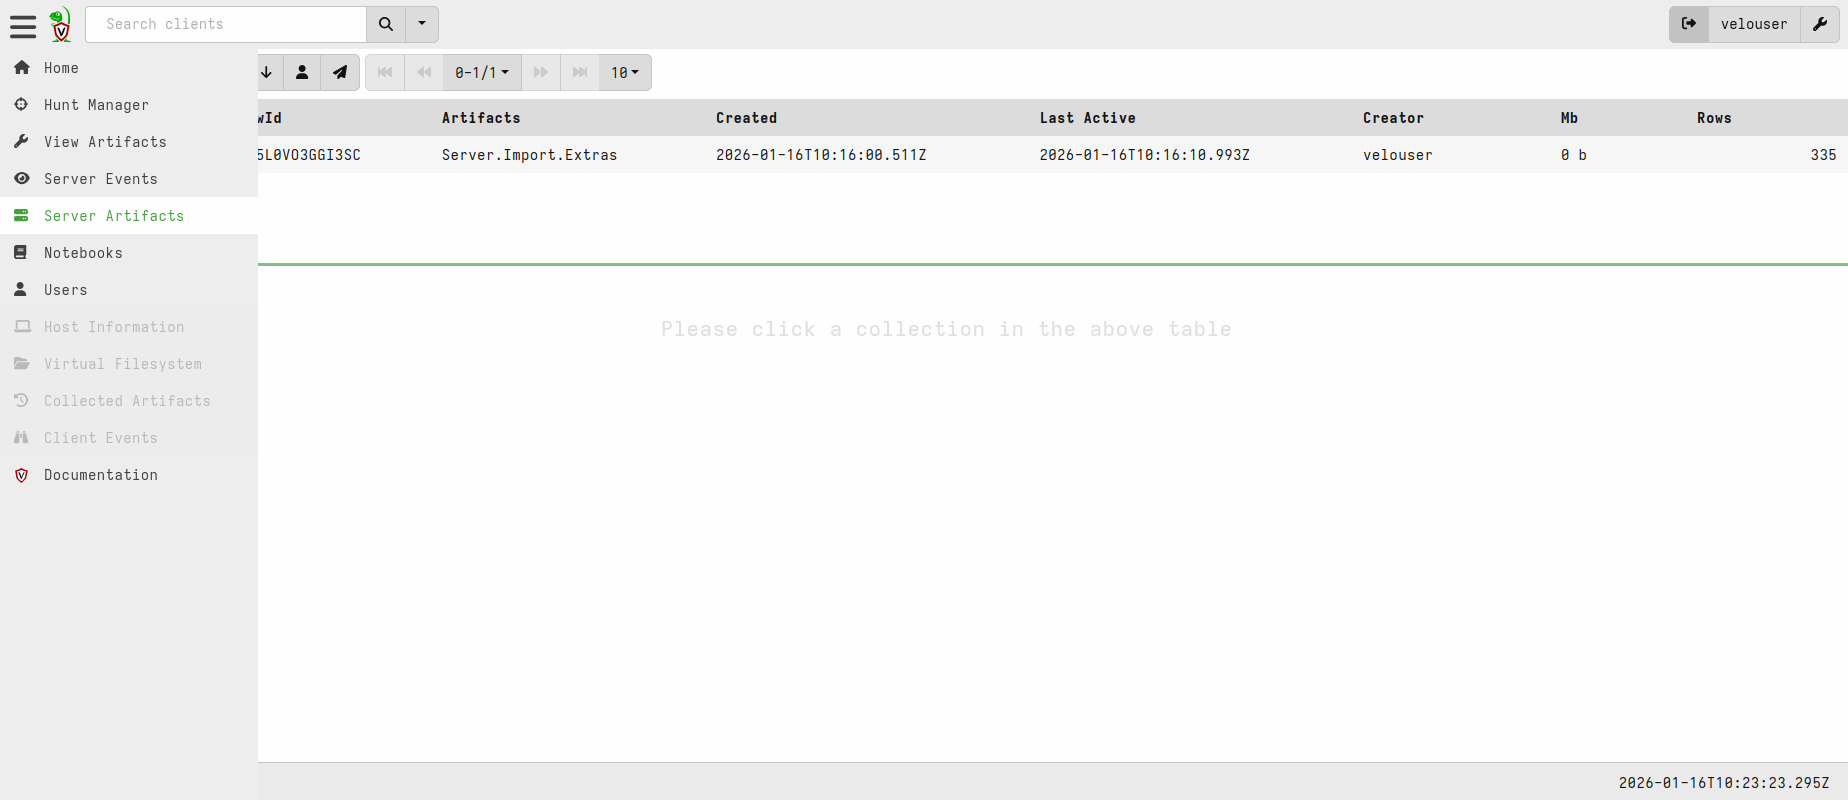
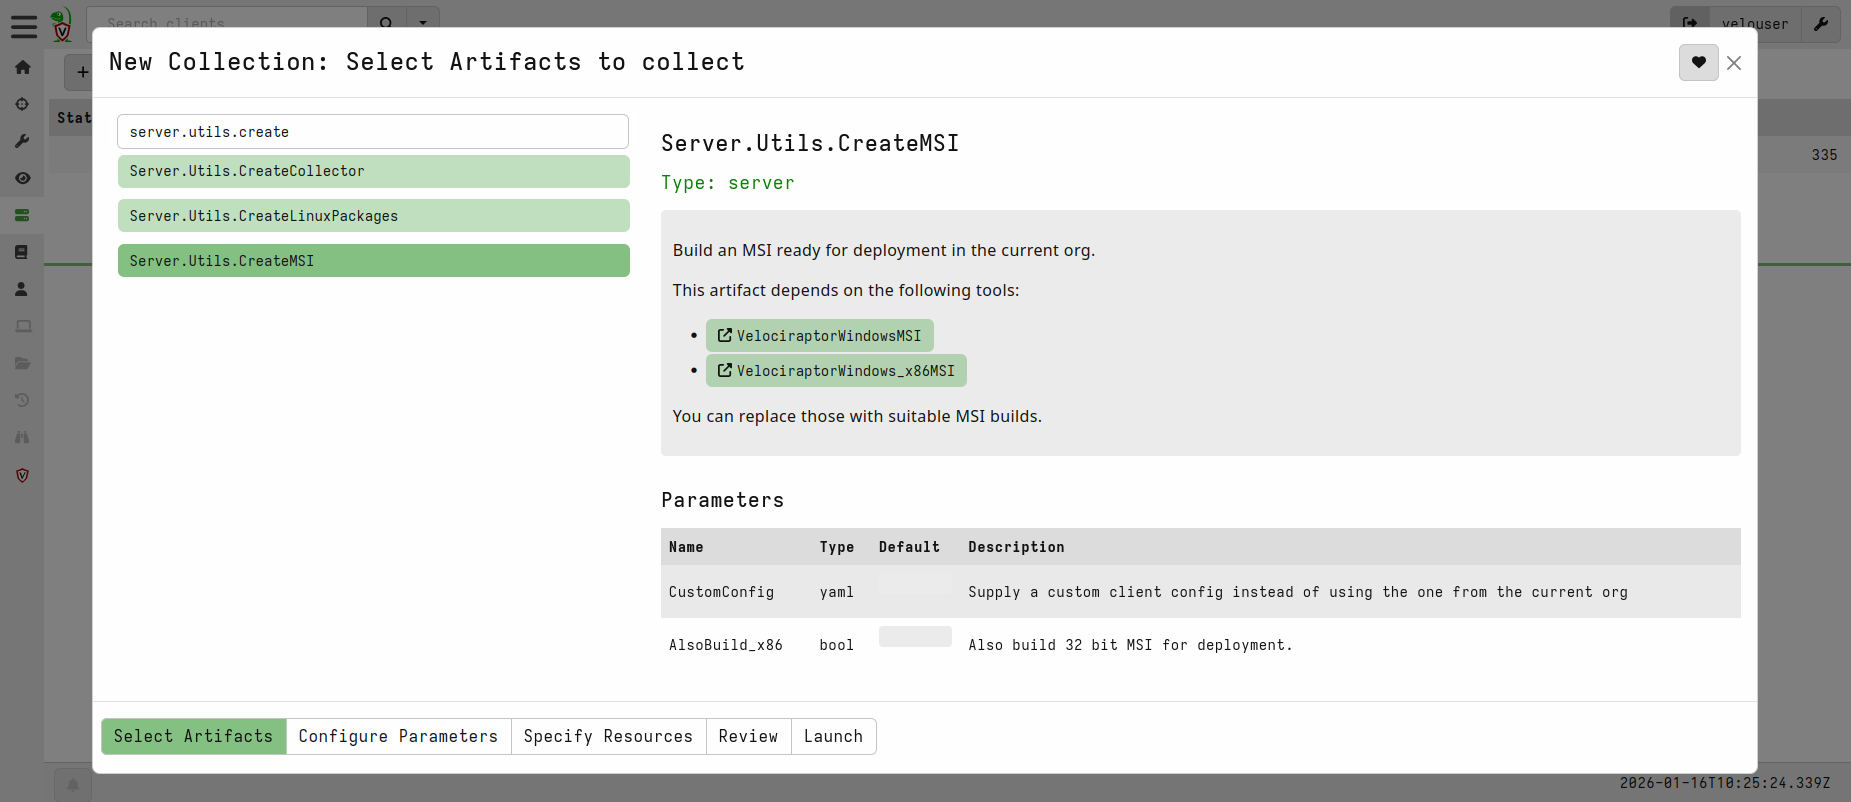
Add a new collection (”+” icon). Search for Server.Utils.CreateMSI, select it, and then click “Launch”.
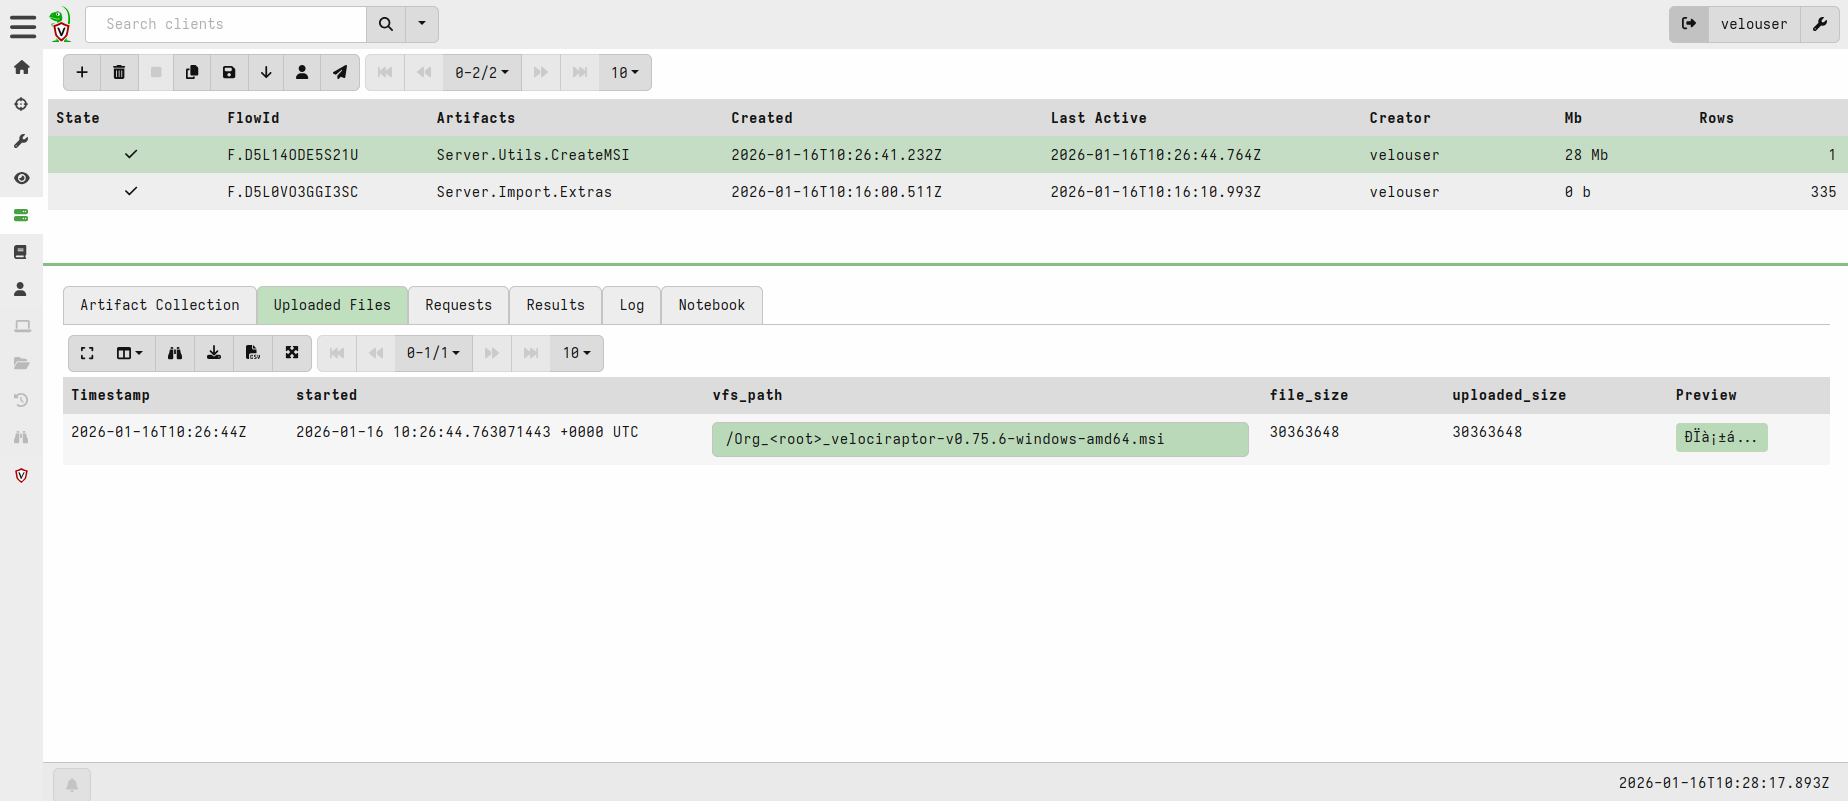
It may take a short while to download the latest MSI releases from GitHub (64-bit and, if selected, 32-bit) and repackage them with your client configuration. Once complete, the rebuilt MSI files will be available in the Uploaded Files tab of the collection.
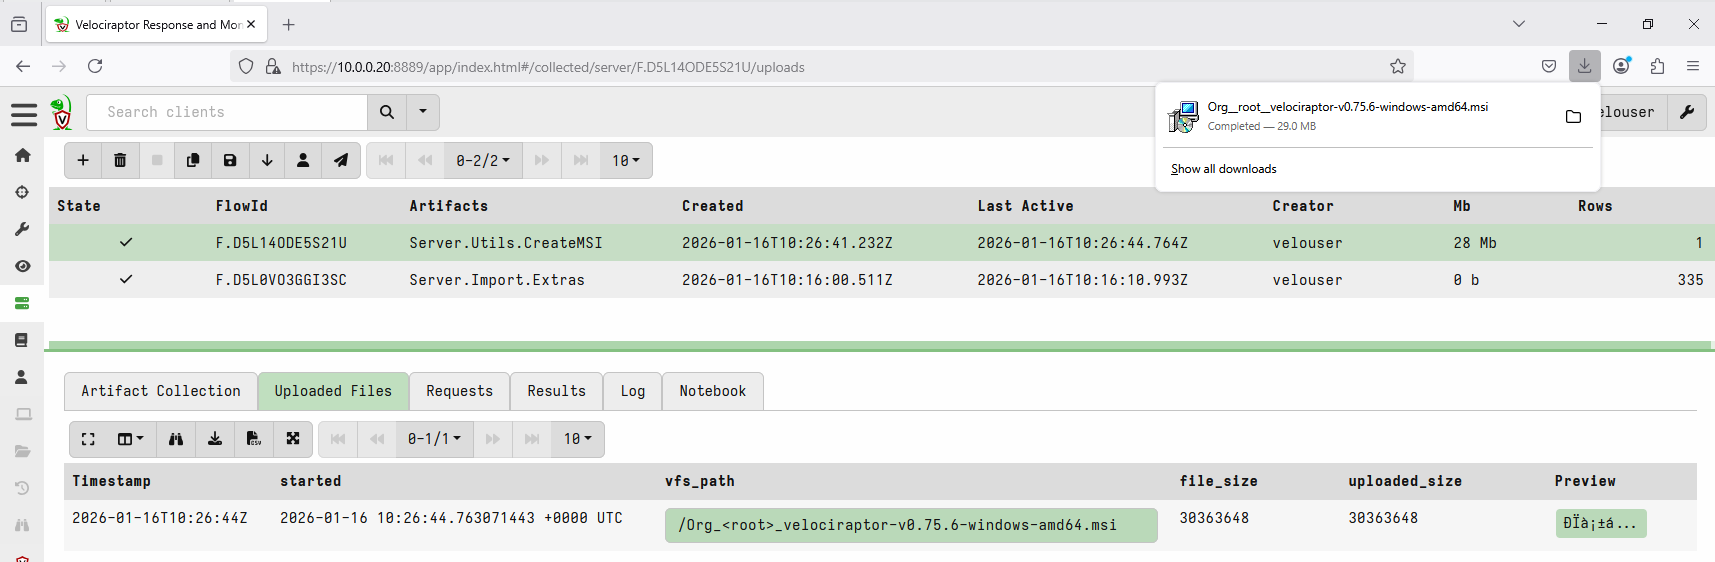
Download the MSI files, then double-click the installer to install the client.
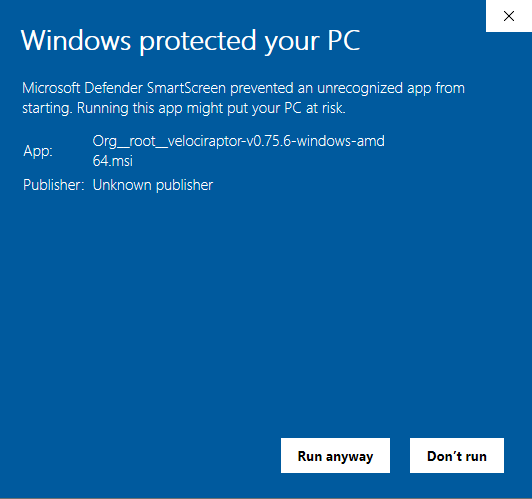
If Windows SmartScreen warns about the package, stop and verify that the MSI was generated by the authorised server, that its version and checksum match your deployment record, and that organisational policy permits installation. Do not bypass the warning for an unverified package.
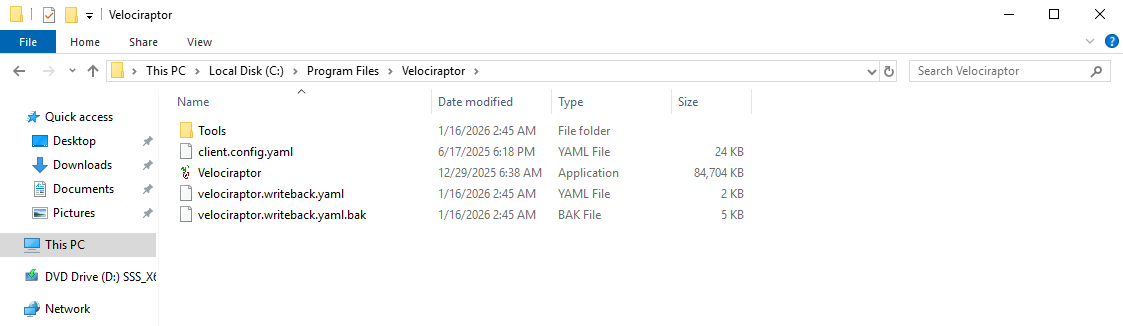
Navigate to C:\Program Files\Velociraptor. After a successful installation, you should see velociraptor.writeback.yaml in that directory.
Option 2: Download Official Release MSI
Download the approved Velociraptor MSI from the official Velociraptor releases page. Verify its version and published checksum. On your authorised Windows host, double-click the MSI to install it.
Before changing an existing installation, stop the Velociraptor service and
preserve the current configuration and writeback state. Replace
client.config.yaml only when the endpoint is meant to enrol into this
deployment; do not copy or reuse another endpoint's writeback file.
The easiest way to obtain the correct client config file is to download it directly from the GUI. From the Home screen, go to Current Orgs and click the filename to download the YAML file.

Copy the downloaded client.config.yaml into C:\Program Files\Velociraptor.
After this, you should see velociraptor.writeback.yaml appear in the same directory. If it doesn’t appear, restart the computer.
Verify Client Connection
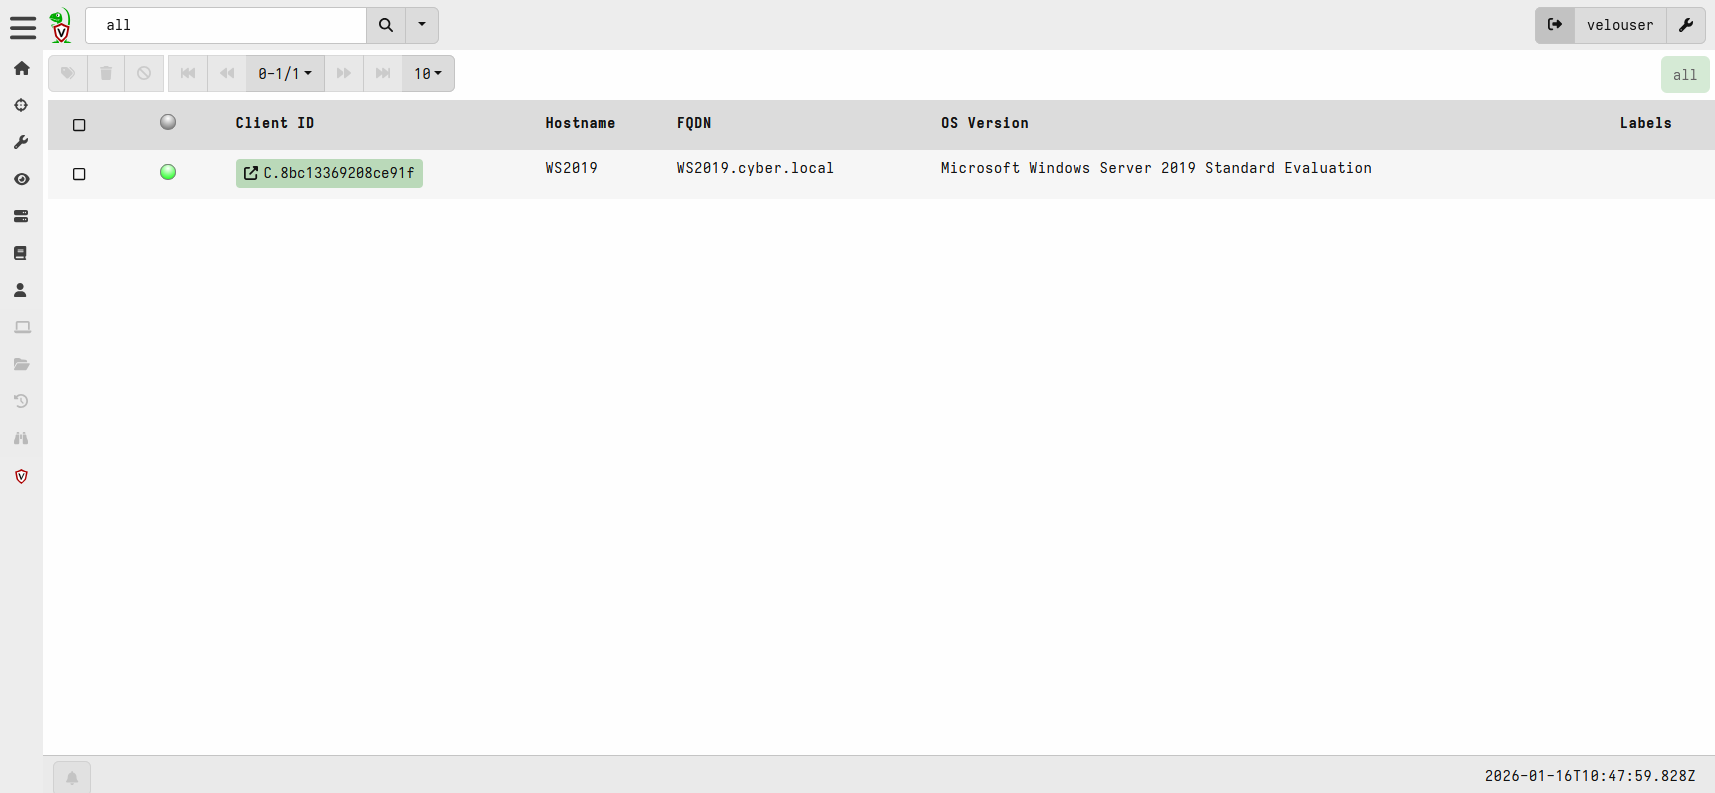
On the Velociraptor Server web GUI, click on the magnifying glass icon and verify that your client is connected.
Any client that has successfully enrolled and checked in recently will show a green light. Confirm the client ID, hostname, operating system and last-seen time before treating returned data as attributable to the intended endpoint.
Verify provenance before collecting
Do more than check the green status indicator. Open the client record and confirm the client ID, hostname, operating system, labels, last-seen time and expected network context. Record these values with the first collection so returned rows remain attributable to the intended endpoint.