RSA NetWitness Investigator
What RSA NetWitness Investigator does
Guided SUSA tool journey
RSA NetWitness Investigator supports network forensics. In this guide, you will use it to reconstruct one network session and record the relevant metadata. The procedure and screenshots provide the practical reference; the surrounding context explains what to record and how to judge the result.
Tool guide at a glance
Reconstruct one network session and record the relevant metadata.
A supplied PCAP or network-session dataset with capture-point and timing notes.
A reconstructed communication with filters, endpoints, protocol context, and capture limitations.
Evidence and safety
Use supplied captures or traffic from an authorised lab. Do not interact with suspicious external infrastructure. Record the input identifier, tool version, relevant commands or settings, time and time zone, output location, and any errors or limitations as you work.
Choose your journey
01Understand the evidenceLearn the network forensics concepts and limitations.Complete when you can explain what the evidence can and cannot show.Beginner · No tool required · 15–25 min 02Follow the RSA NetWitness Investigator guideWork through the commands, screenshots, and instructional sequence below.Complete when the documented workflow produces its expected output.Guided · SUSA workstation · Time varies 03Interactive labPractise the tool workflow in a safe browser simulation.Complete when the guided result is supported by the case evidence.Beginner · Browser only · 10–20 min 04Full LabInvestigate an authorised training scenario with fewer prompts and preserve a reviewable result.Complete when another analyst can reproduce and verify the outcome.Intermediate · Isolated lab · 45–90 min
How the labs complement this guide
The Interactive Lab is a safe browser simulation for practising the workflow and validation logic. The Full Lab is an independent exercise for an isolated, authorised environment. Confirm the installed tool version and expected output before relying on either exercise in a real case.
Accessing RSA NetWitness Investigator in SUSA
RSA NetWitness Investigator is a free network forensics tool designed for interactive analysis of full packet capture (PCAP) data. It automatically categorises traffic into logical groups such as emails, domains, file transfers, and protocols, making it easier to investigate threats without deep packet decoding.
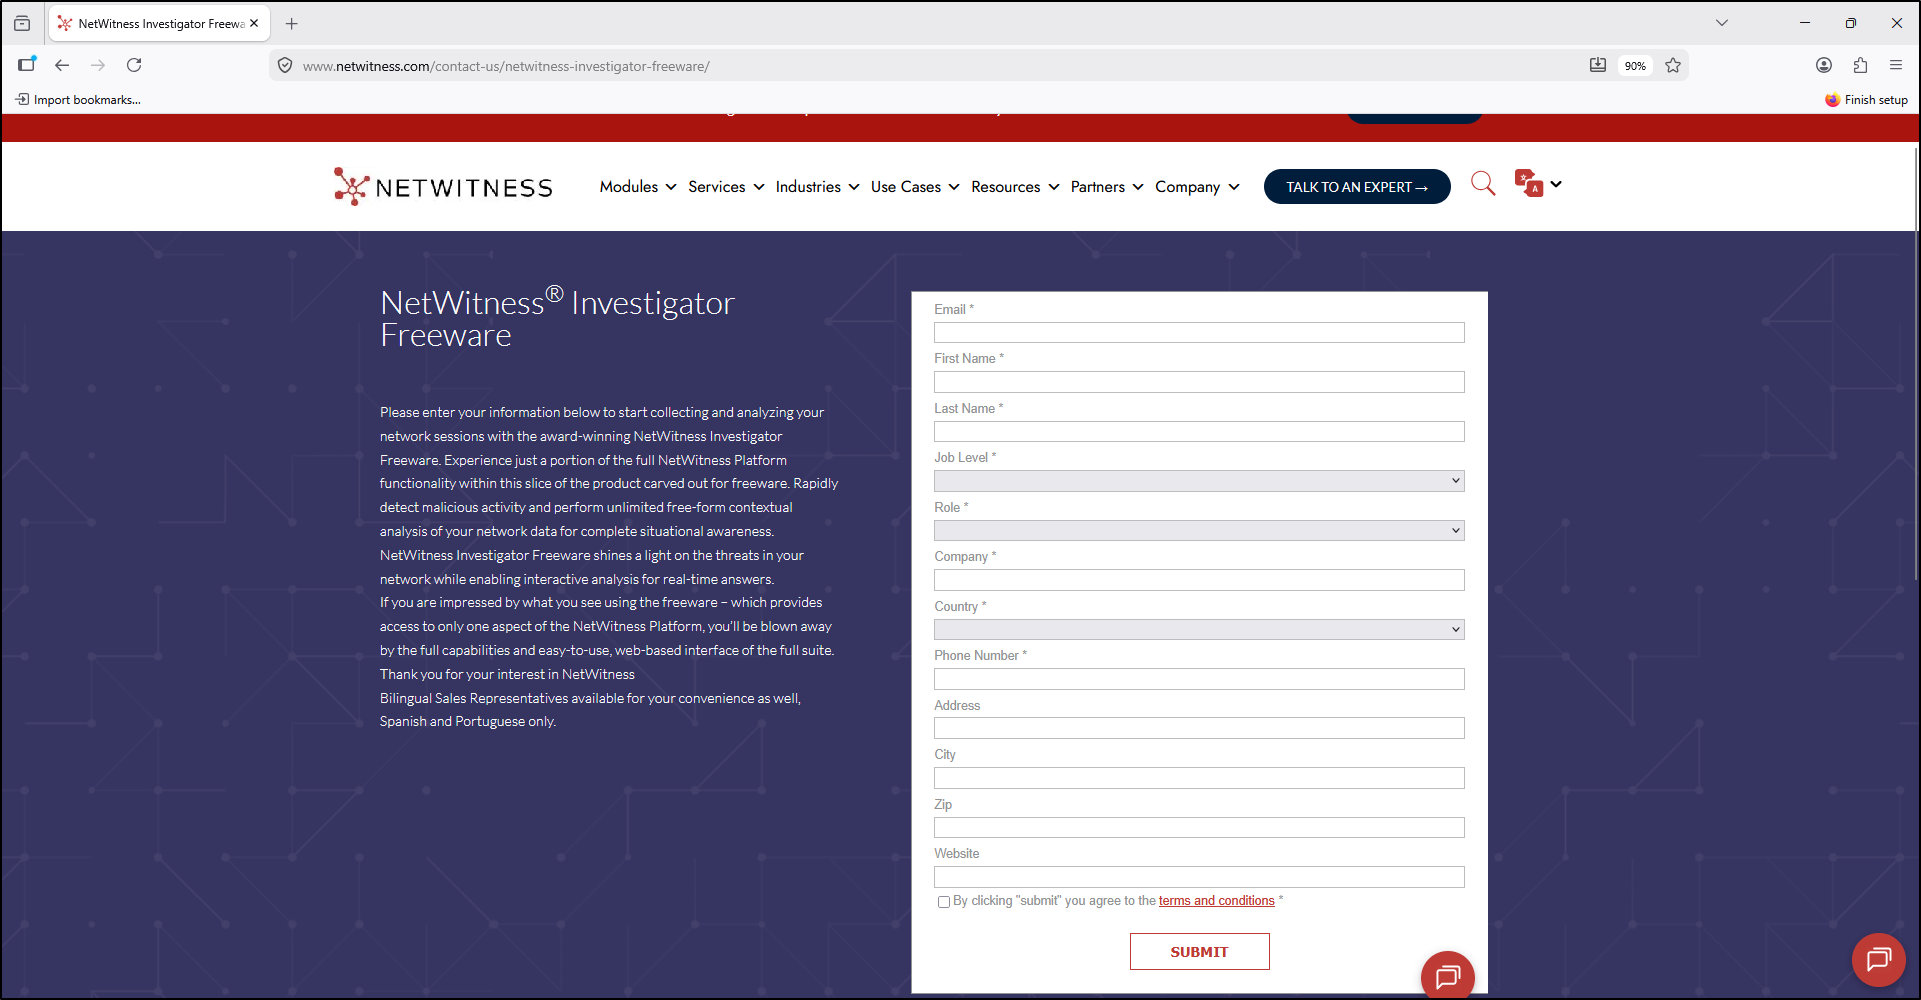
Navigate to the download page and register your details.
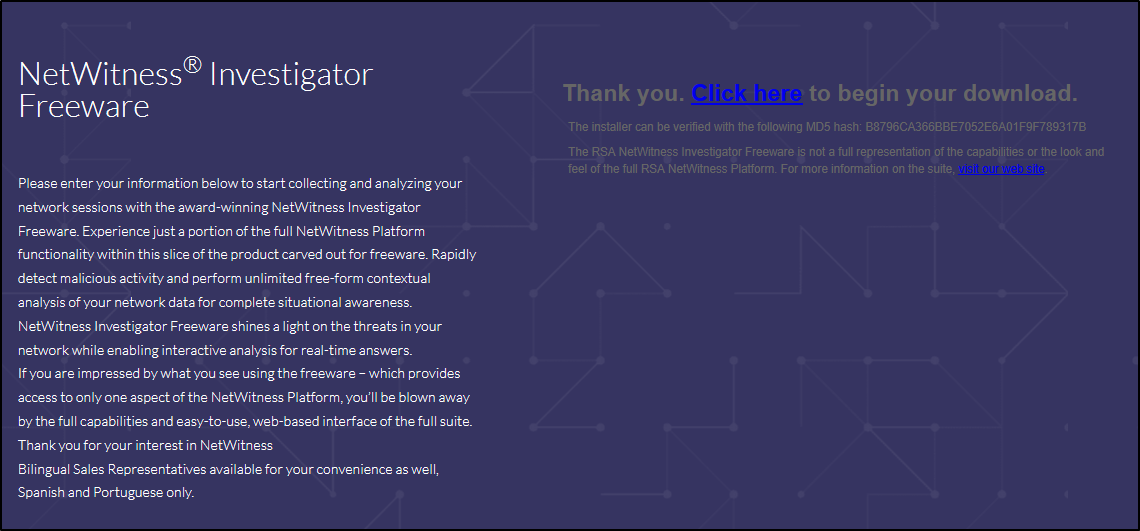
Click the download link to download RSA NetWitness Investigator.
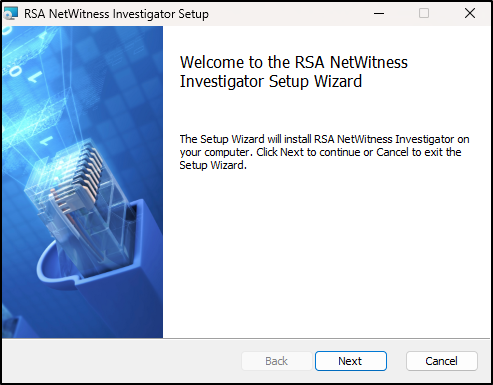
Extract the downloaded zip file to C:\Tools\RSA NetWitness Investigator. Double-click the Windows installer file to begin the setup. Click Next.
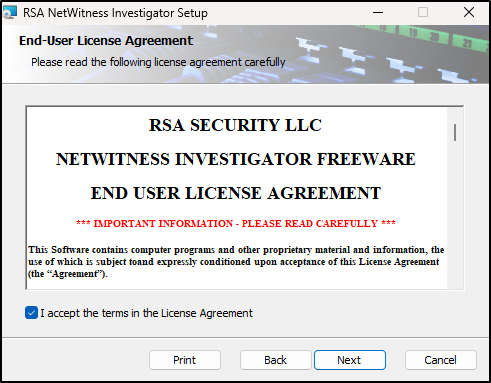
Accept the License Agreement and click Next.
Select Typical for Setup Type.
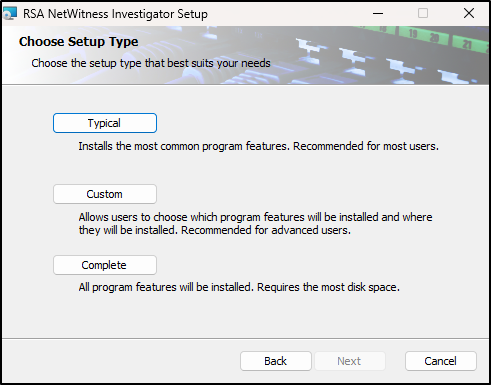
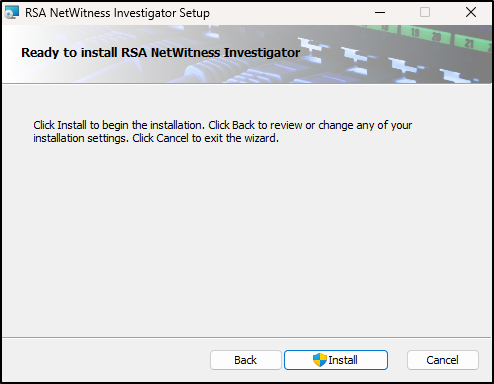
Click Install.
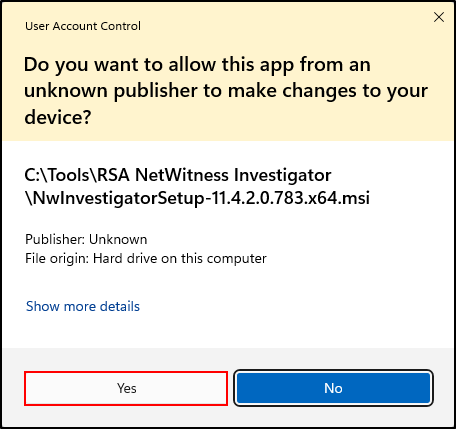
When prompted by the User Account Control, select Yes.
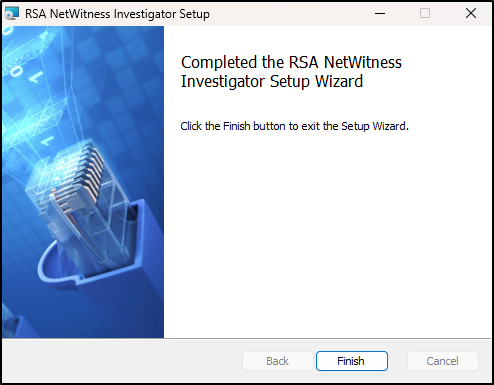
Once the installation is complete, click Finish.
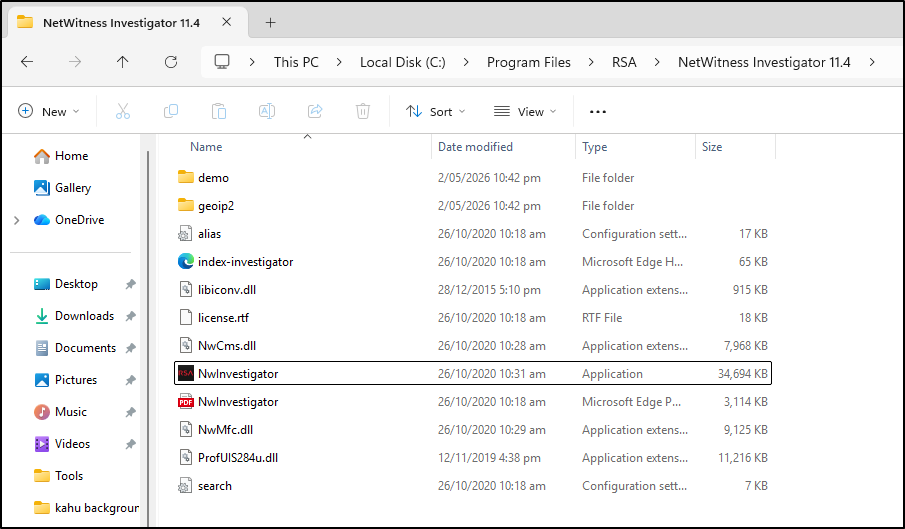
Navigate to C:\Program Files\RSA\NetWitness Investigator 11.4 and double-click NwInvestigator.
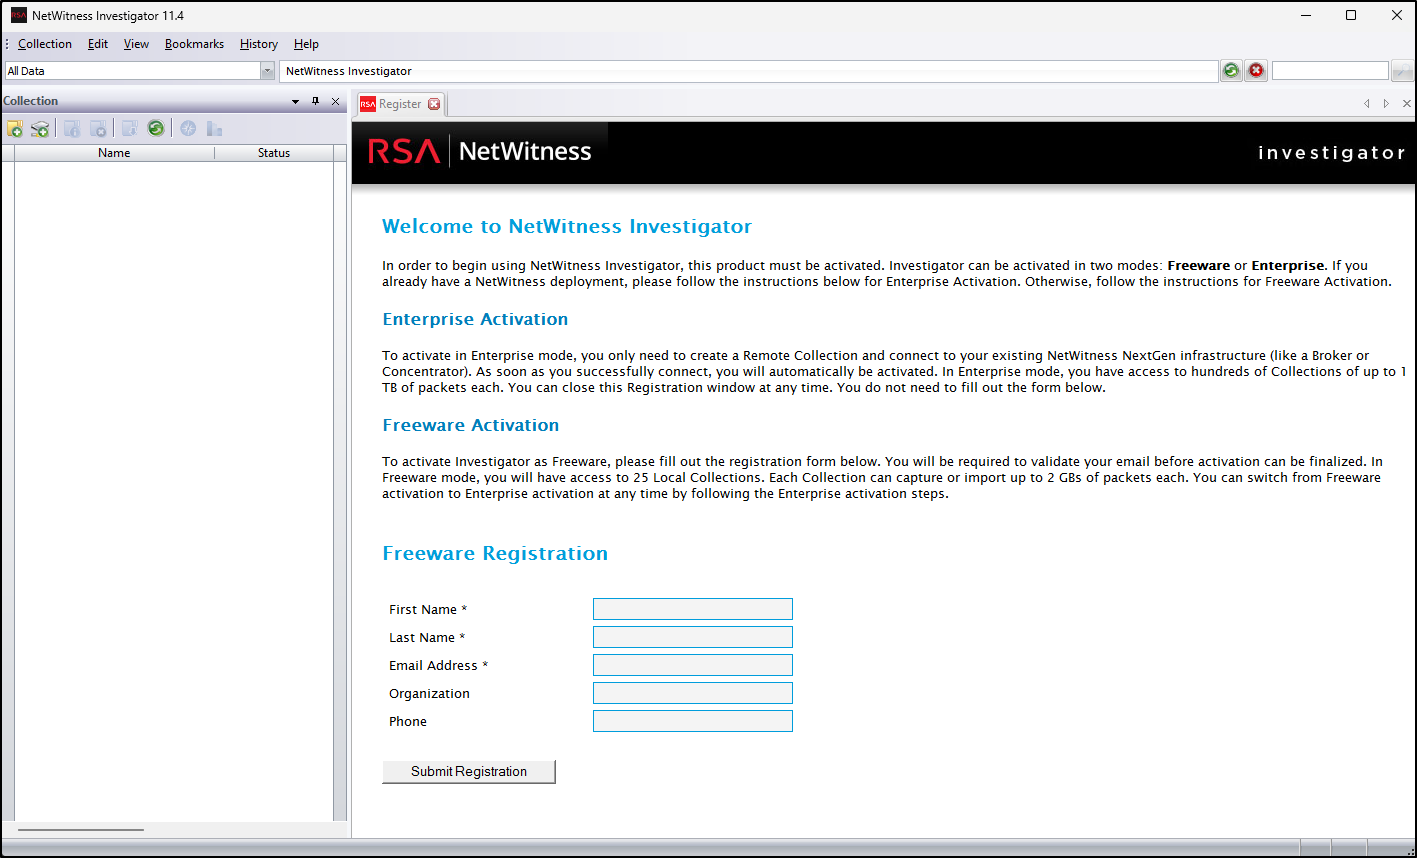
Fill in your details for Freeware Registration and click Submit Registration.
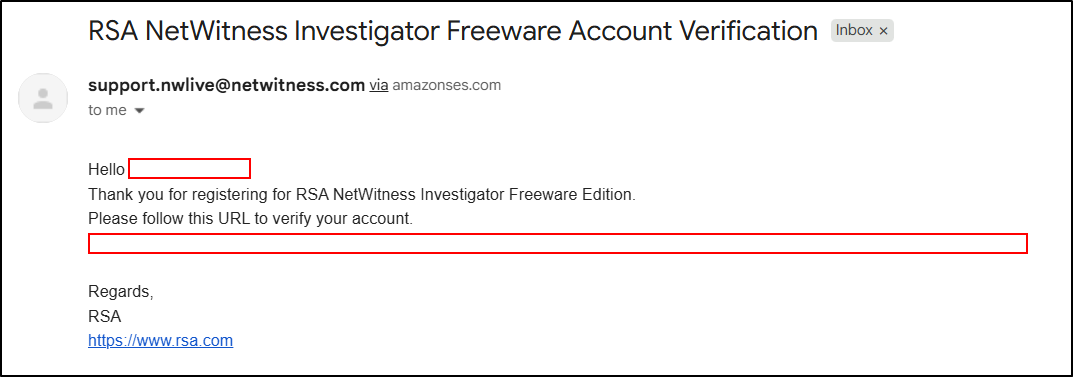
Use the verification URL sent to your inbox to complete registration.
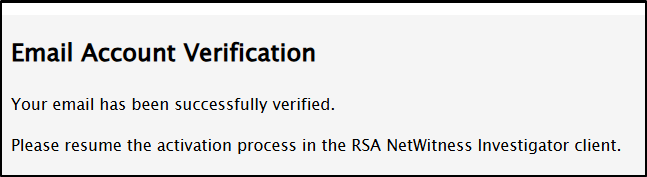
In the RSA NetWitness Investigator, click Activate Freeware.
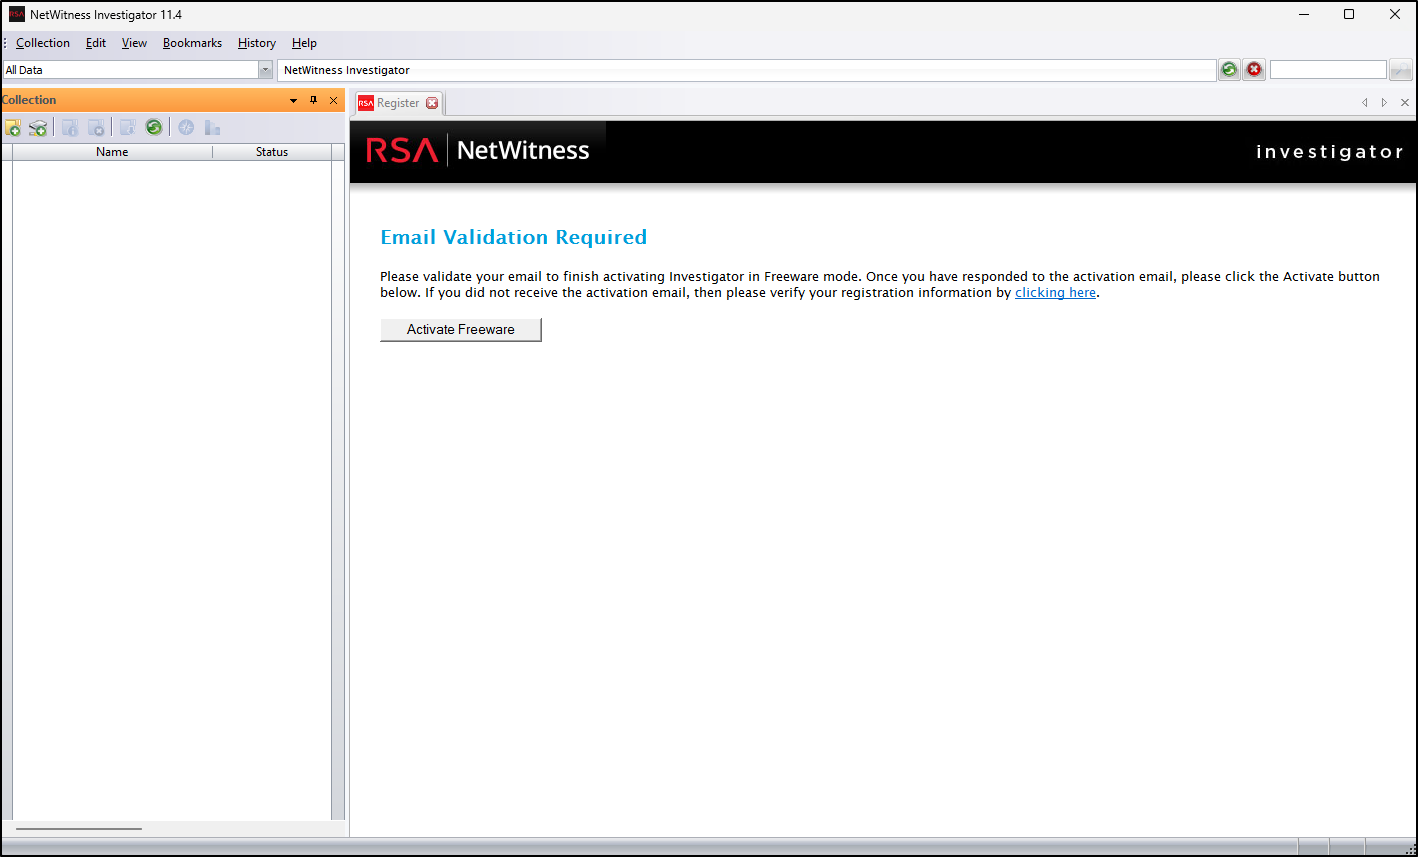
This will activate the application.
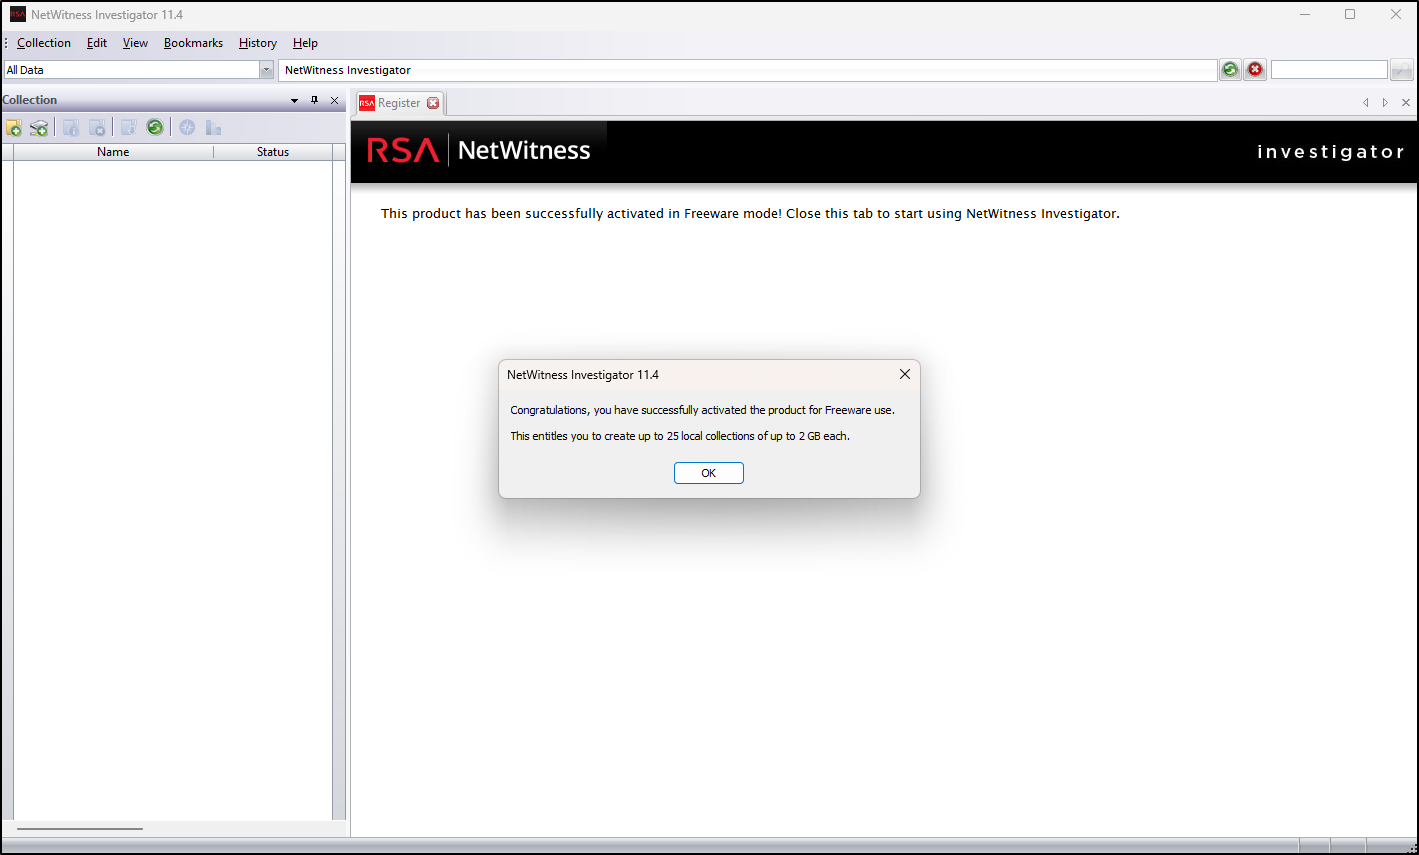
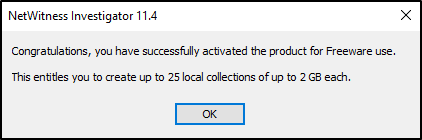
Note that the freeware version allows up to 25 local collections, each up to 2GB in size.
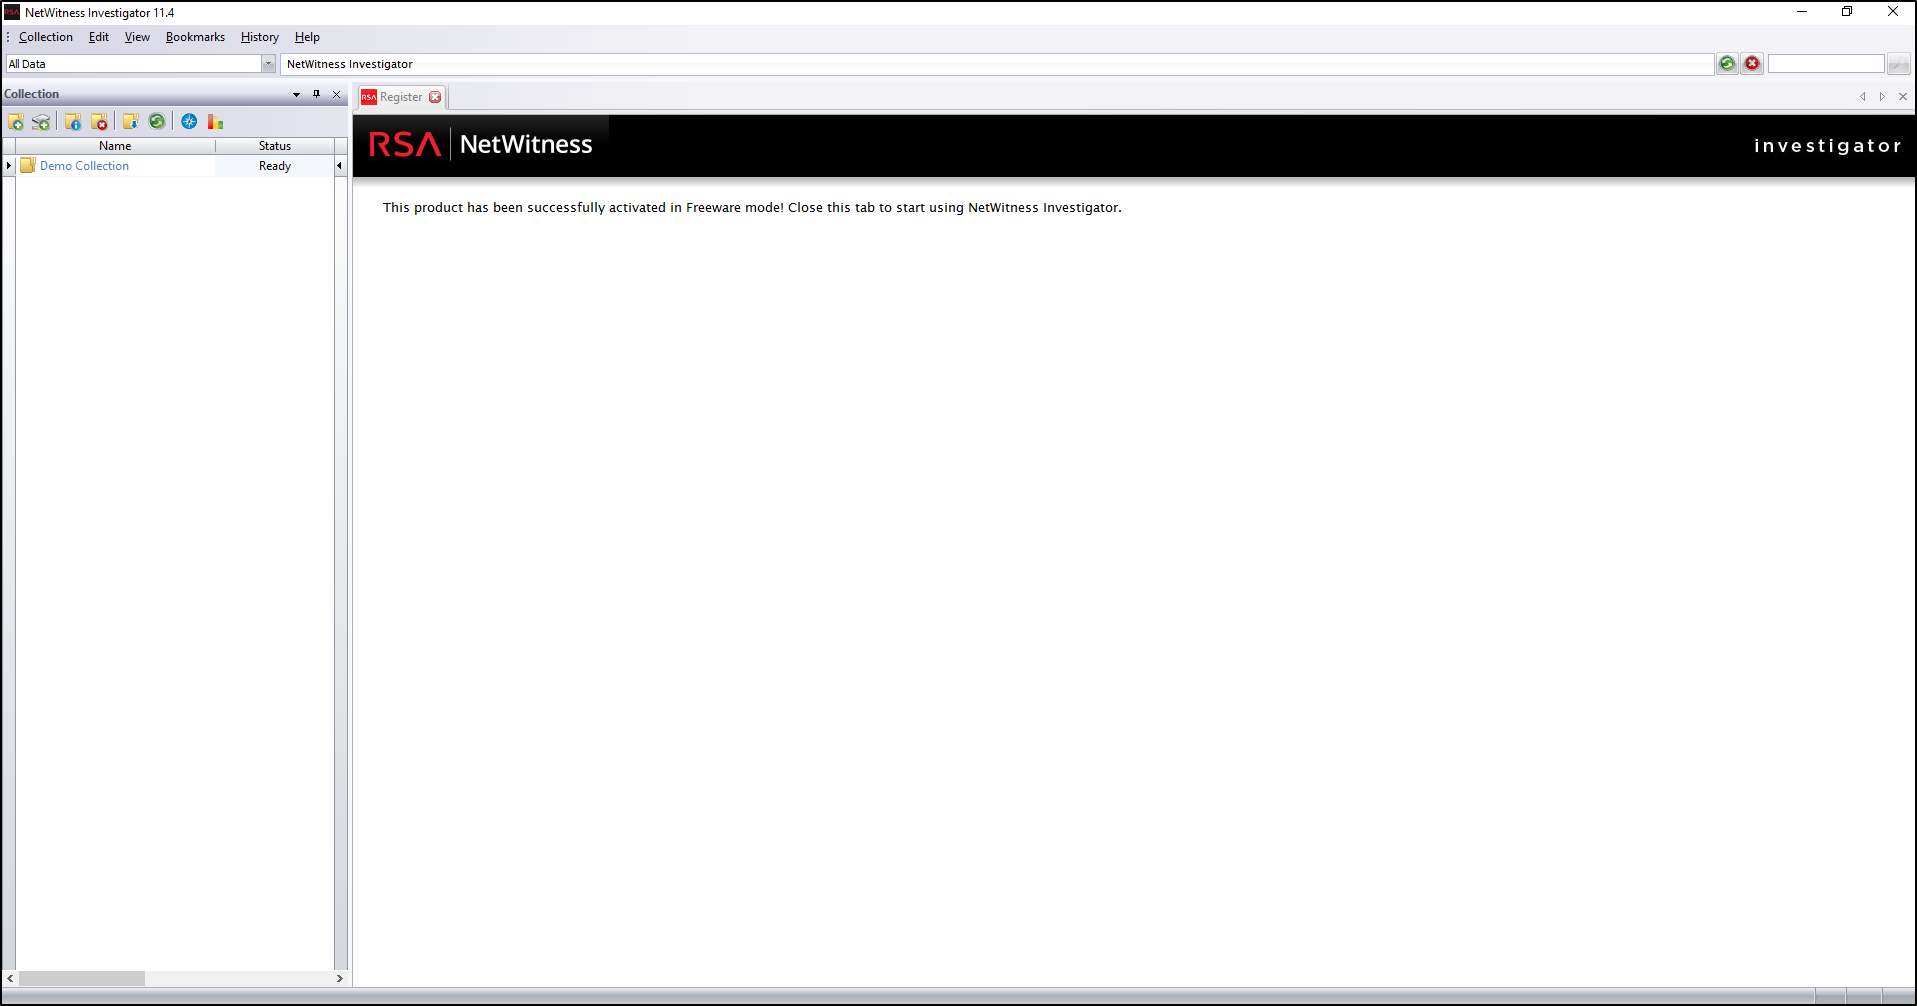
When prompted to install Demo Collection, select Yes.
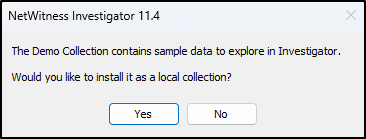
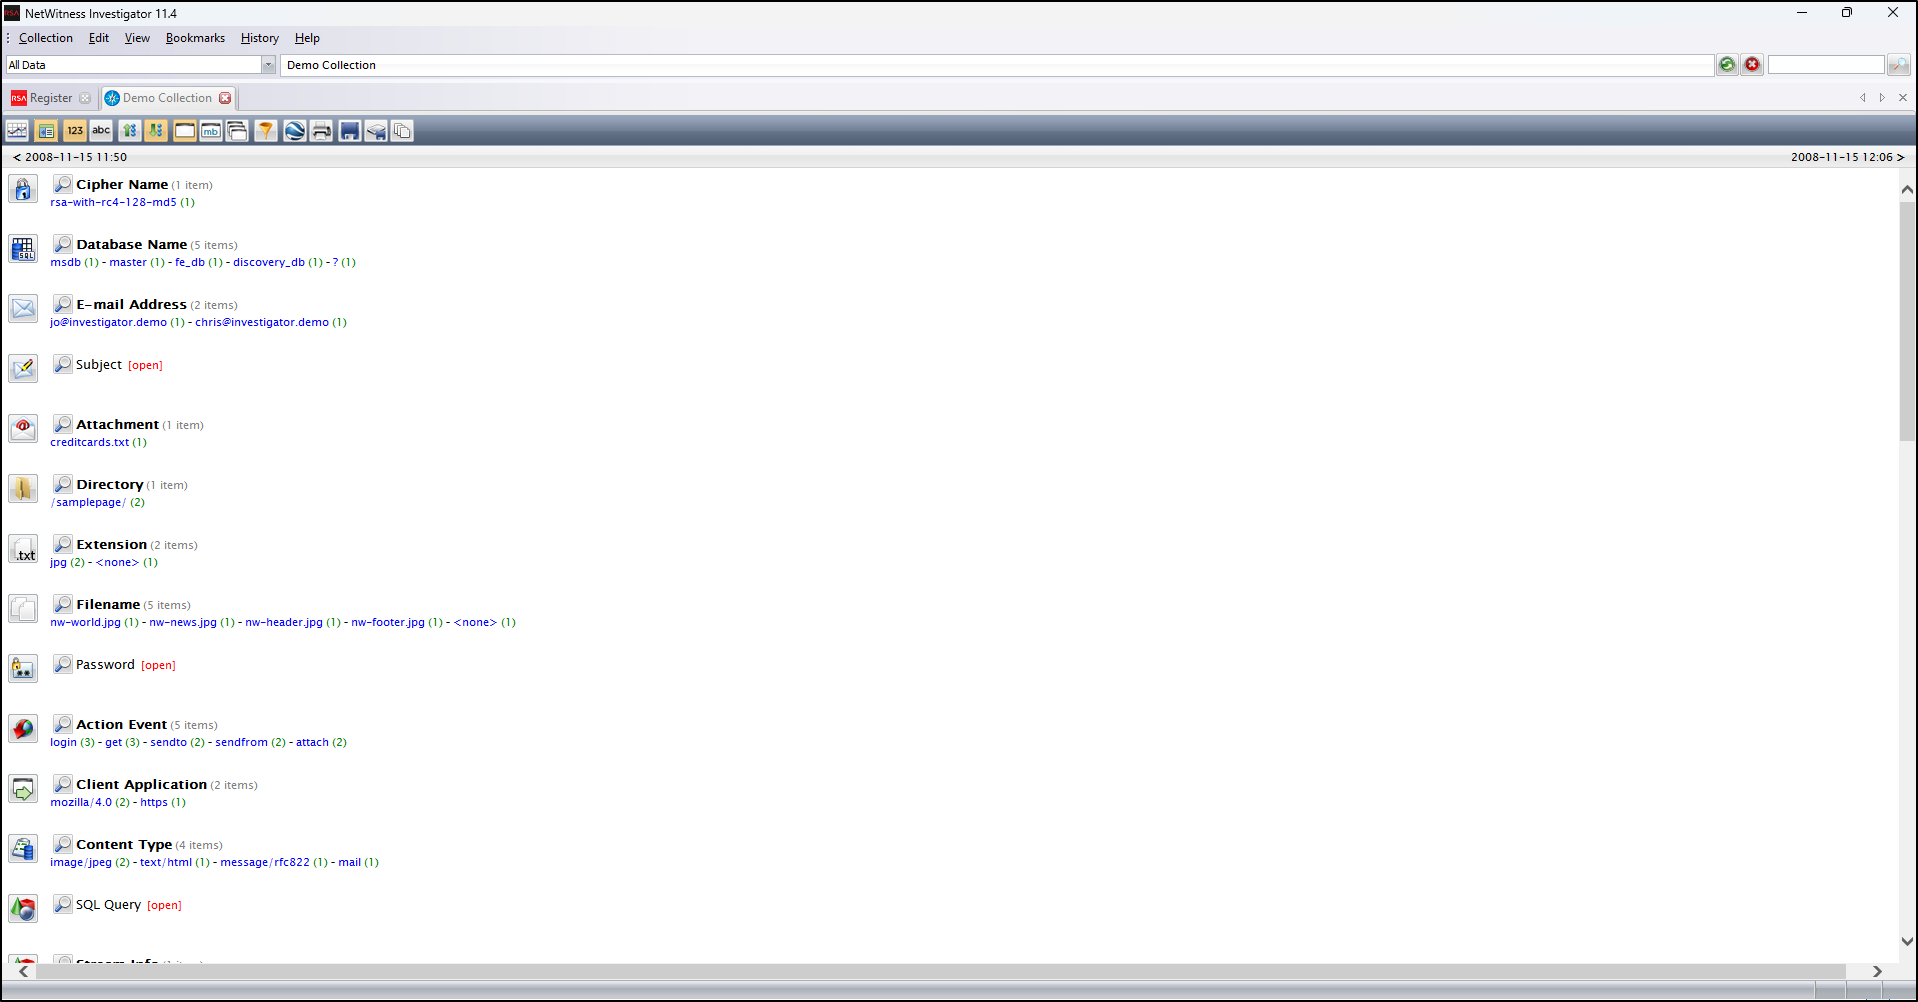
This will show sample data in the NetWitness Investigator.
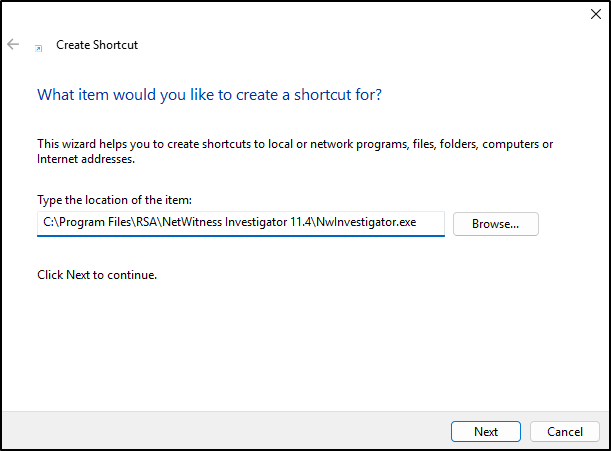
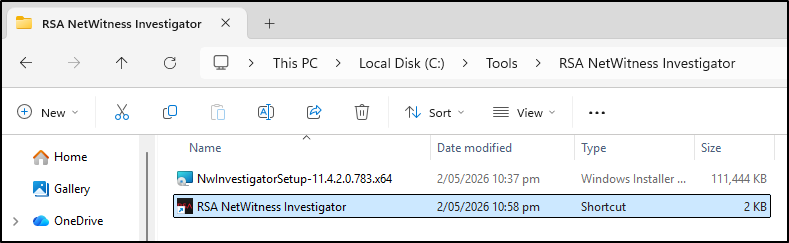
In the C:\Tools\RSA NetWitness Investigator, create a shortcut (Right-click → New → Shortcut).
For location, enter C:\Program Files\RSA\NetWitness Investigator 11.4\NwInvestigator.exe and click Next.
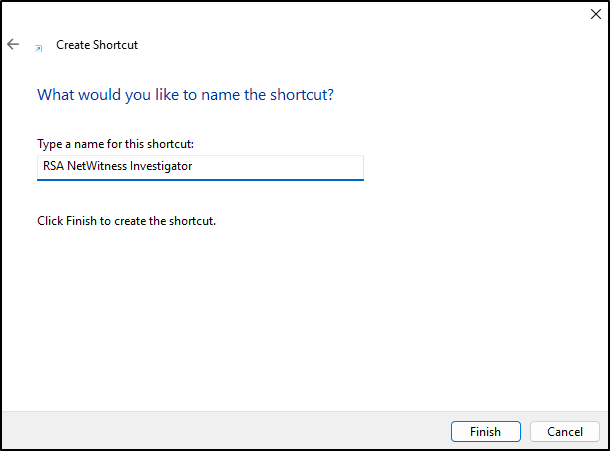
For name, enter RSA NetWitness Investigator and click Finish.
Open RSA NetWitness Investigator and confirm that the application starts without an error.
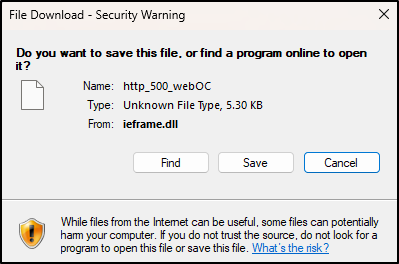
If prompted to download a file, click Cancel. This isn’t NetWitness itself downloading malware but it is actually a rendering issue with the embedded browser component. This is safe to ignore.
Analysing Network Traffic with NetWitness
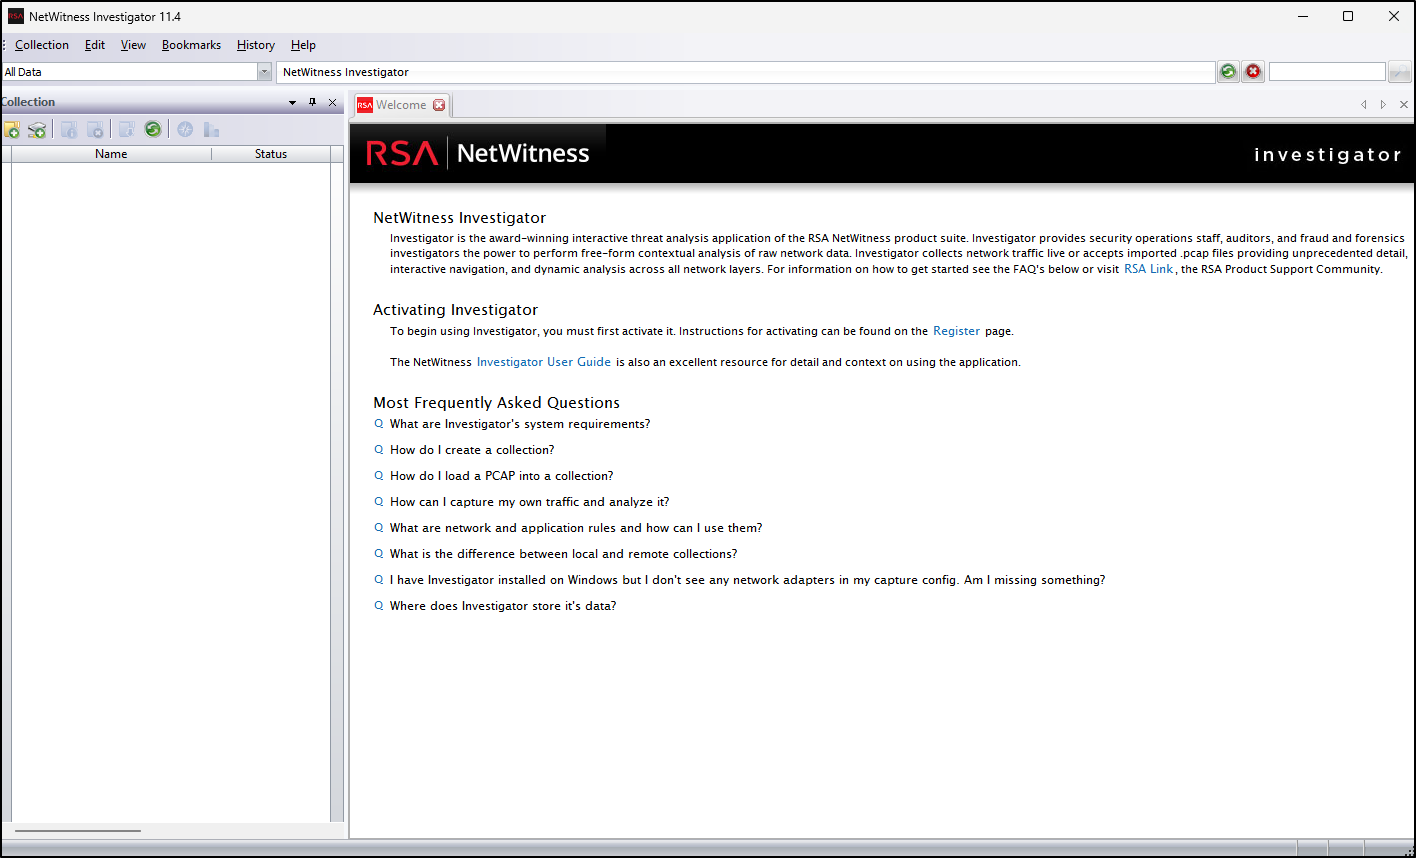
Open NetWitness Investigator
- Launch the tool by double-clicking
NwInvestigatoron the desktop. - When it opens, you will see a default demonstration dataset loaded.
- In NetWitness, a collection refers to a set of captured packets (e.g. a PCAP file) that you load for analysis.
Create a New Local Collection
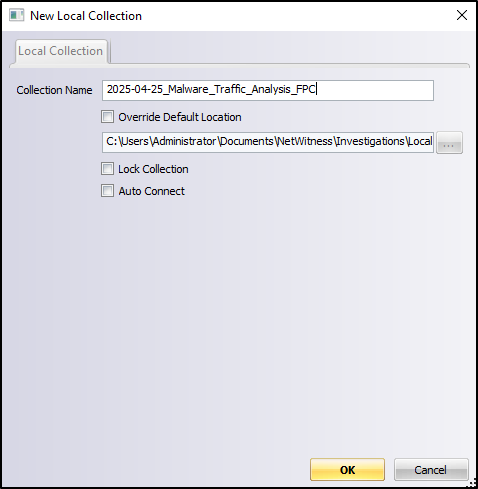
- On the left panel, right-click and select New Local Collection
- Give it a name like
2025-04-25_Malware_Traffic_Analysis_FPC - Note FPC means Full Packet Capture
Import PCAP Files
- Right-click the new collection and choose Connect
- Wait until the status changes to Ready
- Then right-click again and select Import Packets
- Browse to the folder containing your PCAP files (e.g.
Desktop\PCAP) - You may need to change the file filter to All Files (.) to see
.pcapfiles. - We will use PCAP files that are introduced in Malware Traffic Analysis using Wireshark.
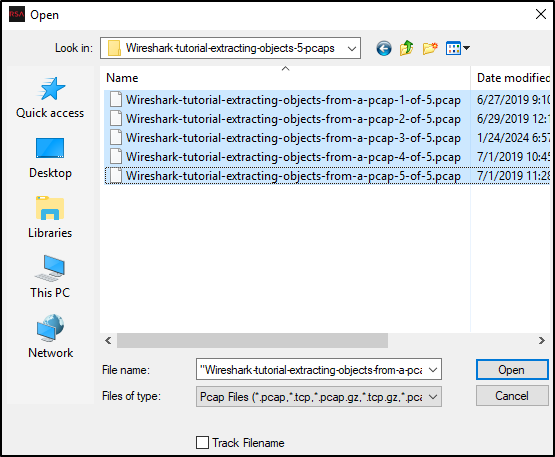
Navigate and Explore the Collection
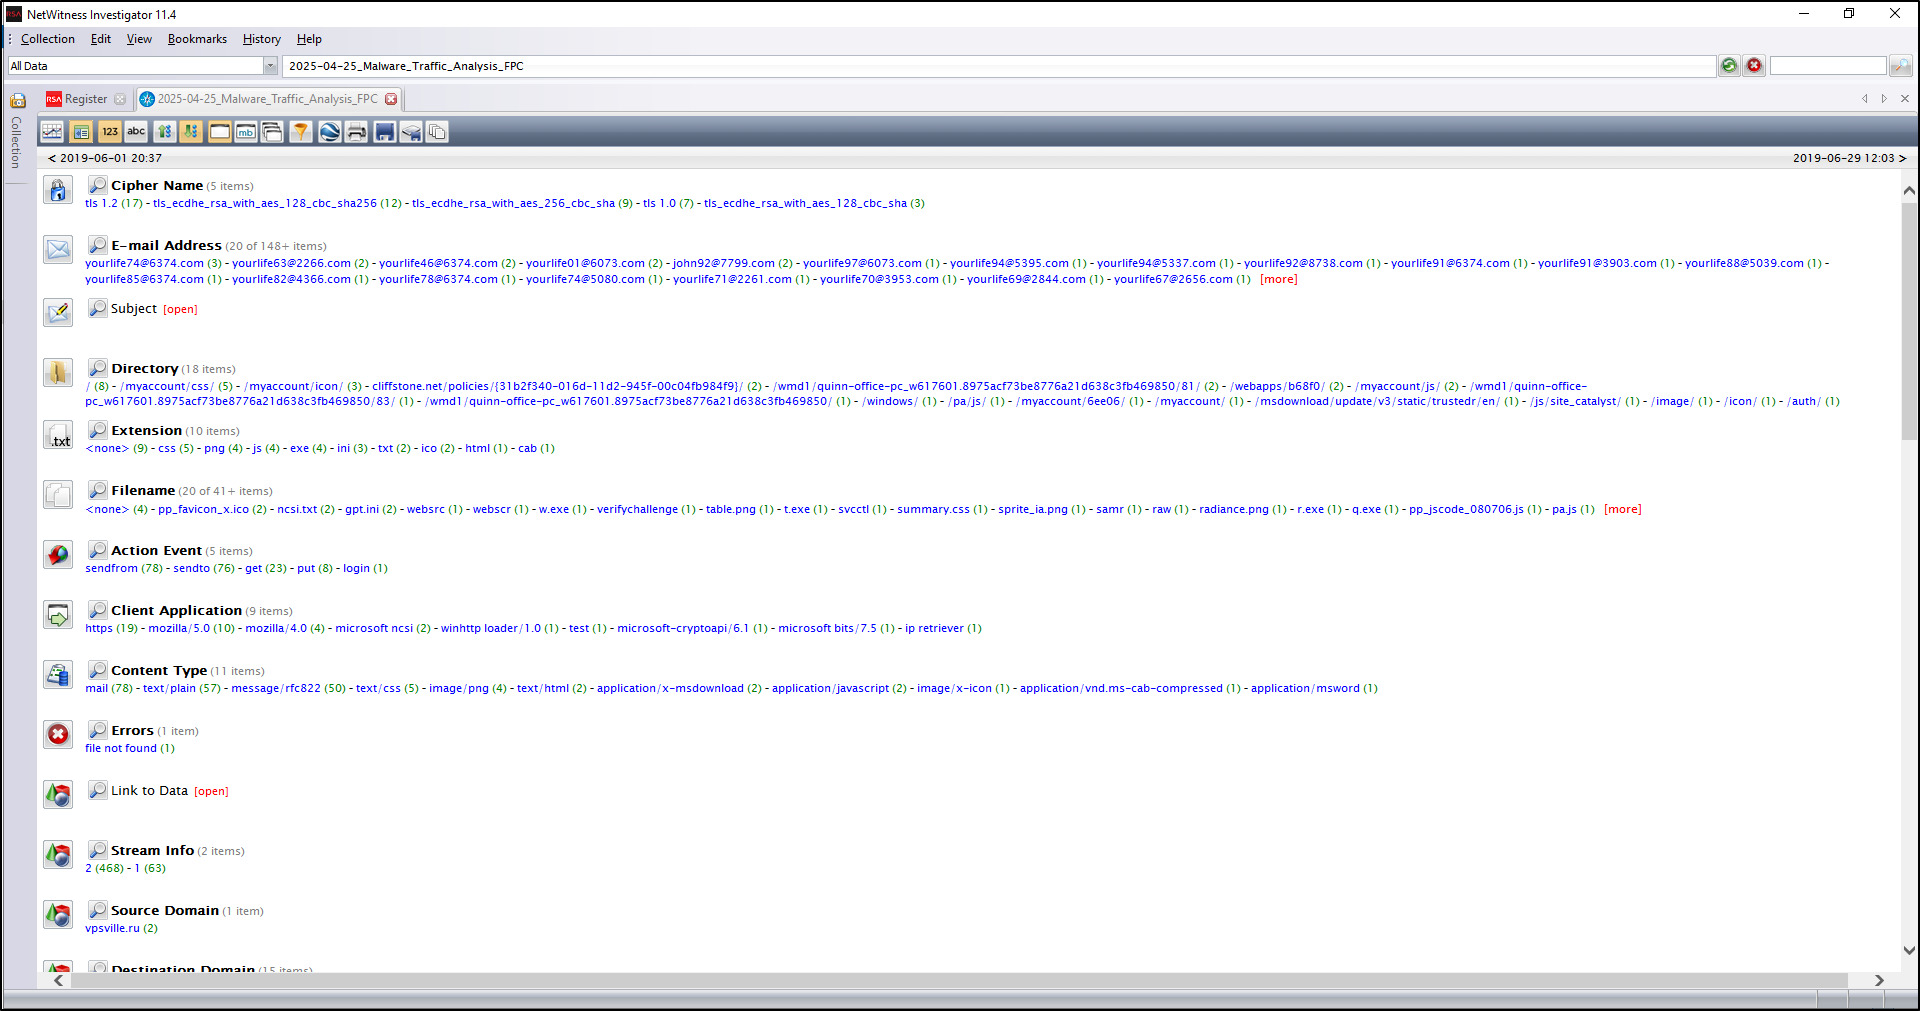
Once imported, right-click the collection and choose Navigate Collection.
This opens a detailed view grouped into categories like:
- Email address
- File attachment
- Domains and extensions
- Filenames and protocols
Investigate Email Subjects and Artefacts
Expand the list of Subjects, and click the number in brackets next to something suspicious (e.g. “hurry up and pay! - ganjaman”).
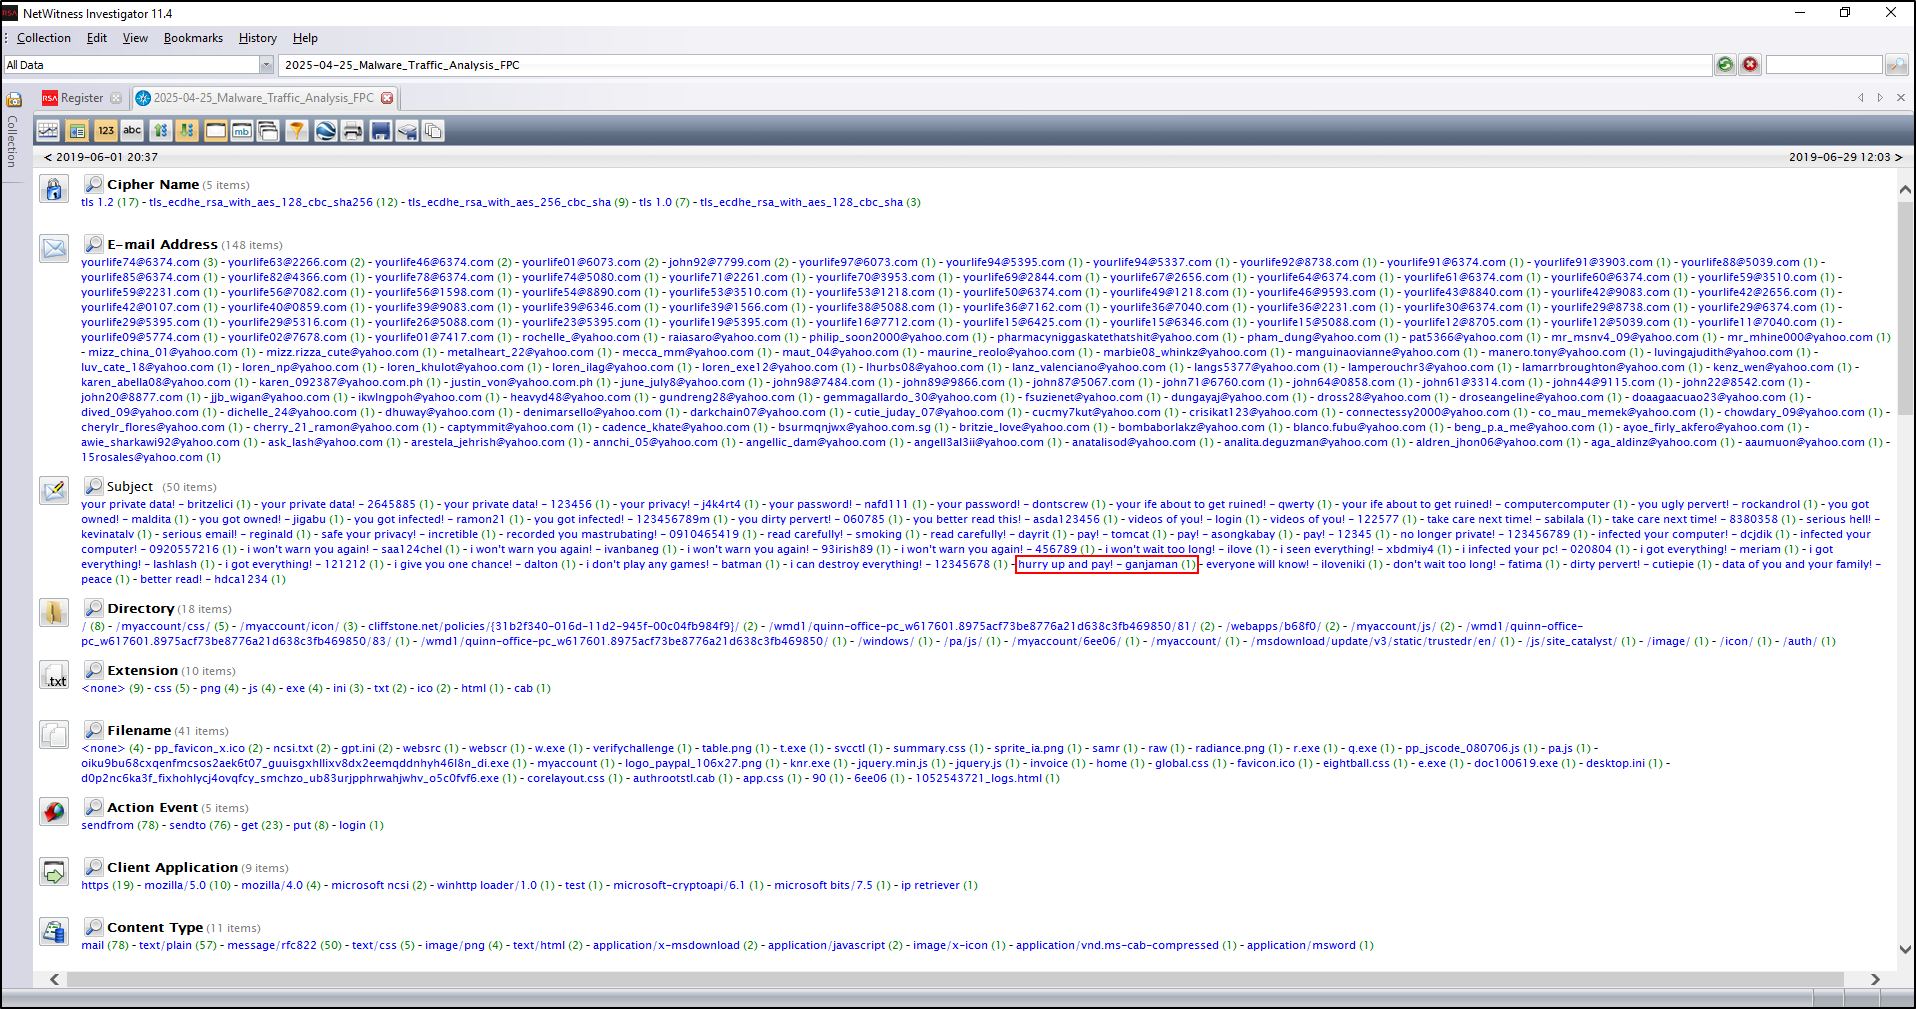
Each entry represents a network session, which you can reconstruct.
Click View on the first result to see the original email contents reconstructed from the packet data.
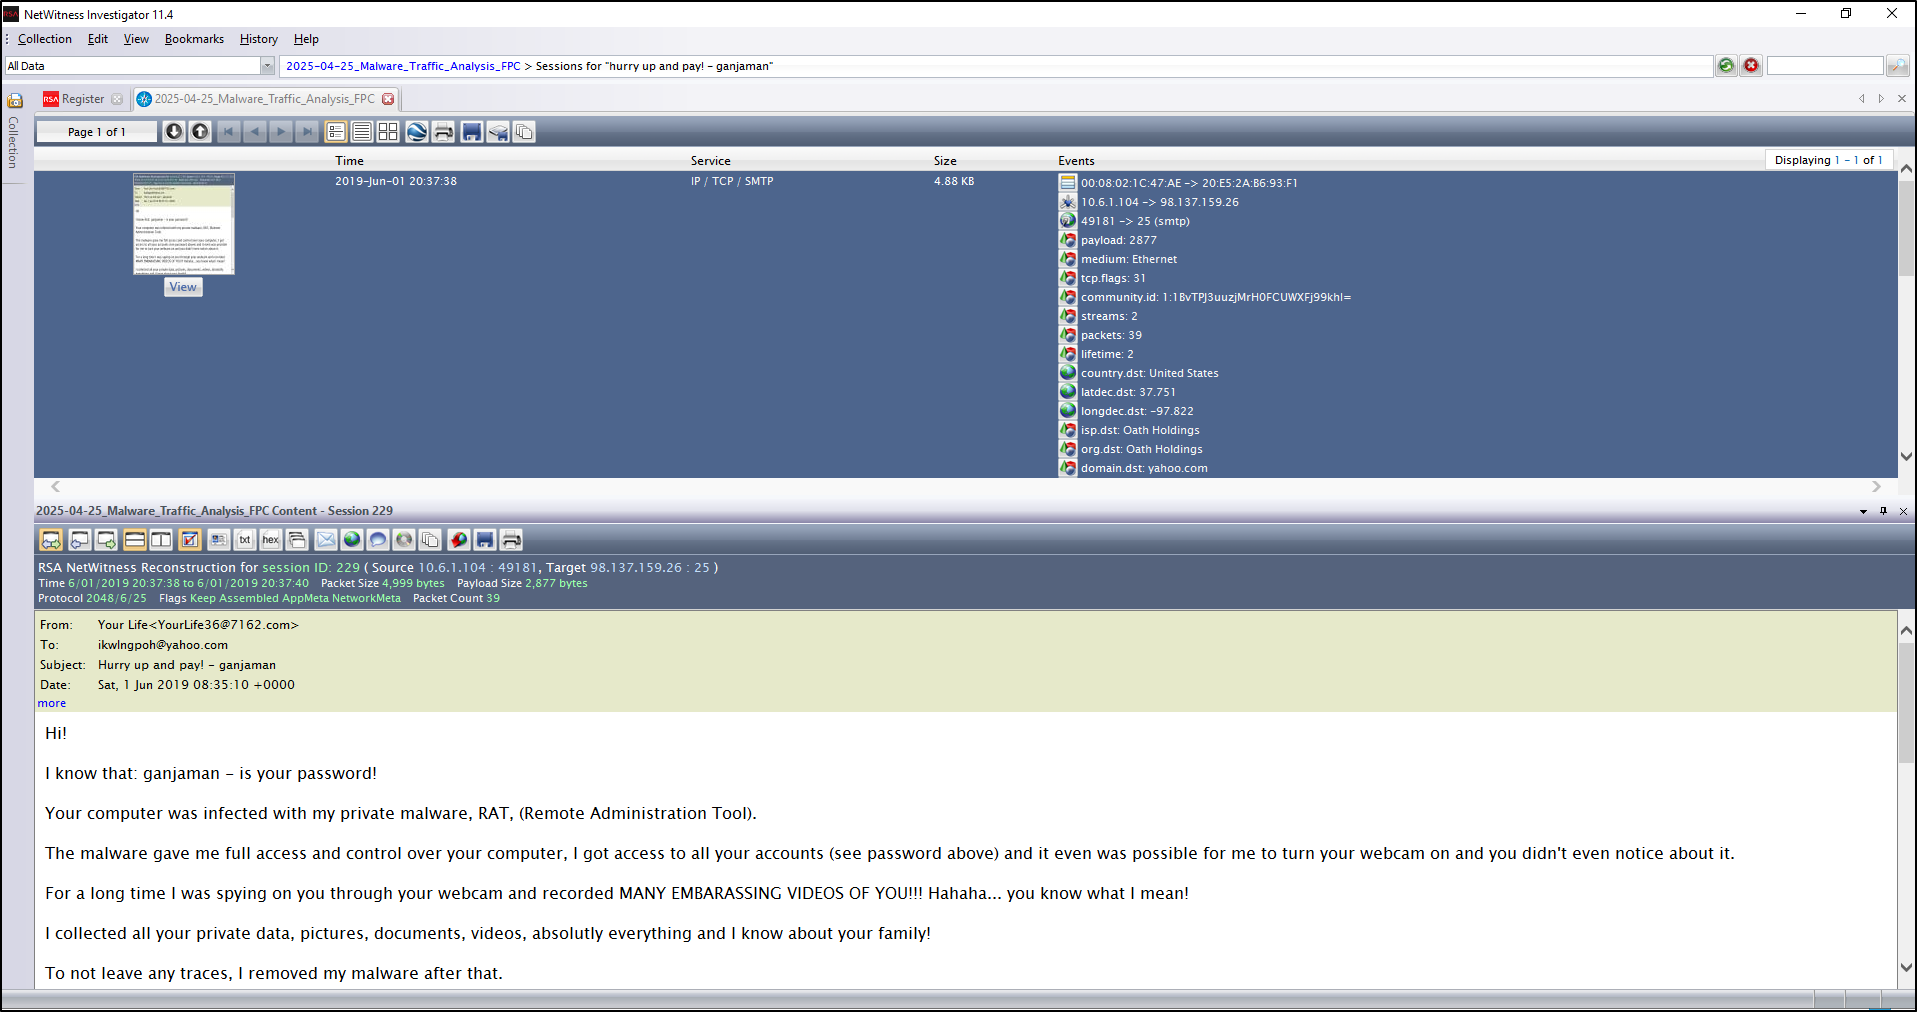
This is useful for identifying:
- Phishing lures
- Malicious attachments
- Suspicious sender addresses
- Remote command payloads