MFTECmd
What MFTECmd does
Guided SUSA tool journey
MFTECmd supports timeline and correlation. In this guide, you will use it to parse MFT data and create a focused, traceable file-activity timeline. The procedure and screenshots provide the practical reference; the surrounding context explains what to record and how to judge the result.
Tool guide at a glance
Parse MFT data and create a focused, traceable file-activity timeline.
Verified training artefacts with known source time zones and provenance.
A normalised, filtered timeline whose important rows remain traceable to source evidence.
Evidence and safety
Retain original timestamp values and precision. Chronological proximity does not prove causation. Record the input identifier, tool version, relevant commands or settings, time and time zone, output location, and any errors or limitations as you work.
Choose your journey
01Understand the evidenceLearn the timeline and correlation concepts and limitations.Complete when you can explain what the evidence can and cannot show.Beginner · No tool required · 15–25 min 02Follow the MFTECmd guideWork through the commands, screenshots, and instructional sequence below.Complete when the documented workflow produces its expected output.Guided · SUSA workstation · Time varies 03Interactive labPractise the tool workflow in a safe browser simulation.Complete when the guided result is supported by the case evidence.Beginner · Browser only · 10–20 min 04Full LabInvestigate an authorised training scenario with fewer prompts and preserve a reviewable result.Complete when another analyst can reproduce and verify the outcome.Intermediate · Isolated lab · 45–90 min
How the labs complement this guide
The Interactive Lab is a safe browser simulation for practising the workflow and validation logic. The Full Lab is an independent exercise for an isolated, authorised environment. Confirm the installed tool version and expected output before relying on either exercise in a real case.
Accessing MFTECmd in SUSA
MFTECmd is a command-line digital forensics tool that parses the Master File Table ($MFT) on NTFS file systems. The $MFT is one of the most valuable forensic artefacts on Windows because it contains metadata about every file and directory on an NTFS volume. MFTECmd is installed as part of the Eric Zimmerman tool.
Create a triage image with KAPE
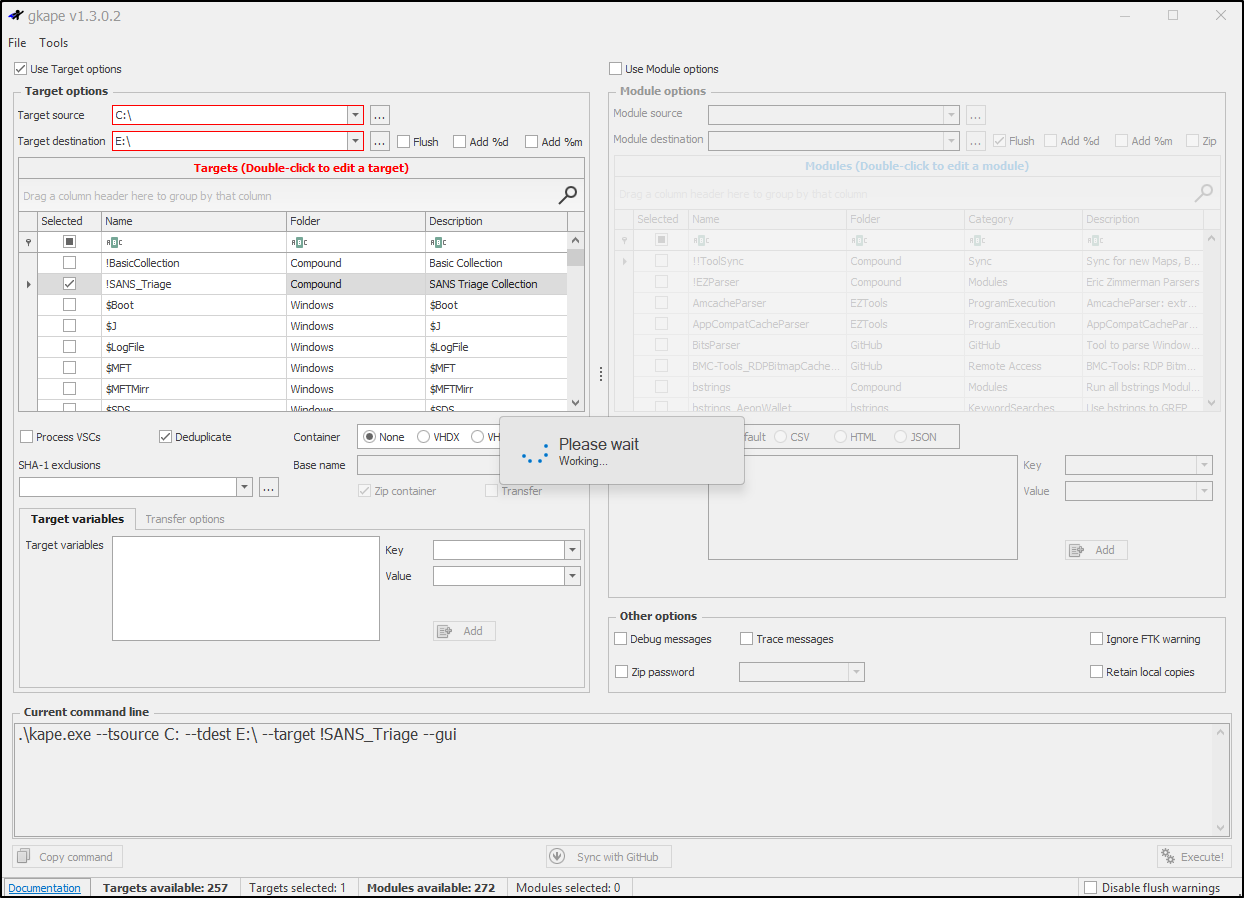
On the authorised target Windows VM, transfer KAPE and run gkape.exe.
Select C drive as the Target source and E drive as the Target destination. Uncheck Flush. Select SANS_Triage and None for the Container. Click Execute.
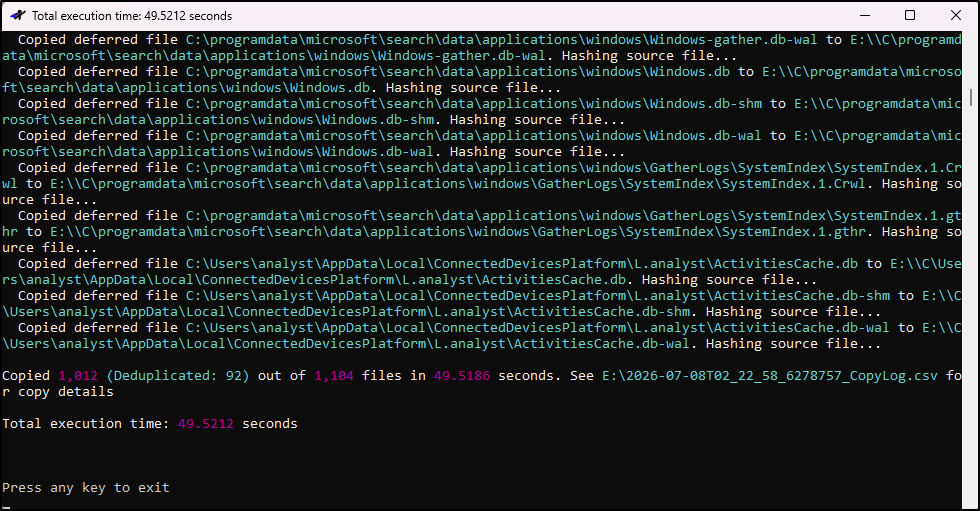
A terminal opens and displays KAPE's processing progress.
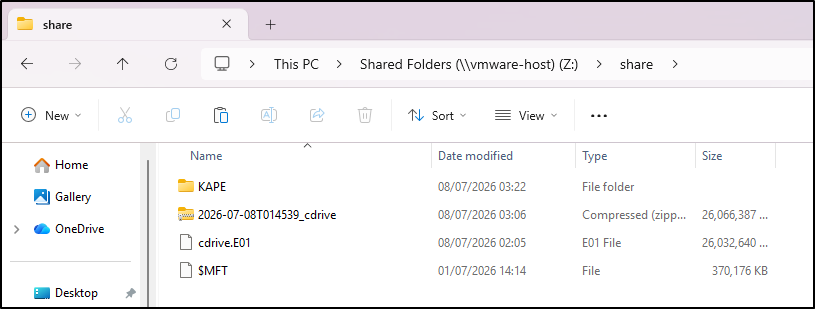
Once triage is complete, copy $MFT to the DFIR VM. This example uses a host shared folder named share to transfer files between the Windows and DFIR VMs. Record the source, collection time and hash before analysing the copy.
Create a triage timeline body file with MFTECmd
Copy $MFT from share folder to the Downloads folder.
Open an administrator Command Prompt and run the following command to create triage timeline bodyfile:
MFTECmd.exe -f "C:\Users\analyst\Downloads\$MFT" --body "G:\timeline" --bodyf mft.body --blf --bdl C:
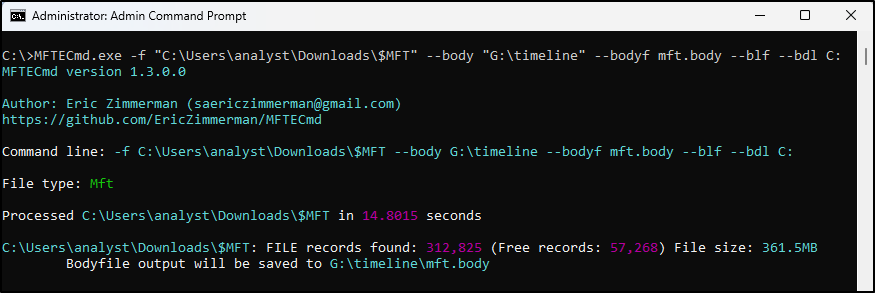
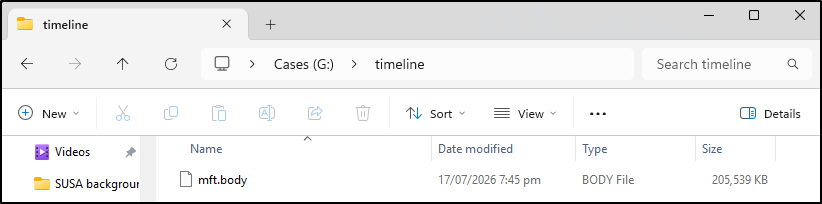
This body file will later be used to produce a timeline.
Output MFT metadata to CSV format
Run the following command to output MFT metadata to CSV format:
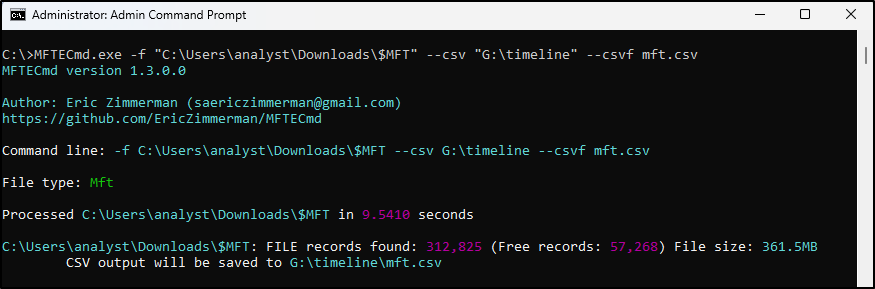
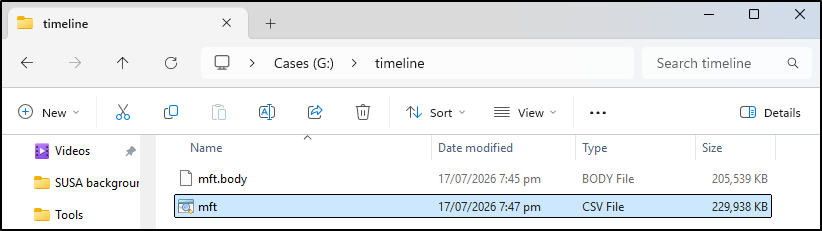
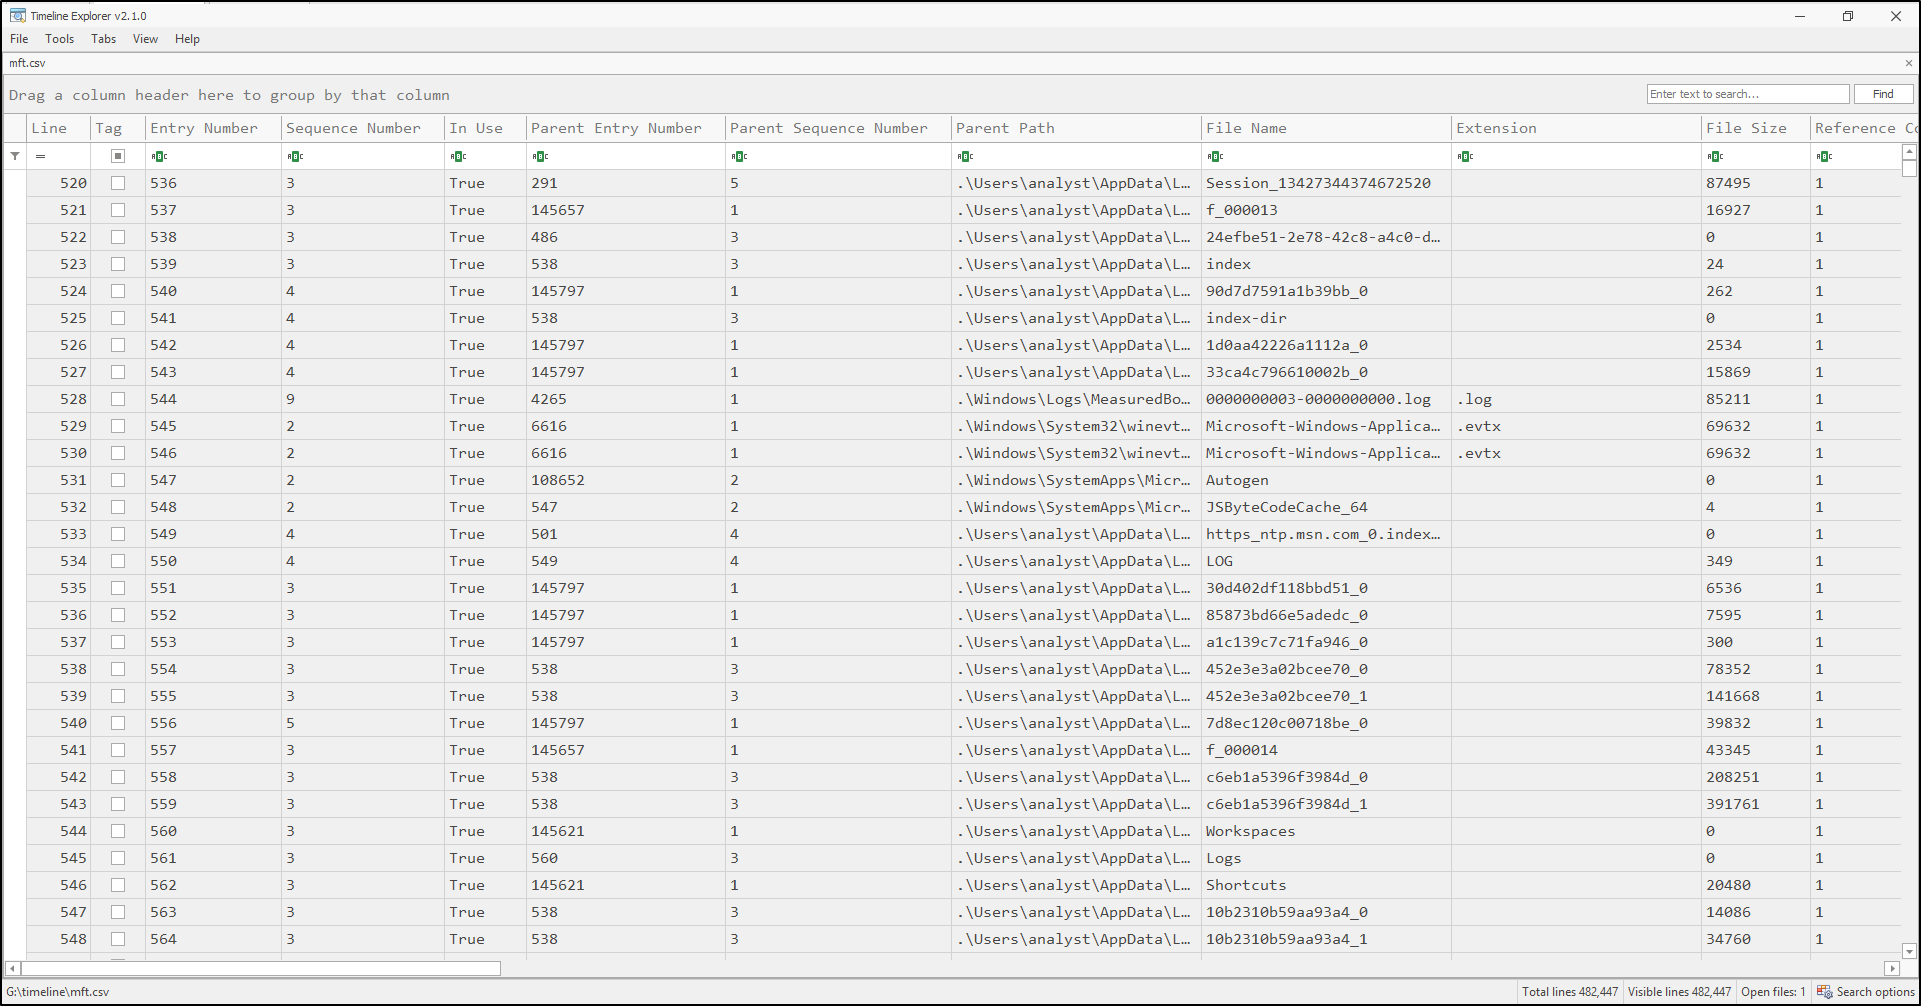
The mft.csv can be opened in Timeline Explorer.