Create and Verify an Image
This preserved procedure was demonstrated with FTK Imager 4.7.3.81. Labels may differ in later releases.
Authorisation and destination required
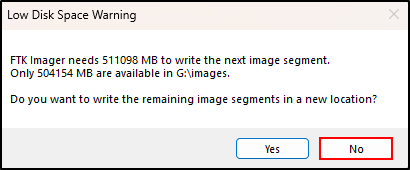
Use an authorised training source and a separate controlled destination with sufficient free space. Do not continue past a low-space warning merely to complete an acquisition.
Select the evidence source
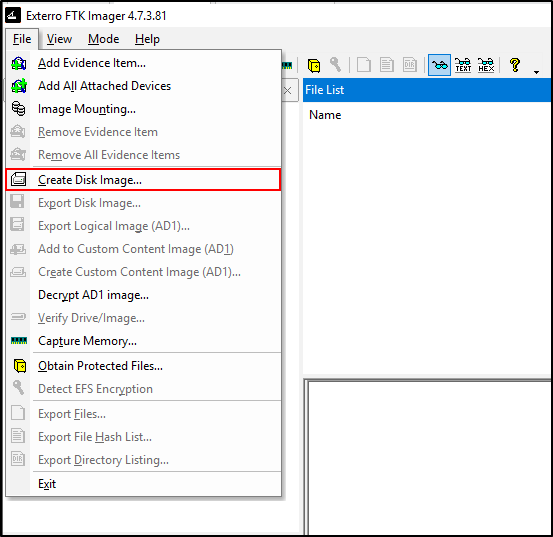
Open FTK Imager and select File → Create Disk Image.
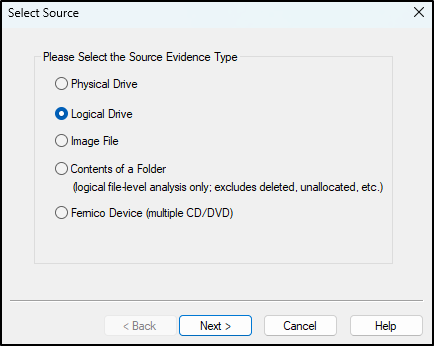
Select Logical Drive for a single accessible volume such as C:.
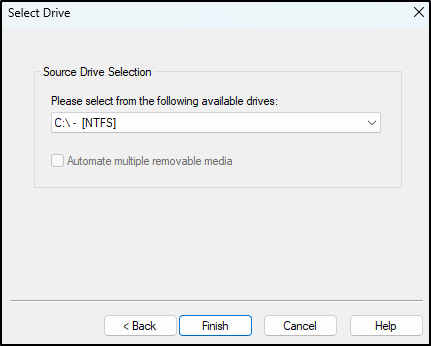
Choose the authorised training drive.
Configure the image
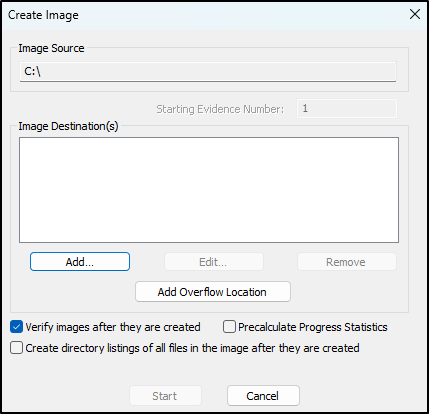
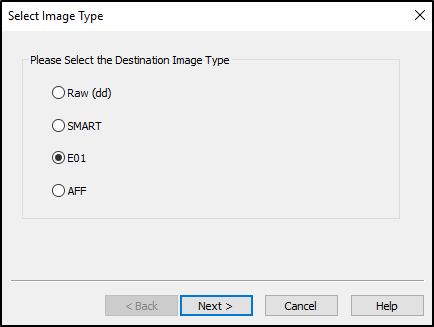
Select Add to configure a destination. Choose E01 when compression, metadata and embedded integrity information suit the acquisition plan, then select Next.
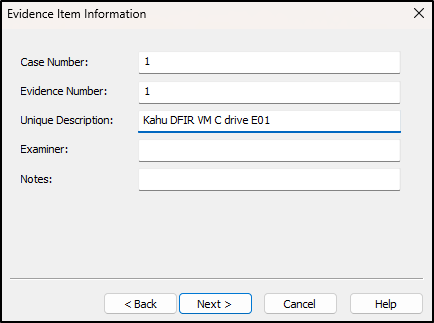
Enter the available evidence-item information, including case number, evidence number and a unique description. Although the fields may be optional in the interface, meaningful identifiers improve traceability.
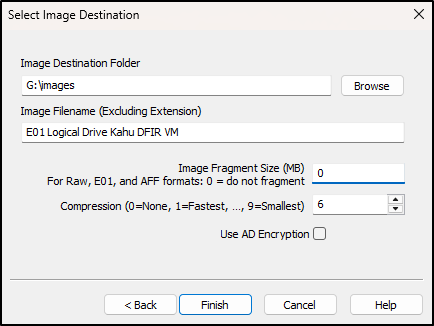
Set the destination folder to a separate controlled volume such as G:\images. Set a clear filename, choose the required fragment size and compression, and retain Verify images after they are created.
Acquire and verify
Review the source, destination and settings, then select Start.
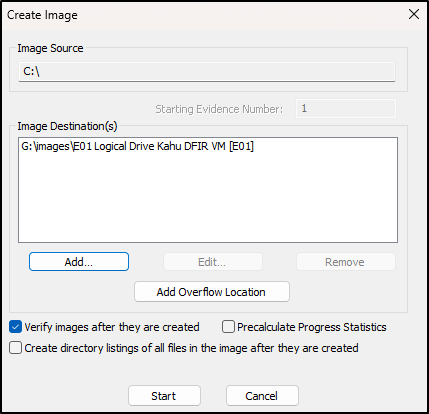
If FTK Imager reports insufficient destination space, stop and correct the acquisition plan. The earlier source demonstration selected No only because it was testing the function; do not rely on compression to make an undersized destination safe.
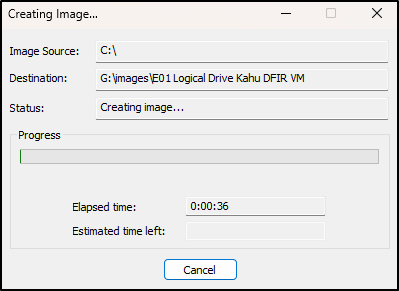
Monitor acquisition progress and record read errors, interruptions or changes to the plan.
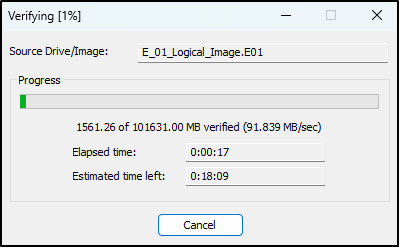
If verification was selected, FTK Imager calculates and compares integrity values after acquisition.
Review and retain the imaging summary, acquisition log and verification results with the image.

Completion evidence
Retain the source identifier, image filename and format, acquisition and verification hashes, start and finish times, tool version, settings, errors, destination and operator notes. Create a verified working copy before analysis where your procedure requires one.