Install and Prepare Mft2Csv
Download and preserve the tool
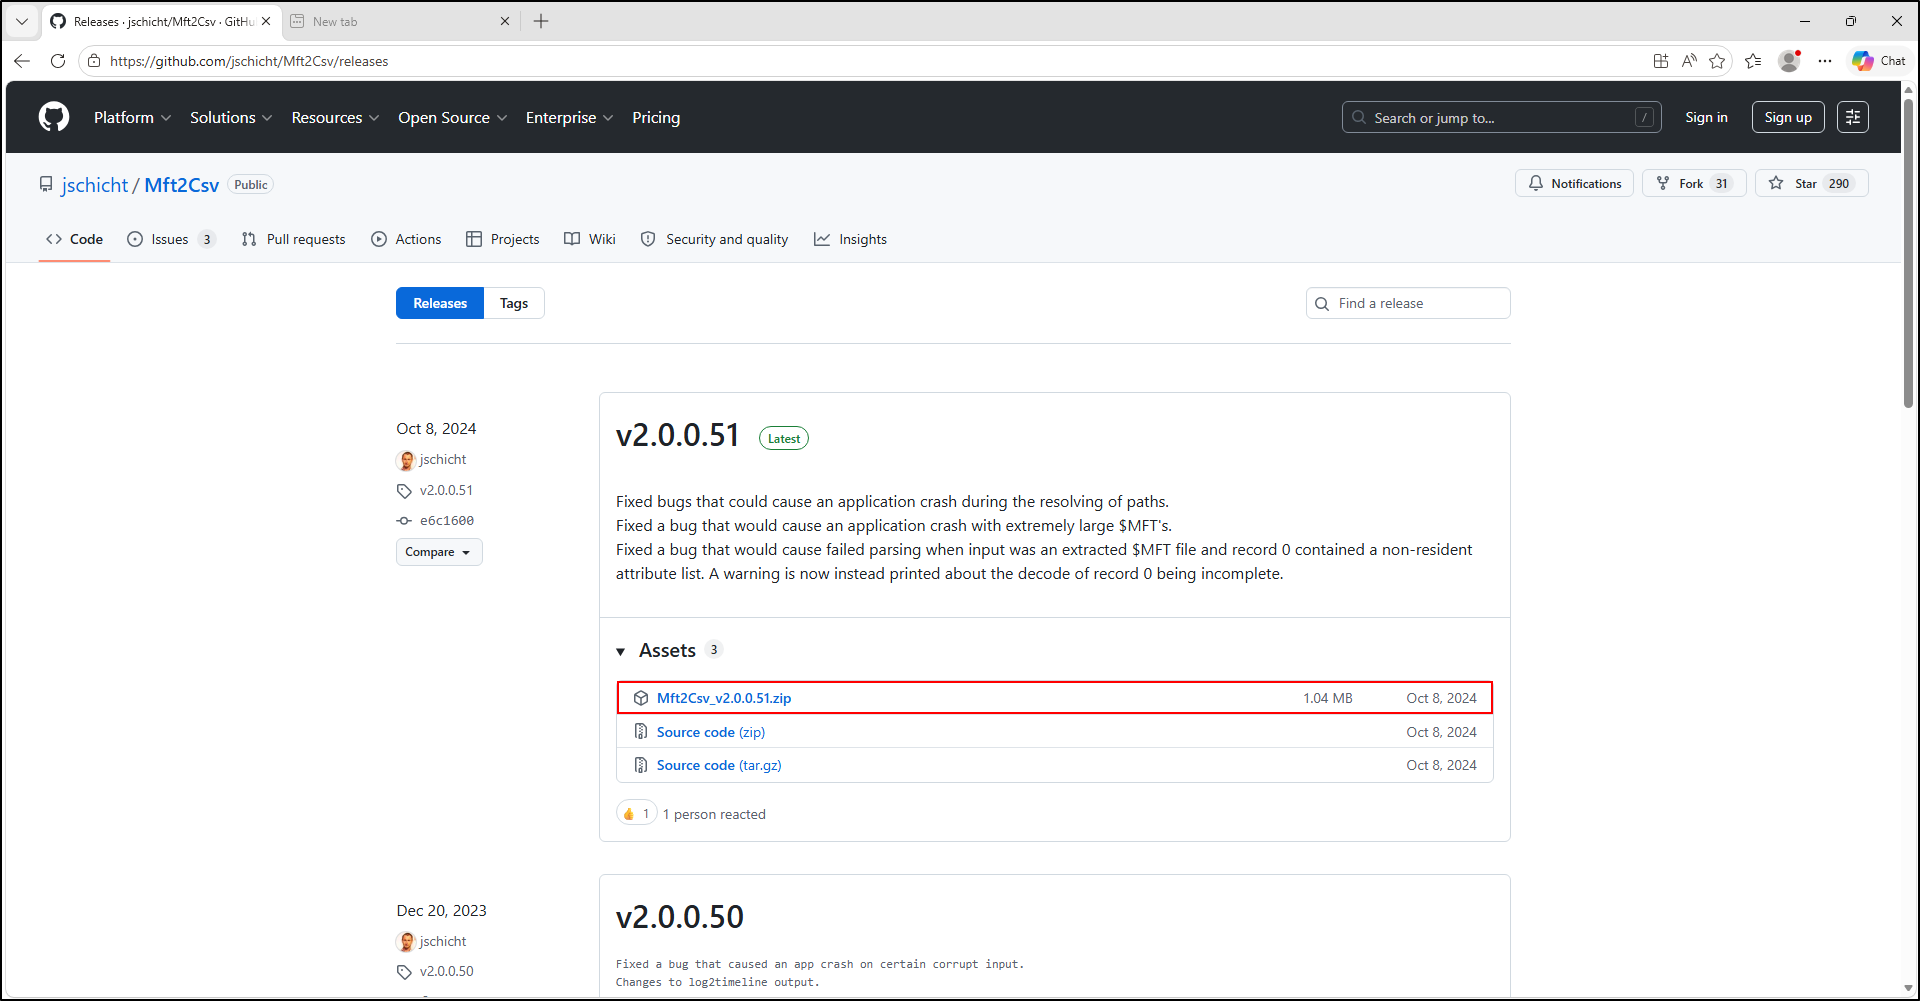
Download Mft2Csv from the author's GitHub releases and extract the package to:
1 · Acquire
Use the author's release archive. Do not substitute an unknown mirror when provenance matters.
2 · Verify
Record the archive and executable hashes, release version, and any security-control alerts or blocked files.
3 · Separate
Keep the application, protected evidence, working input, CSV output, logs, and notes in distinct locations.
Prepare the evidence boundary
For a routine offline examination, use an already extracted $MFT from an authorised image or collection. Retain the protected source and create a verified working copy.
- Identify the source
Record the case, host, volume, acquisition method, collection time, time-zone context, byte size, and SHA-256. - Verify the working copy
Confirm its byte size and hash match the retained source before selecting it in Mft2Csv. - Choose one input route
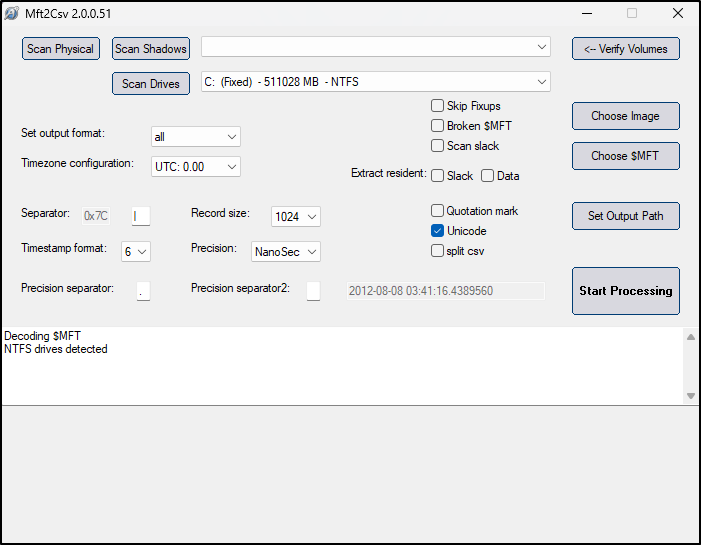
For beginners, prefer Choose$MFT. Image, physical-drive, mounted-volume, shadow-copy, partial-record, and memory-carved workflows have different risks. - Pre-create the output directory
Do not allow output to default into the tool or protected-evidence directory. Use a named case output folder.
Live and physical-drive modes change the risk boundary
Mft2Csv can read mounted volumes and physical drives, but a convenient live source is not automatically the right forensic source. Use those modes only when authorised and document system state, access method, privileges, time, and collection impact.
Launch the interface
Double-click the correct executable for the analysis workstation, normally Mft2Csv64.exe on 64-bit Windows. Record the version displayed in the title bar.
Before continuing
You should be able to name the protected source, matching working copy, output directory, target time-zone basis, and Mft2Csv version without relying on memory.