Create and Analyse an Autopsy Case
Use a verified working image and a separate case directory. This guide preserves the original SUSA examples while organising them around decisions an analyst must record.
Create the case
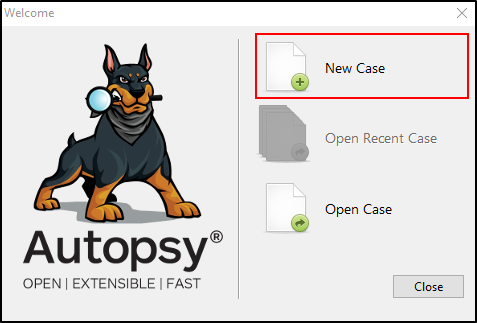
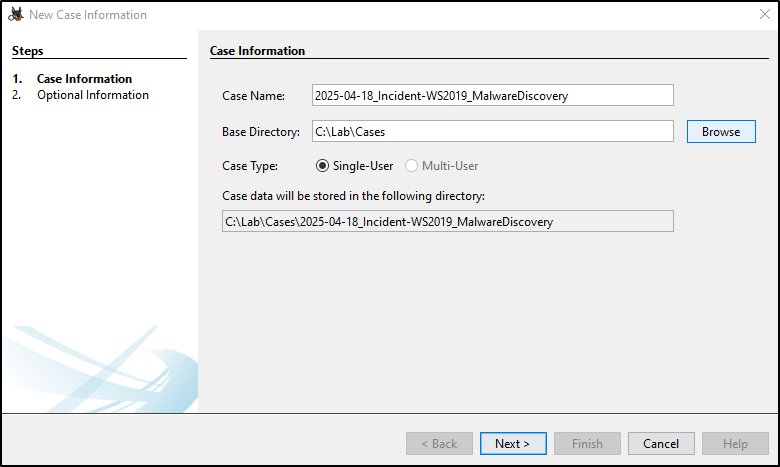
From the welcome screen, select New Case. Use a descriptive case name such as
2025-04-18_WS2019_MalwareIncident and store the case under C:\Labs\Cases.
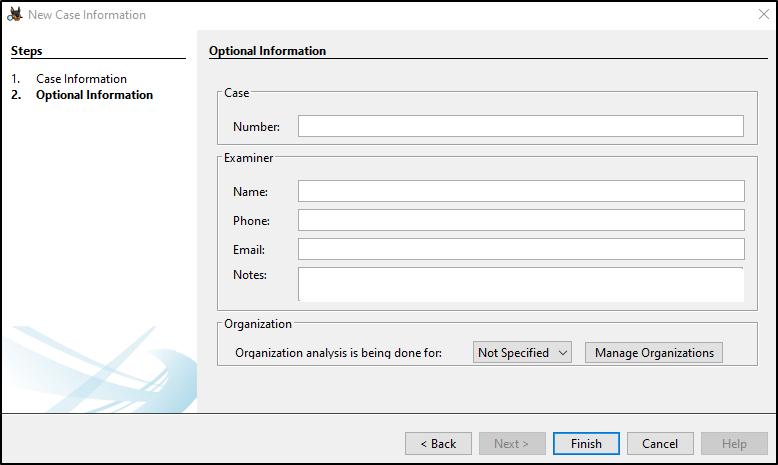
Complete or intentionally omit the optional case number and examiner details,
then select Finish.
Add the verified image
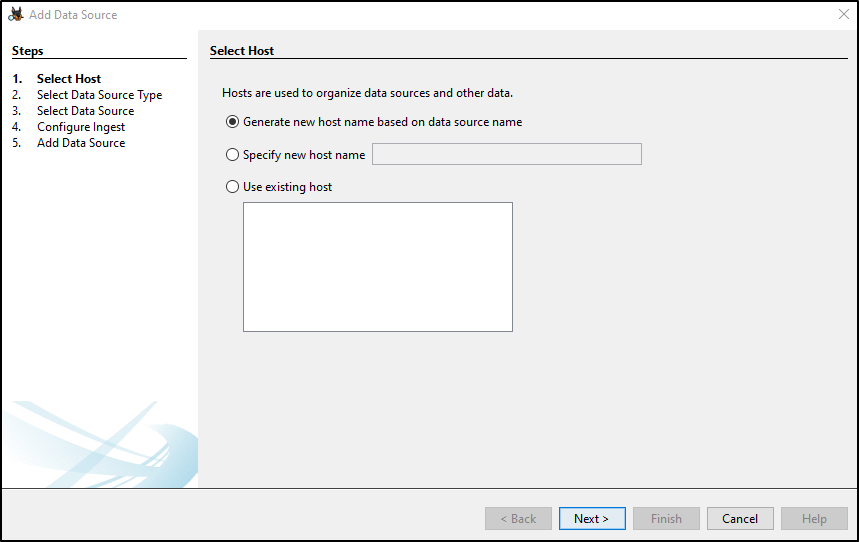
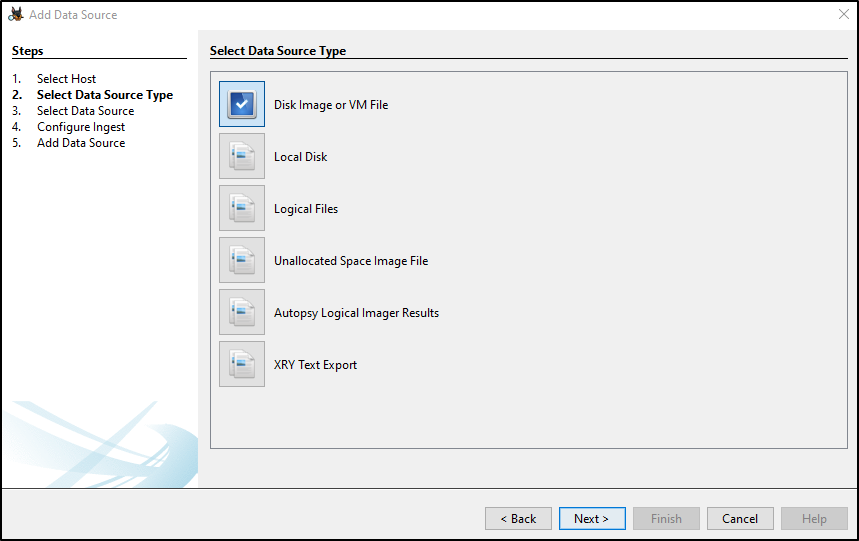
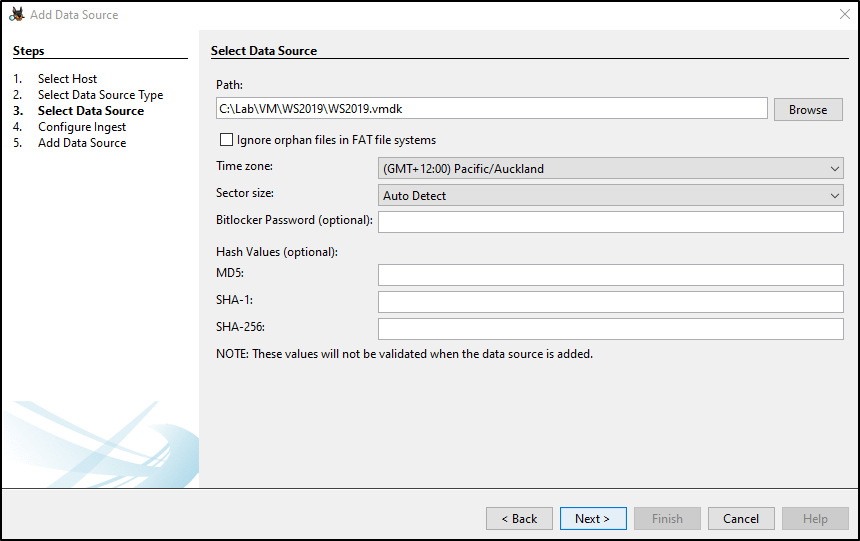
Autopsy organises data sources under hosts. Use the generated host name unless the case plan specifies a recorded host identity, choose Disk Image or VM File, and browse to the verified FTK Imager output or training VMDK.
Configure ingest proportionately
Ingest modules derive results such as recent activity, hash matches, file types, keywords and browser artefacts. Select only modules relevant to the question, record their settings, and note that Deselect All supports focused manual browsing but produces fewer derived results.
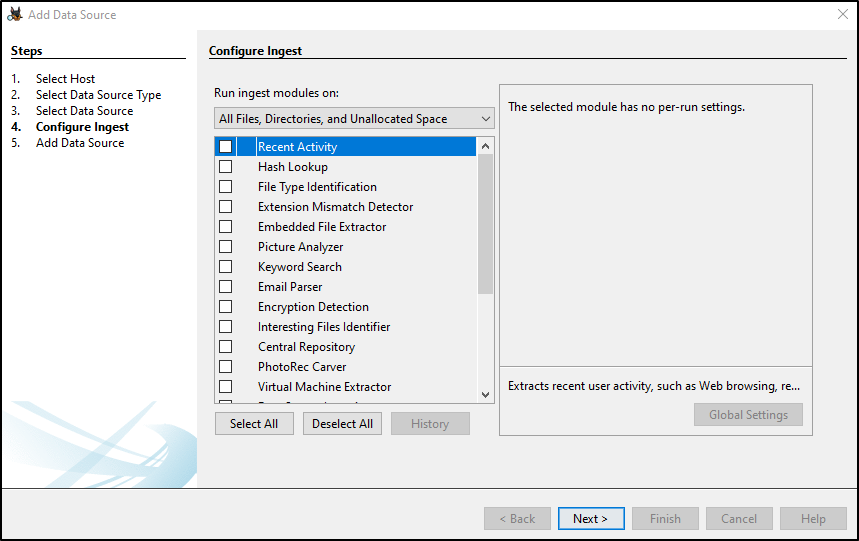
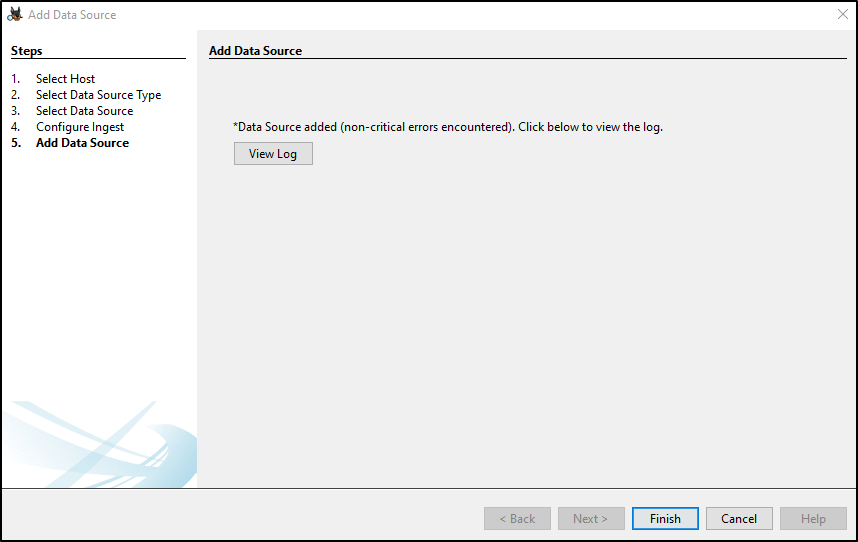
Select Next, review the summary, and select Finish to add the source.
Examine and correlate leads
Once loaded, use the tree to retain path context and the listing, metadata and
content panes to inspect a selected item. Useful starting locations include
Users, AppData, Windows\System32\config and $Recycle.Bin; they are leads,
not proof of activity by themselves.
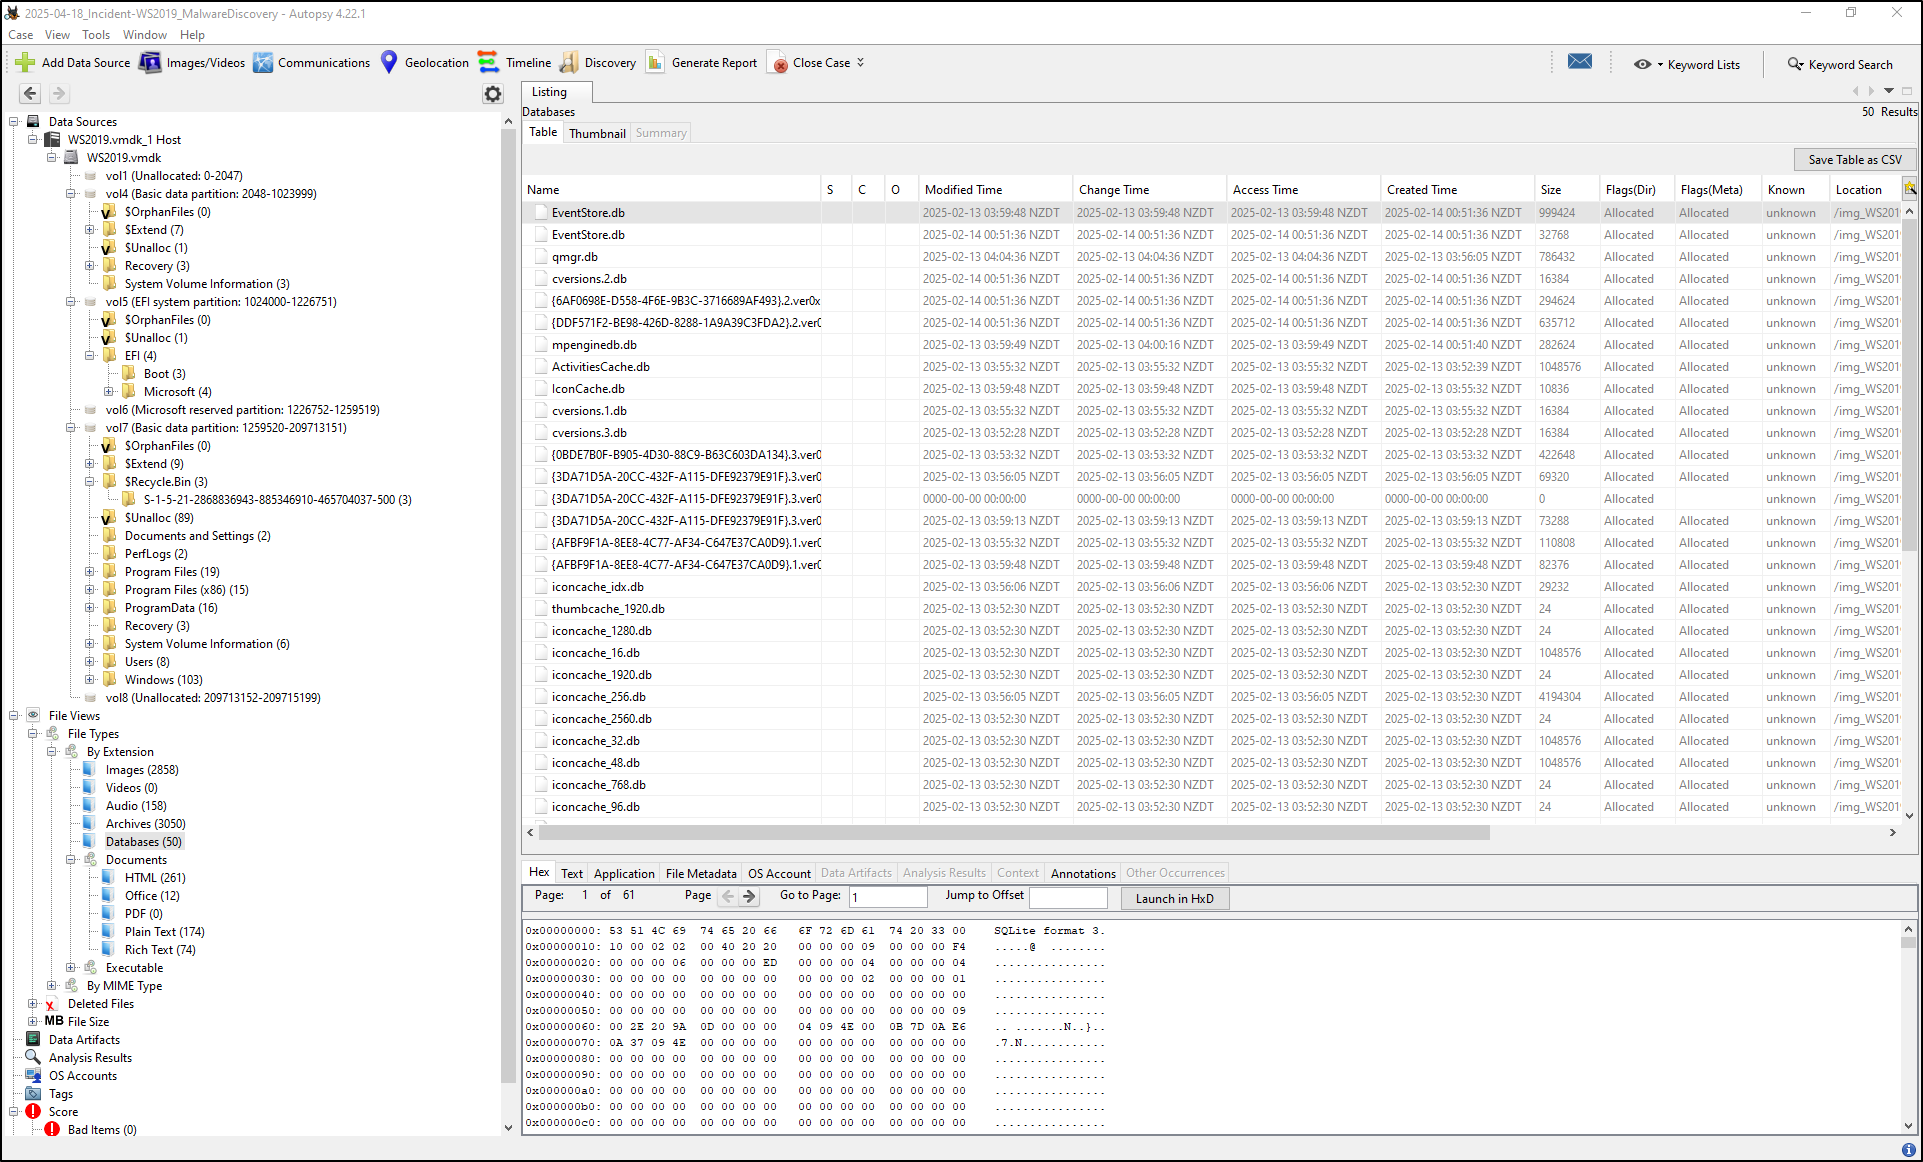
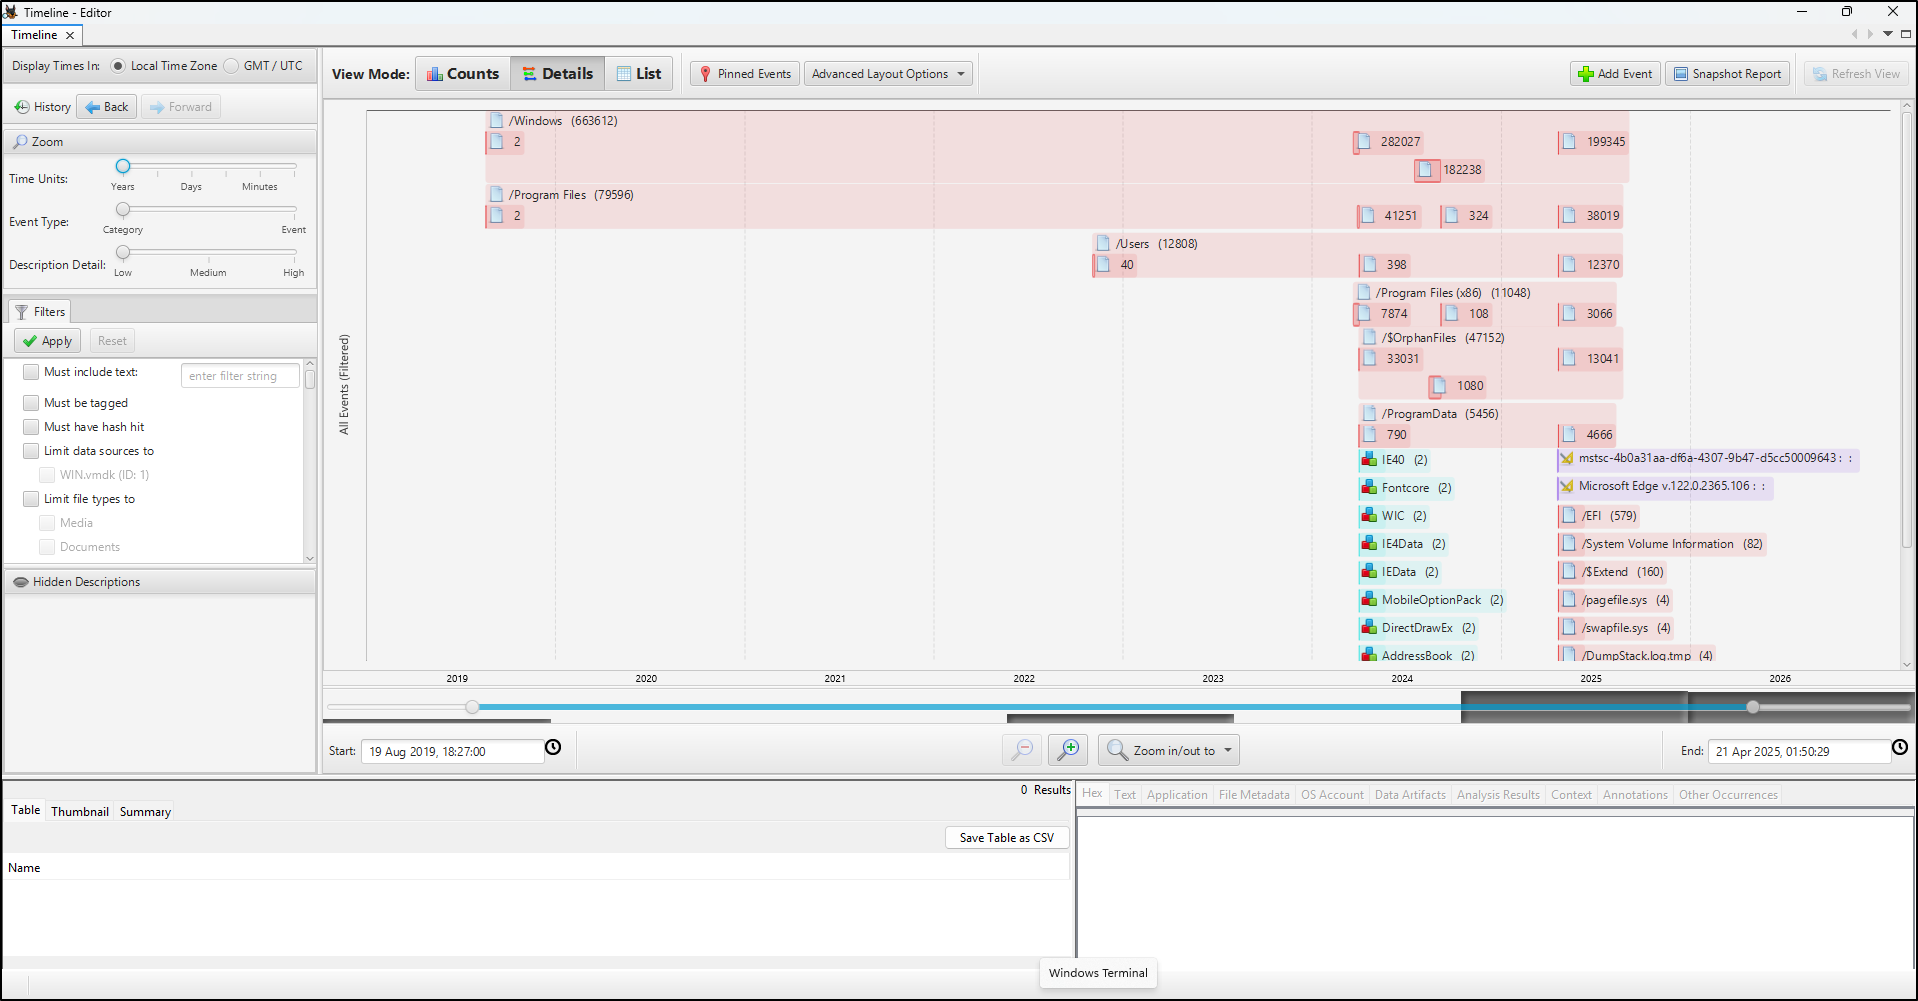
Add time context
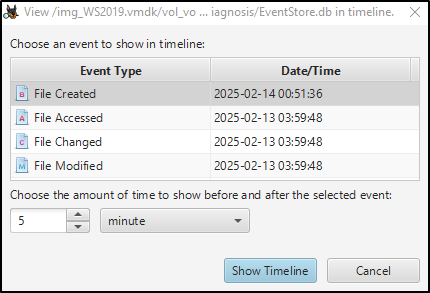
Right-click a relevant file such as EventStore.db, choose View File in
Timeline, select a bounded range, and record the timestamp type and displayed
time zone. Timeline proximity supports correlation but does not establish cause.
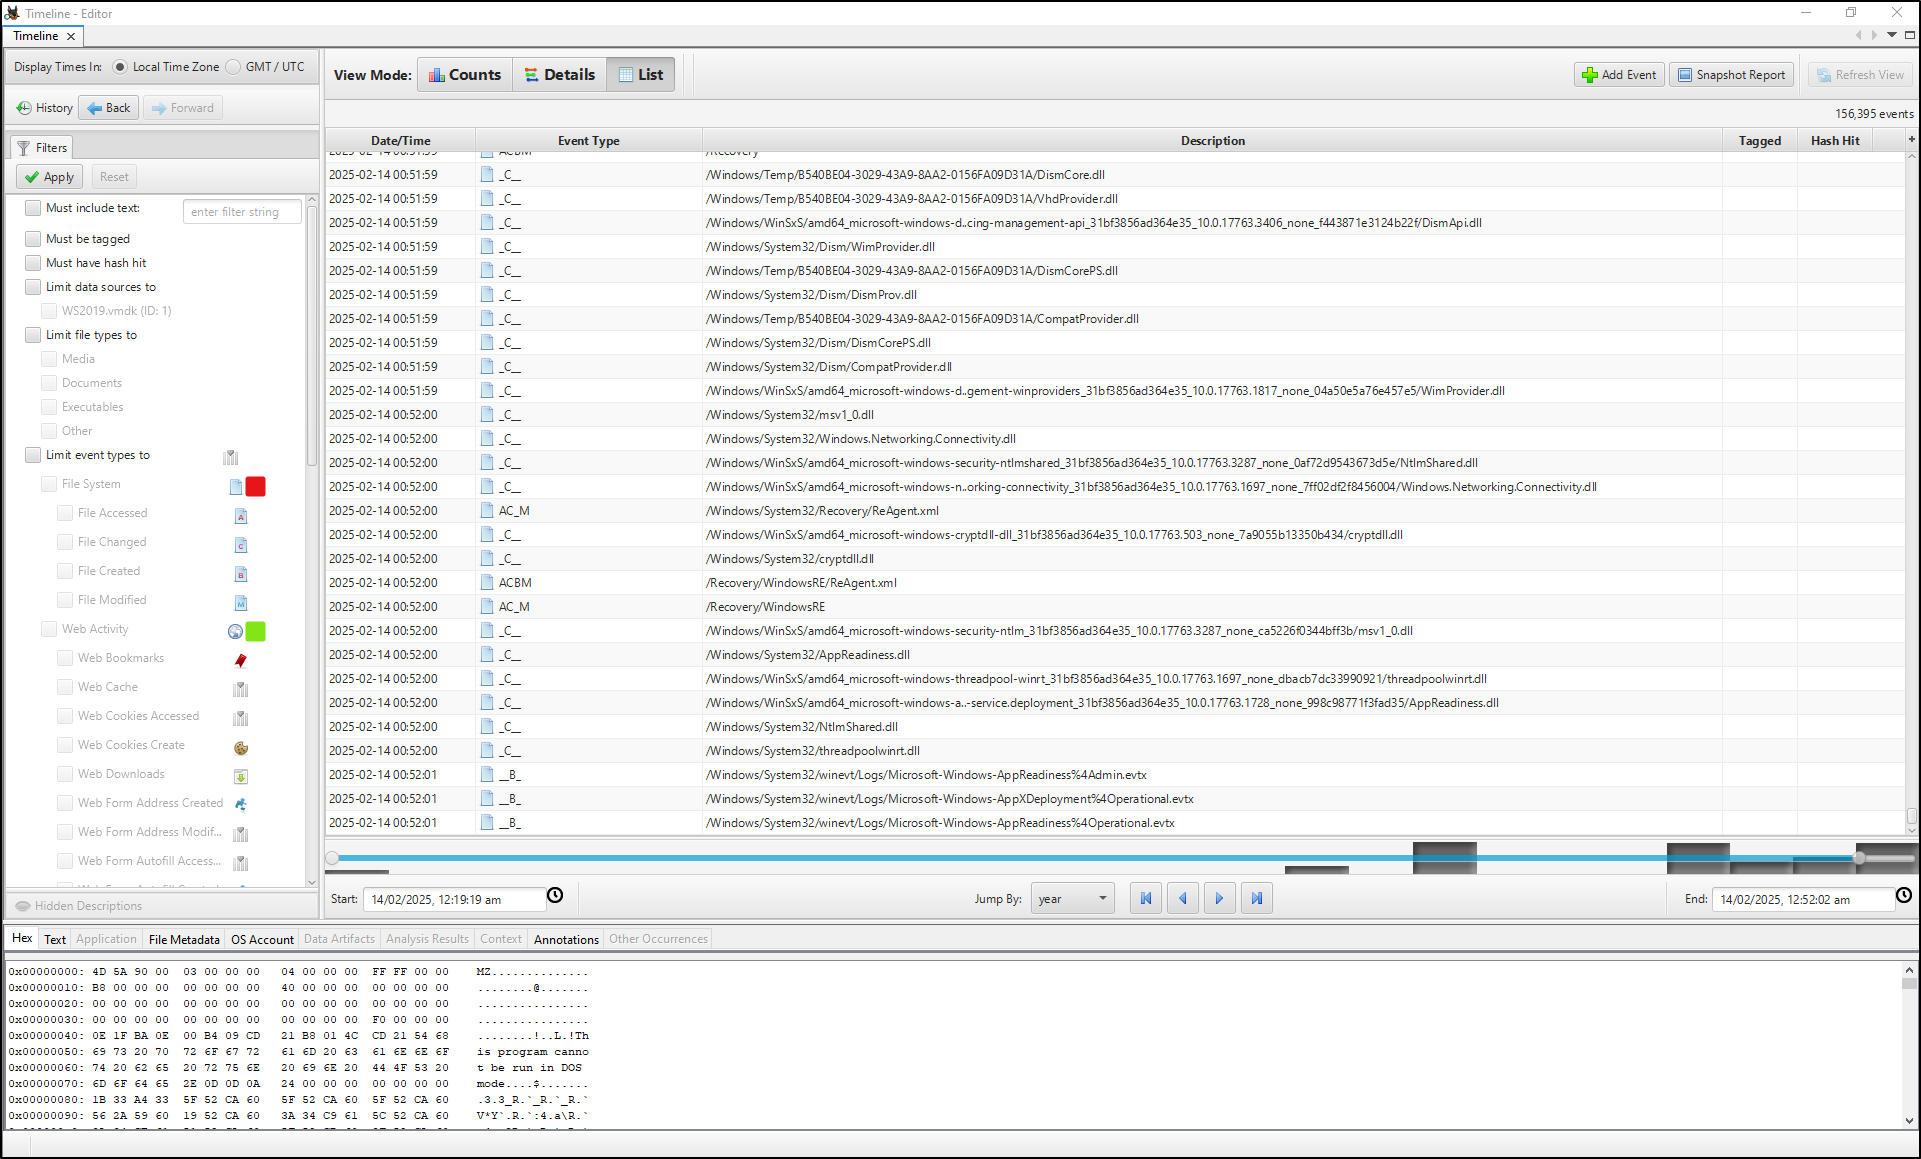
Compare multiple artefact views
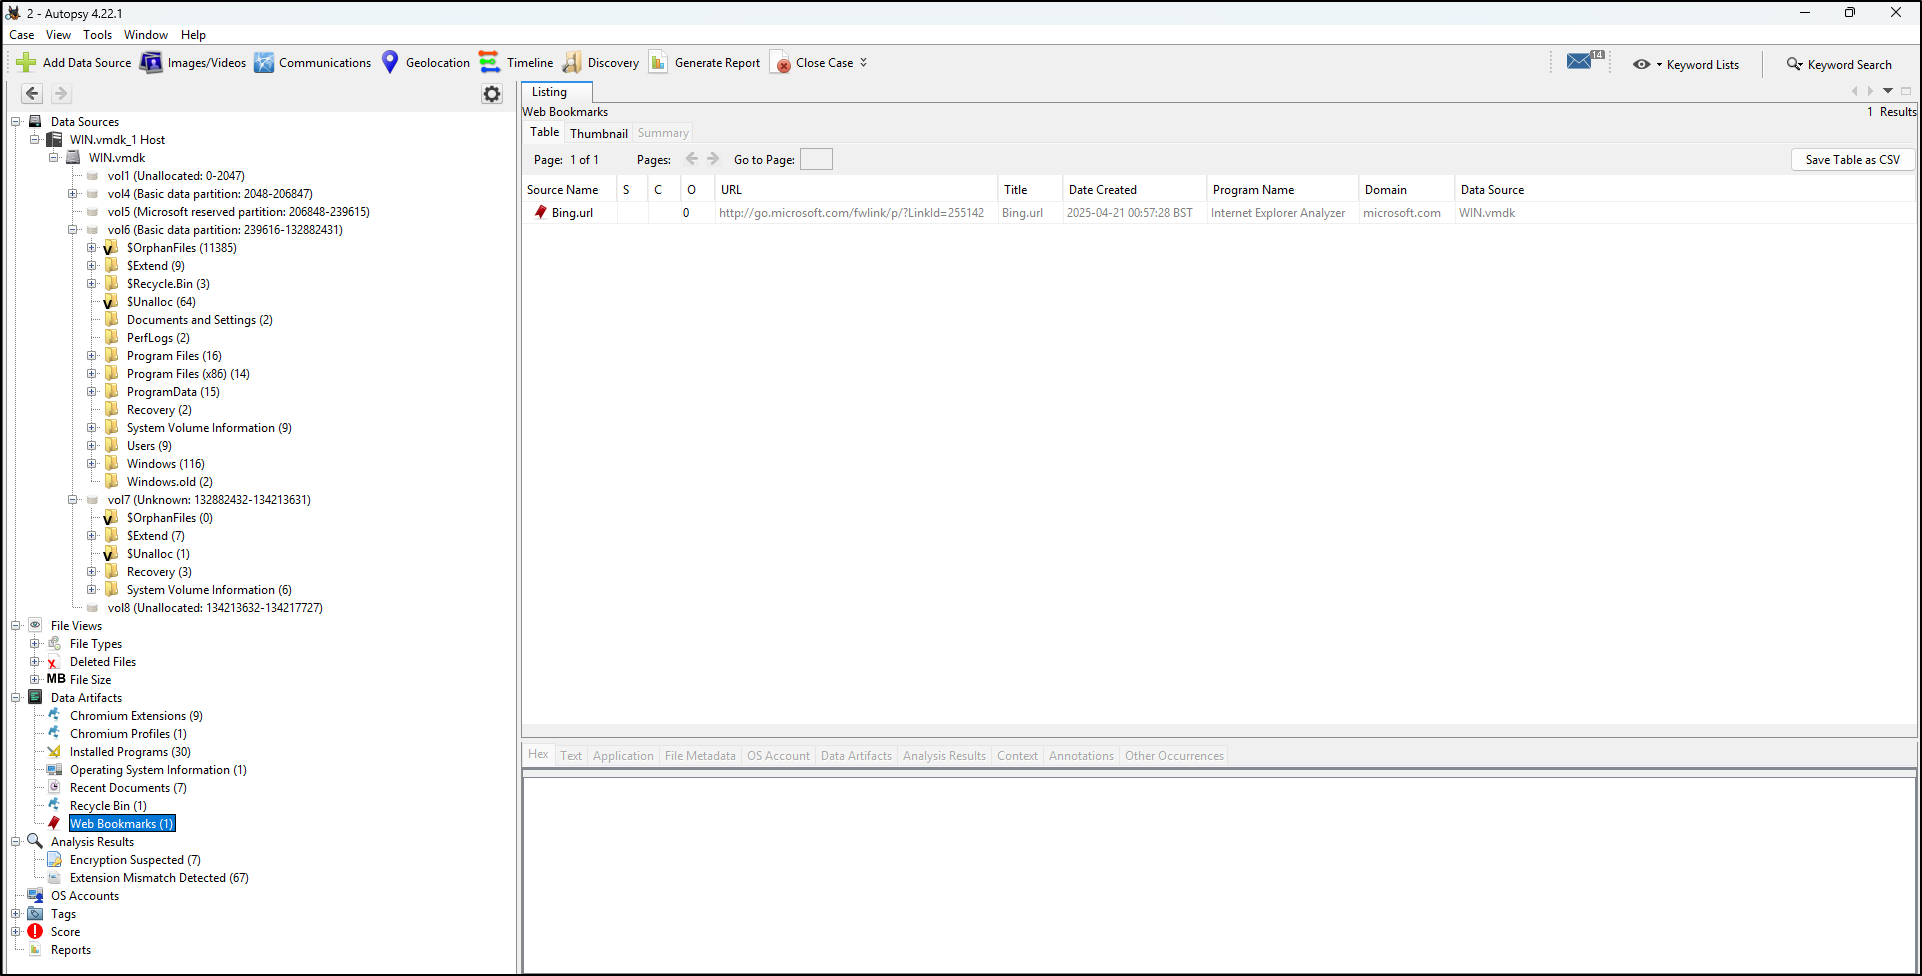
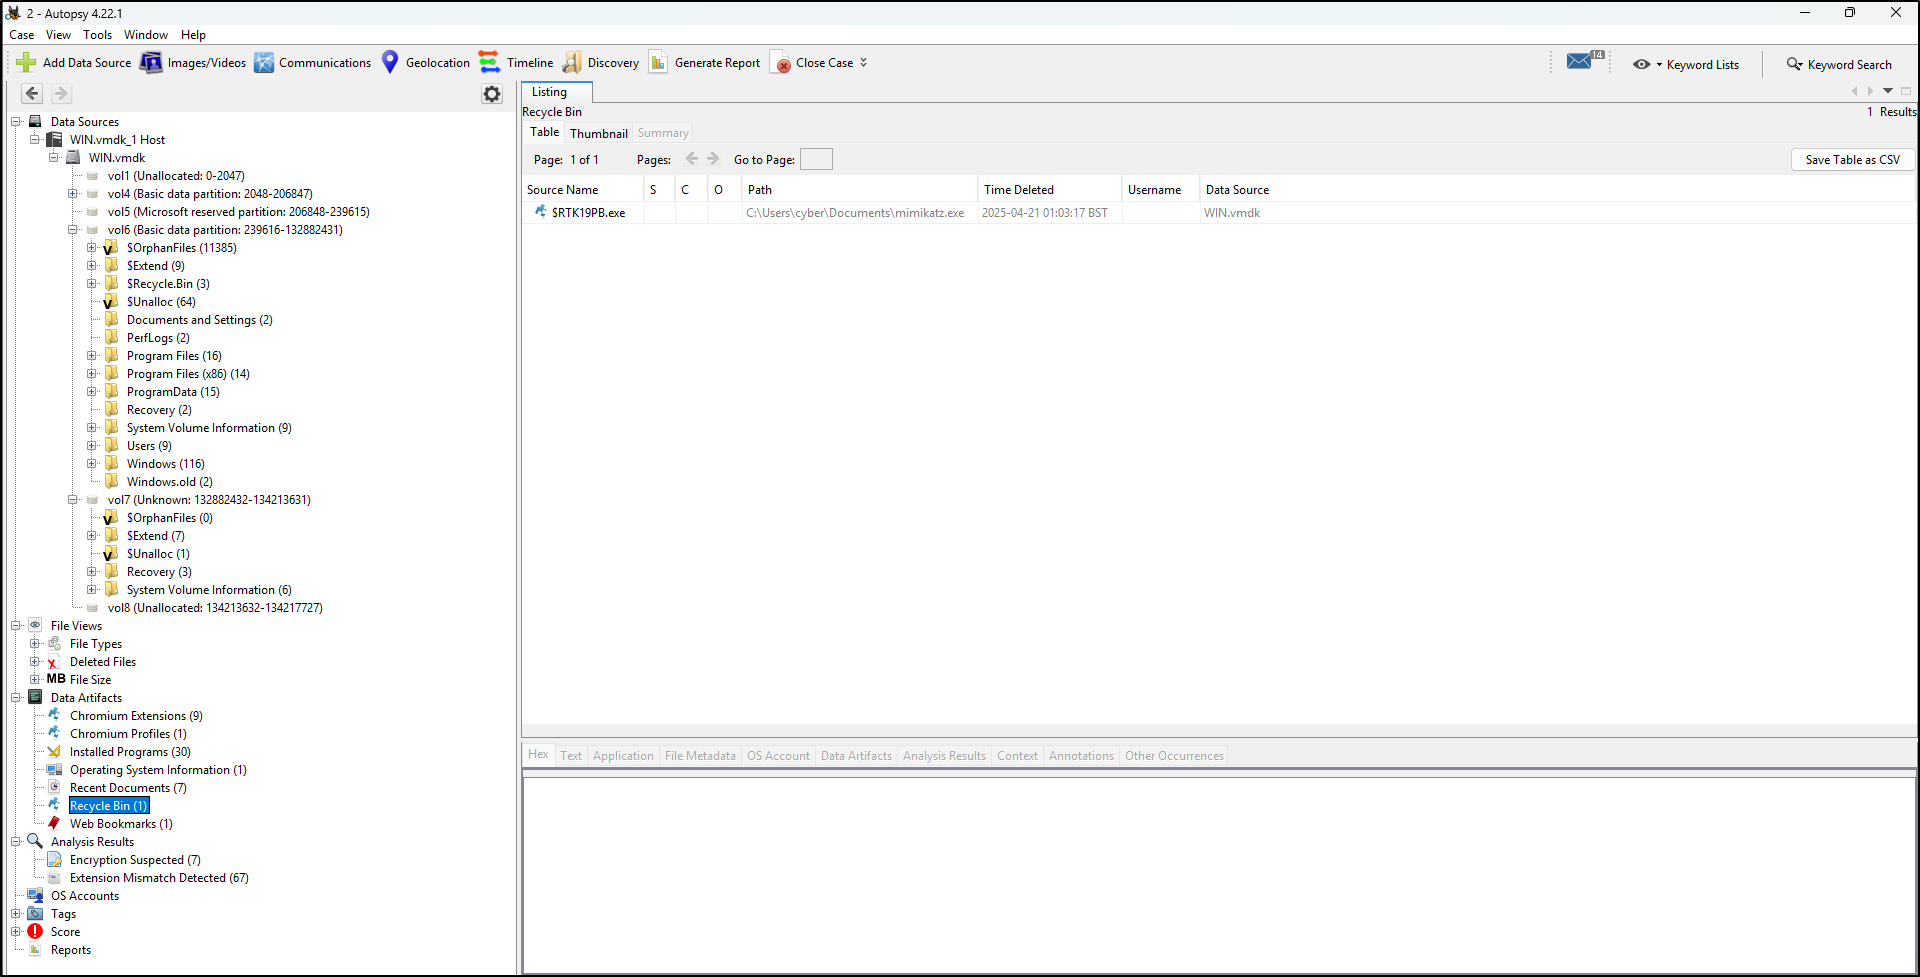
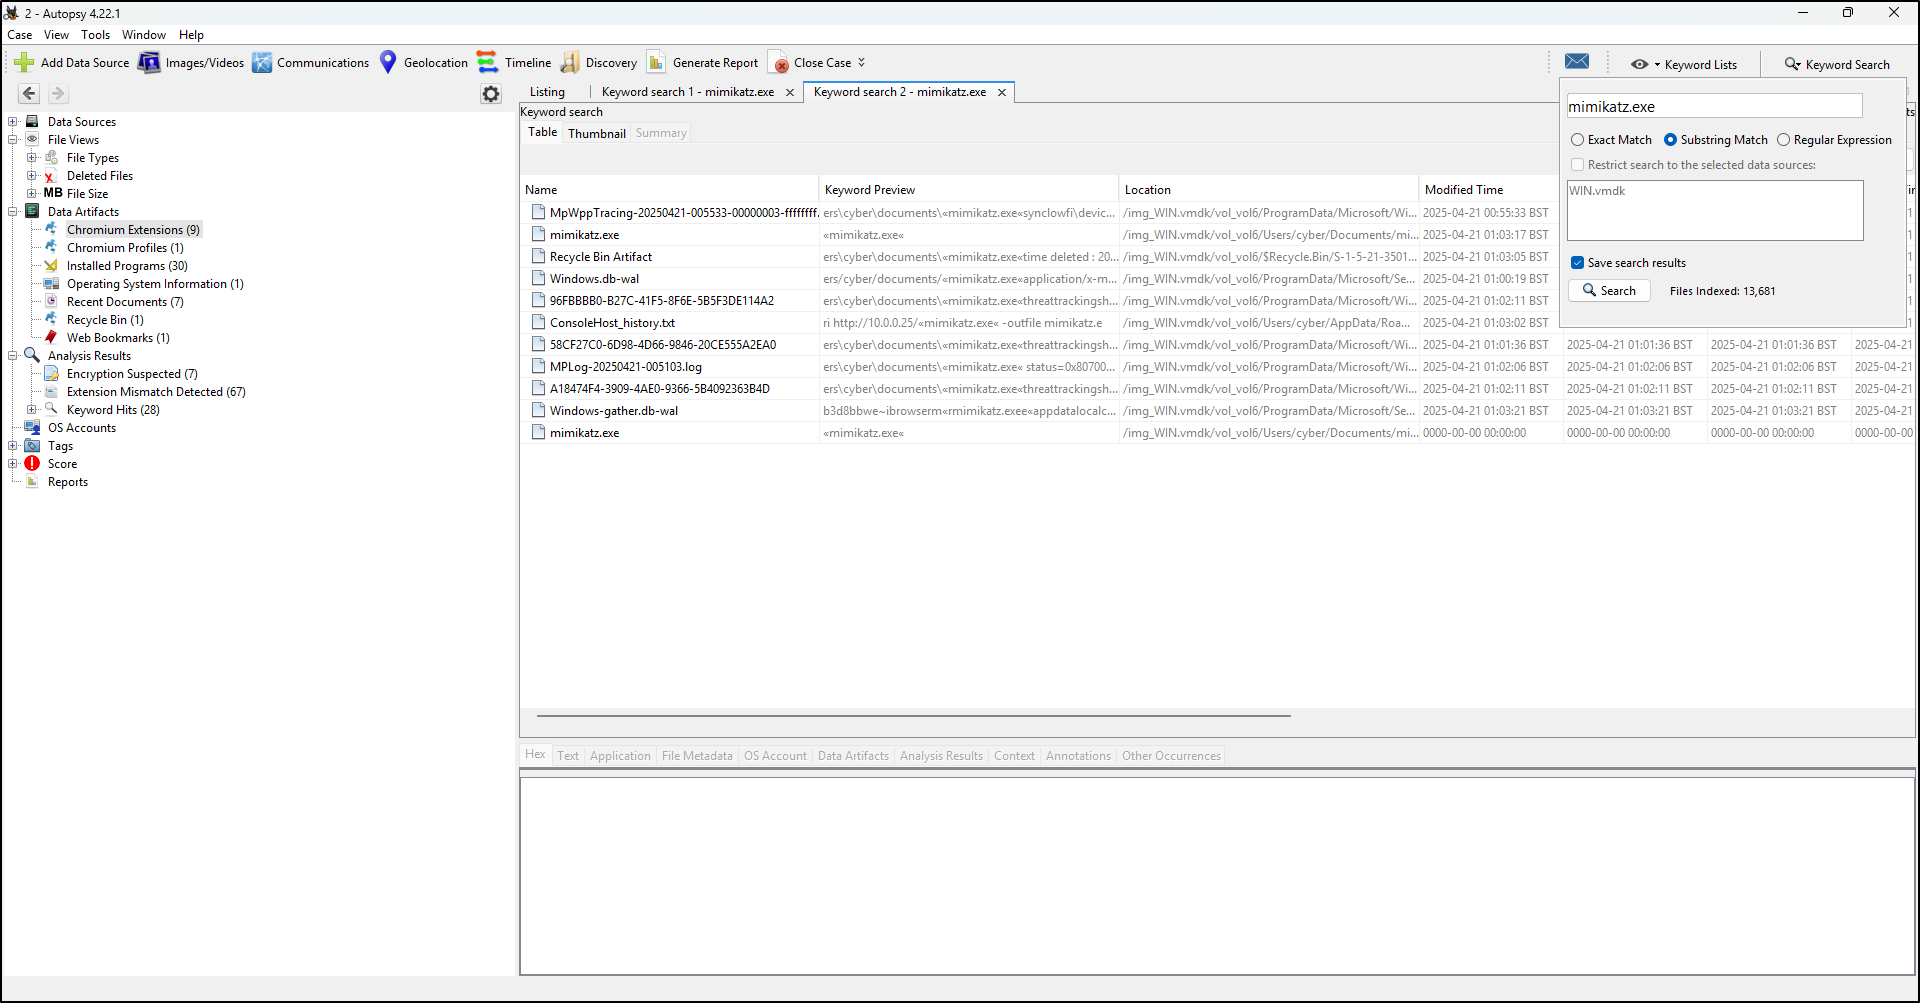
The preserved Windows 11 example contains a downloaded and deleted
mimikatz.exe training artefact. Review browser data, deleted-file records,
keyword hits and the timeline as separate observations, then compare their host,
path and time context before reaching a conclusion.
Supported conclusion
Multiple attributable artefacts can support a sequence such as download, presence and deletion. They do not automatically prove execution, user authorship or malicious intent; seek corroborating execution and identity evidence.