Volatility and Workbench
What Volatility and Workbench does
Guided SUSA tool journey
Volatility and Workbench supports memory analysis. In this guide, you will use it to baseline processes and investigate one process, region, or connection lead. The procedure and screenshots provide the practical reference; the surrounding context explains what to record and how to judge the result.
Tool guide at a glance
Baseline processes and investigate one process, region, or connection lead.
A verified training memory image with operating-system and acquisition context.
A reproducible memory finding supported by commands, plugin output, and another evidence source.
Evidence and safety
Memory images can contain credentials and personal data. Store them securely and avoid unsupported attribution. Record the input identifier, tool version, relevant commands or settings, time and time zone, output location, and any errors or limitations as you work.
Choose your journey
01Understand the evidenceLearn the memory analysis concepts and limitations.Complete when you can explain what the evidence can and cannot show.Beginner · No tool required · 15–25 min 02Follow the Volatility and Workbench guideWork through the commands, screenshots, and instructional sequence below.Complete when the documented workflow produces its expected output.Guided · SUSA workstation · Time varies 03Interactive labPractise the tool workflow in a safe browser simulation.Complete when the guided result is supported by the case evidence.Beginner · Browser only · 10–20 min 04Full LabInvestigate an authorised training scenario with fewer prompts and preserve a reviewable result.Complete when another analyst can reproduce and verify the outcome.Intermediate · Isolated lab · 45–90 min
How the labs complement this guide
The Interactive Lab is a safe browser simulation for practising the workflow and validation logic. The Full Lab is an independent exercise for an isolated, authorised environment. Confirm the installed tool version and expected output before relying on either exercise in a real case.
Accessing Volatility and Workbench in SUSA
Volatility is an open-source memory forensics framework used to analyse memory dumps and extract evidence of what was happening on a system at a specific point in time.
Volatility Workbench is a graphical user interface (GUI) built on top of Volatility, designed to make it easier to run memory analysis tasks without using the command line.
Volatility and Workbench V2
Volatility 2 is the older version but still widely used due to its large number of plugins and extensive community examples.
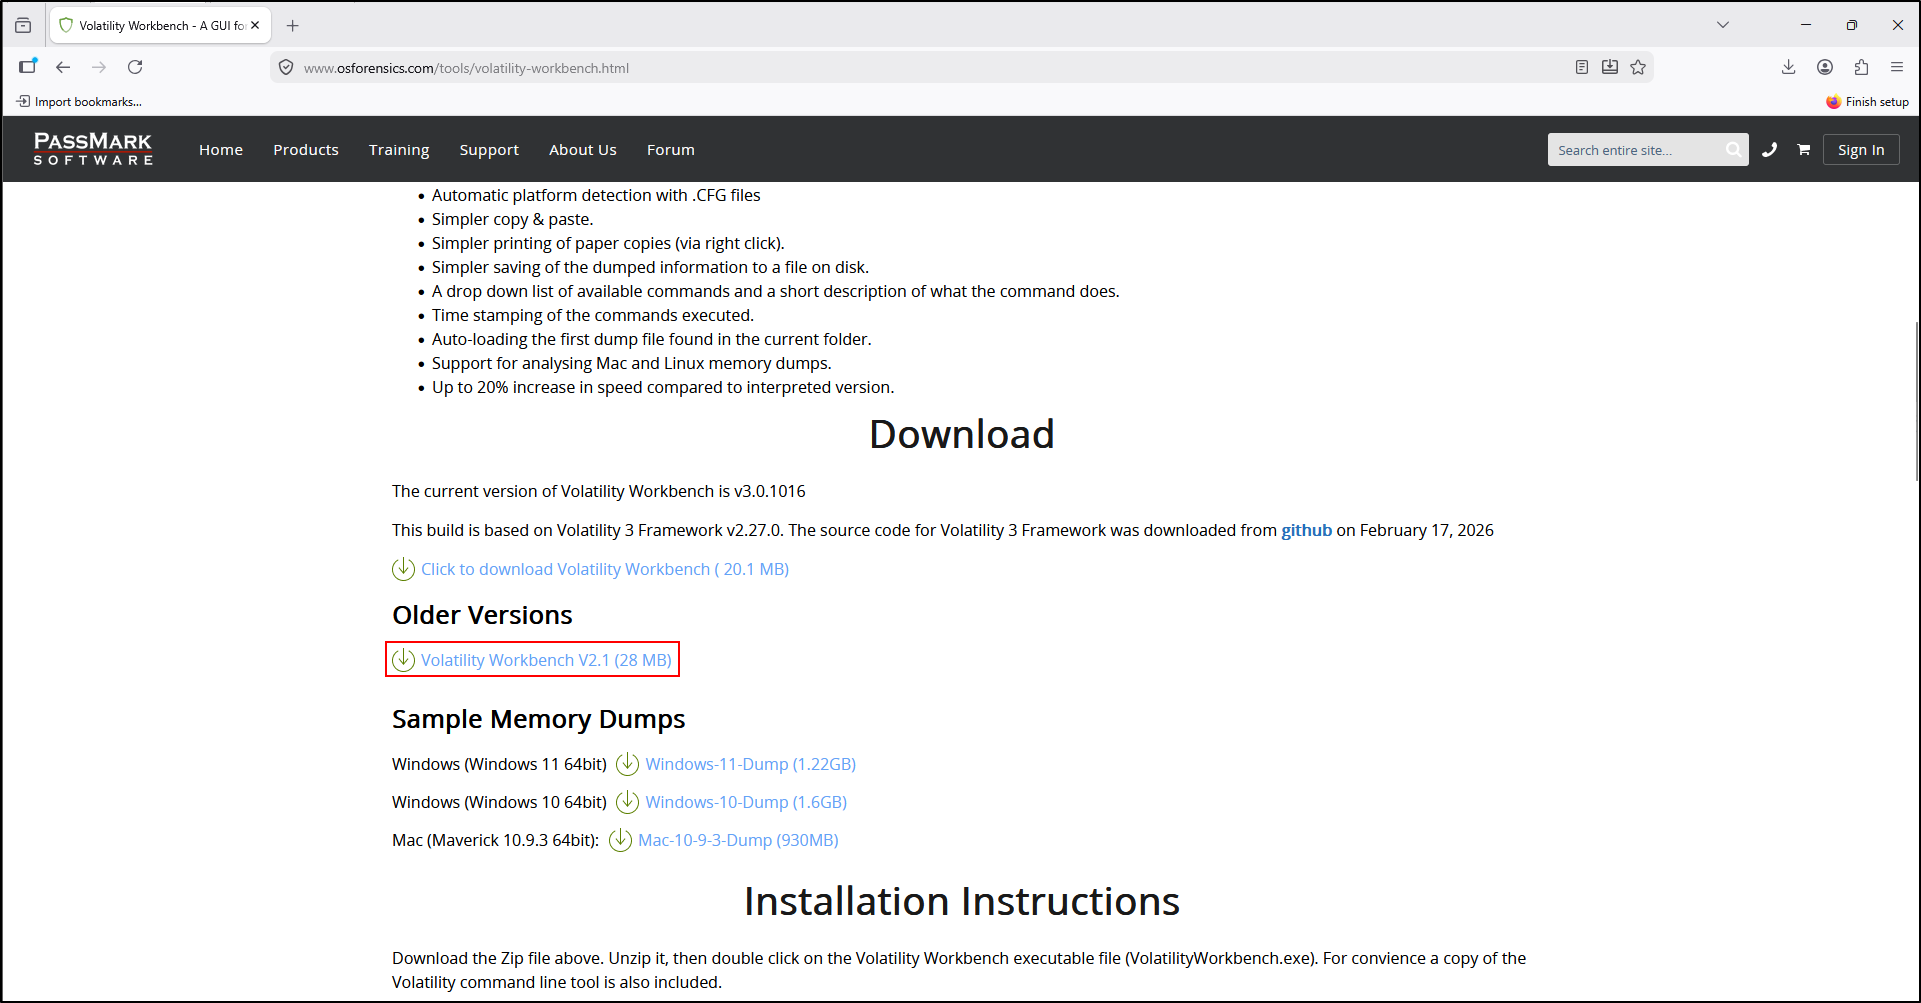
Download Volatility Workbench V2.1.
Extract the downloaded ZIP archive to C:\Tools\VolatilityWorkbench-v2.1. This should contain Volatility 2 standalone executable and Volatility Workbench V2.1.
Testing Volatility 2
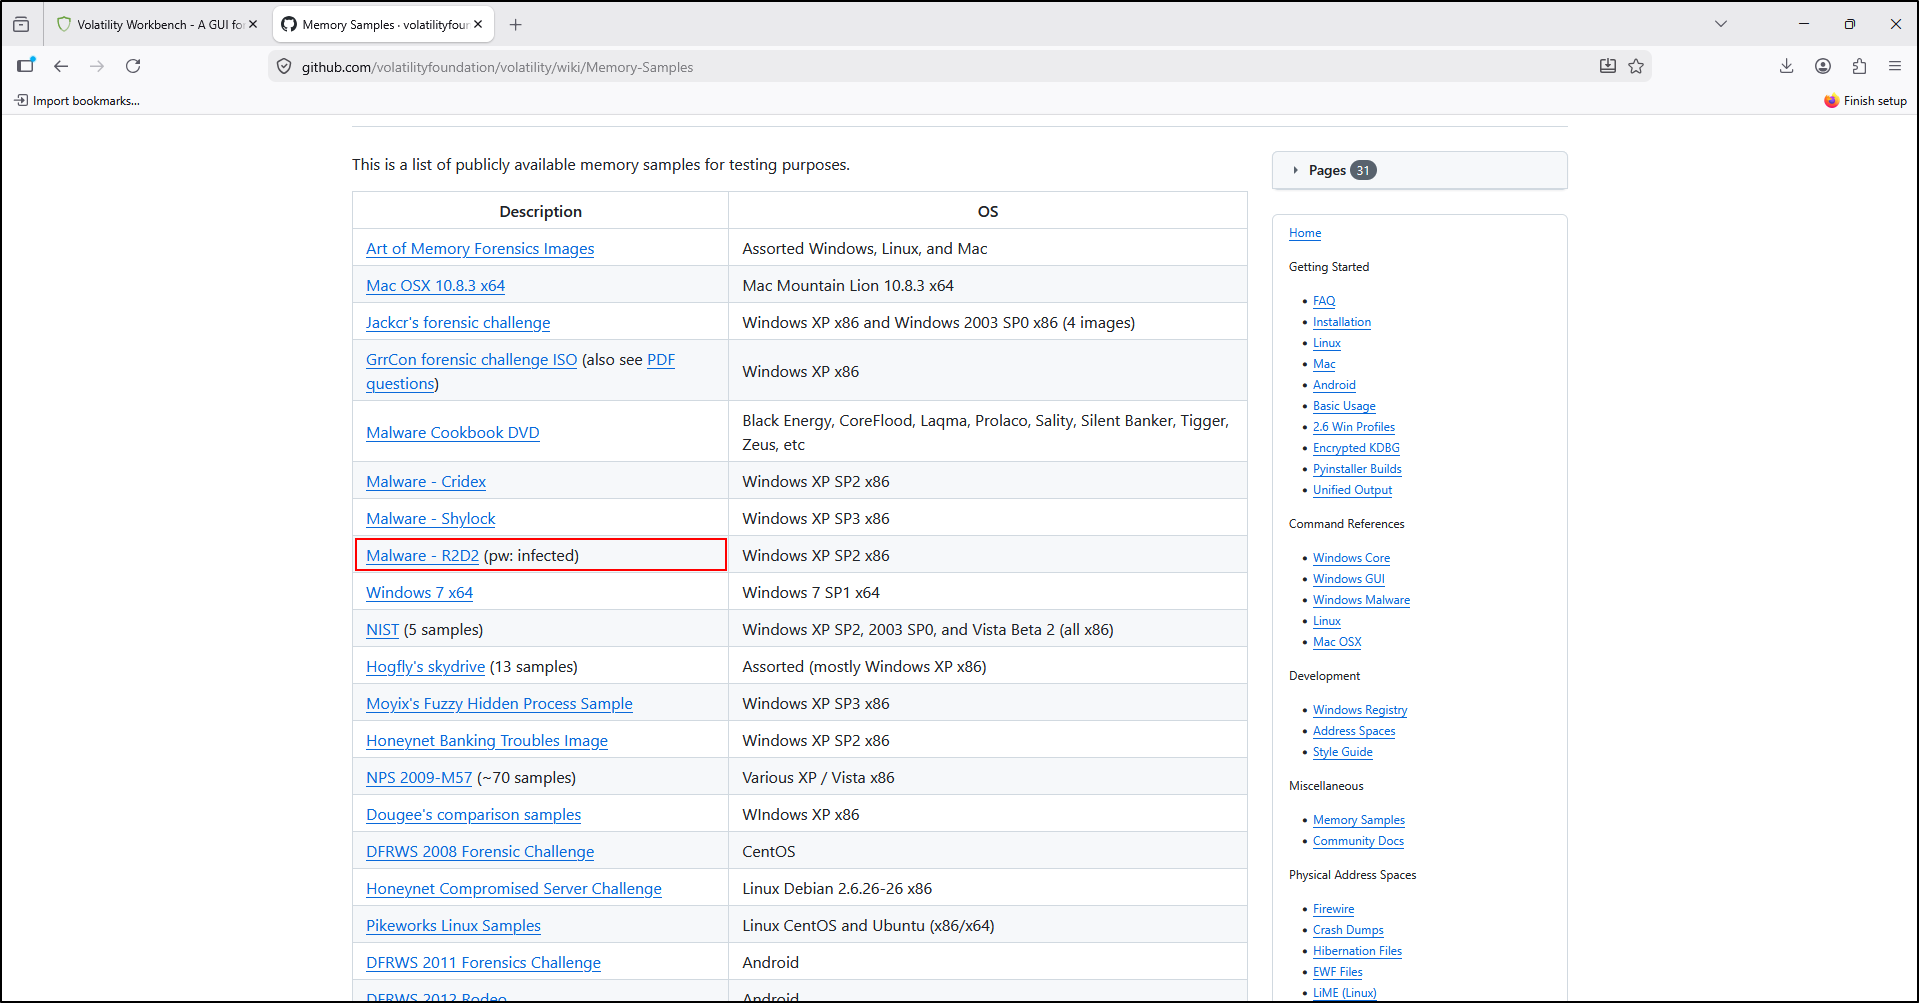
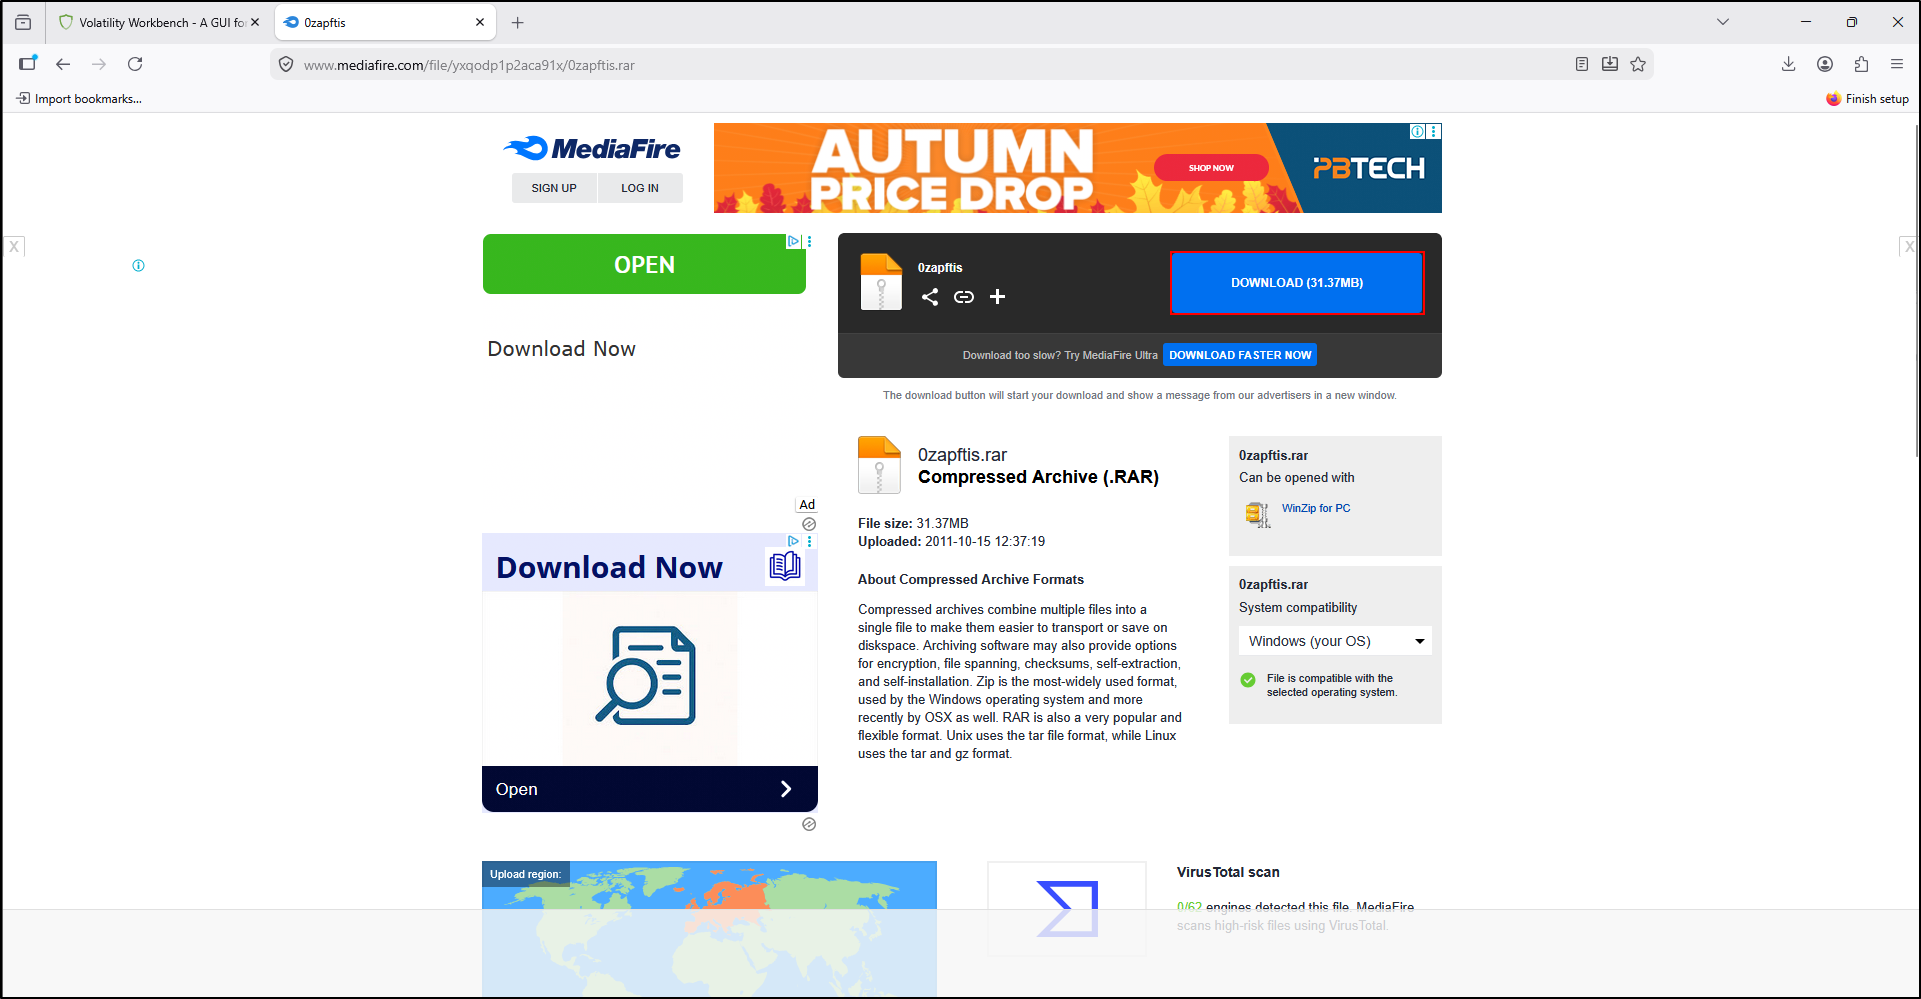
Download the memory sample (Malware - R2D2).
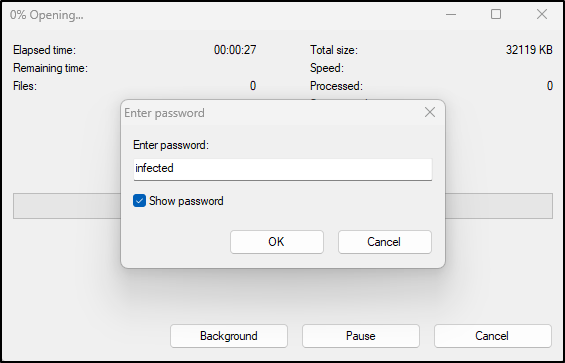
Open the archive with 7-zip. Enter infected as the password and click OK.
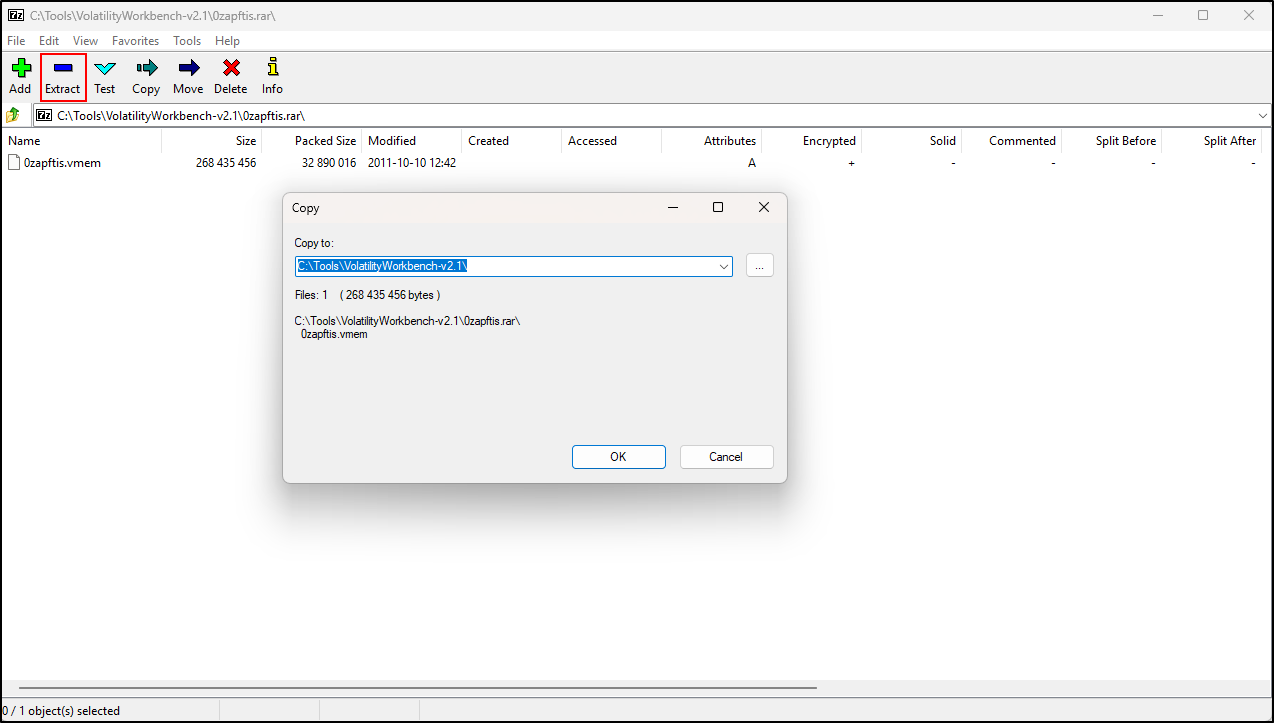
Click Extract then select OK.
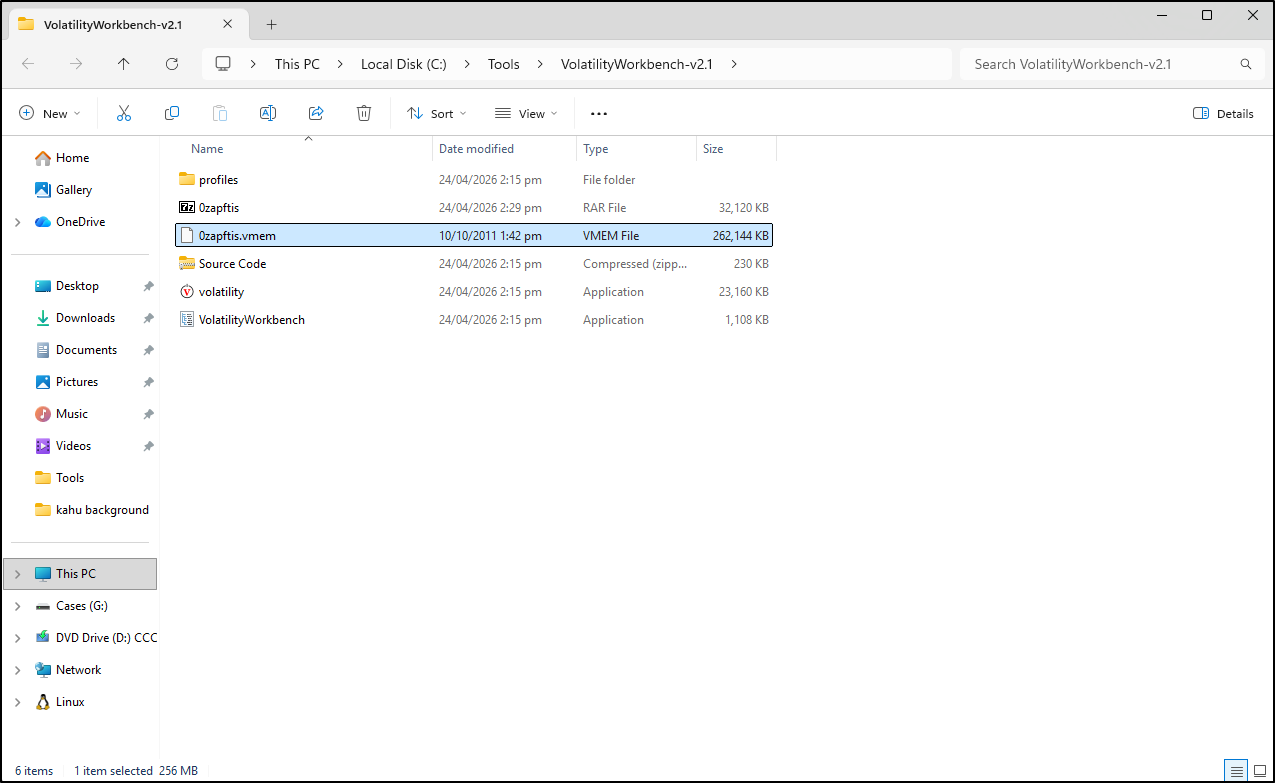
You should now see the memory sample (0zapftis.vmem).
In the File Explorer address bar, type cmd. This will open a command prompt in the C:\Tools\VolatilityWorkbench-v2.1 directory.
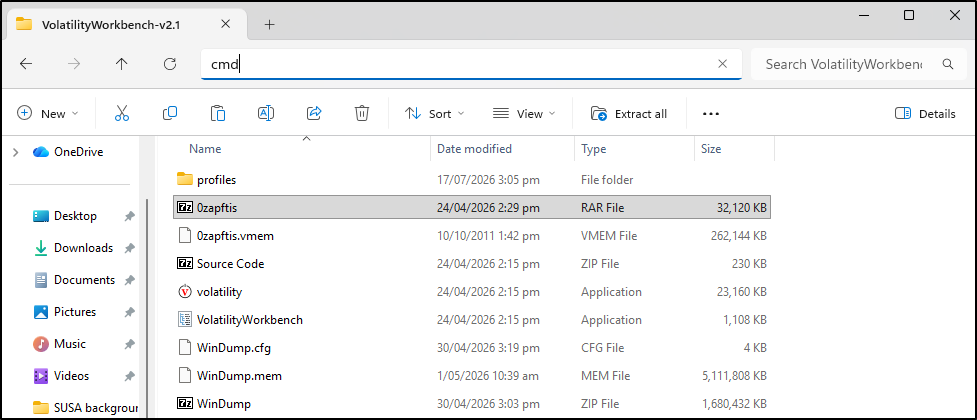
Run Volatility 2 to determine the profile of the memory sample. The results show that profile is most likely WinXPSP2x86.
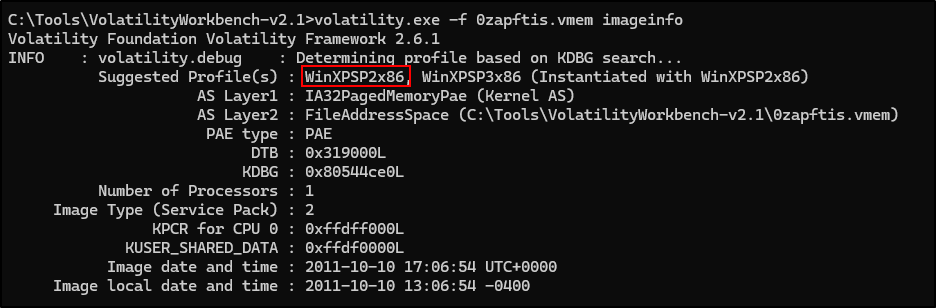
Run Volatility 2 with the profile tag determine process list of the memory sample.
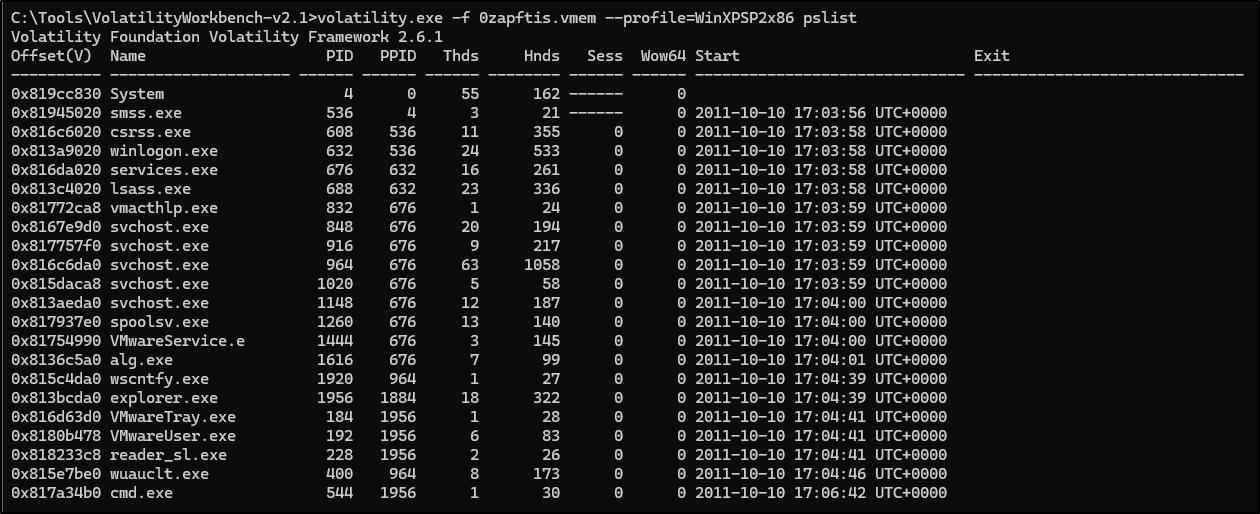
Testing Volatility Workbench v2.1
Download another memory sample (Windows 10 64bit).
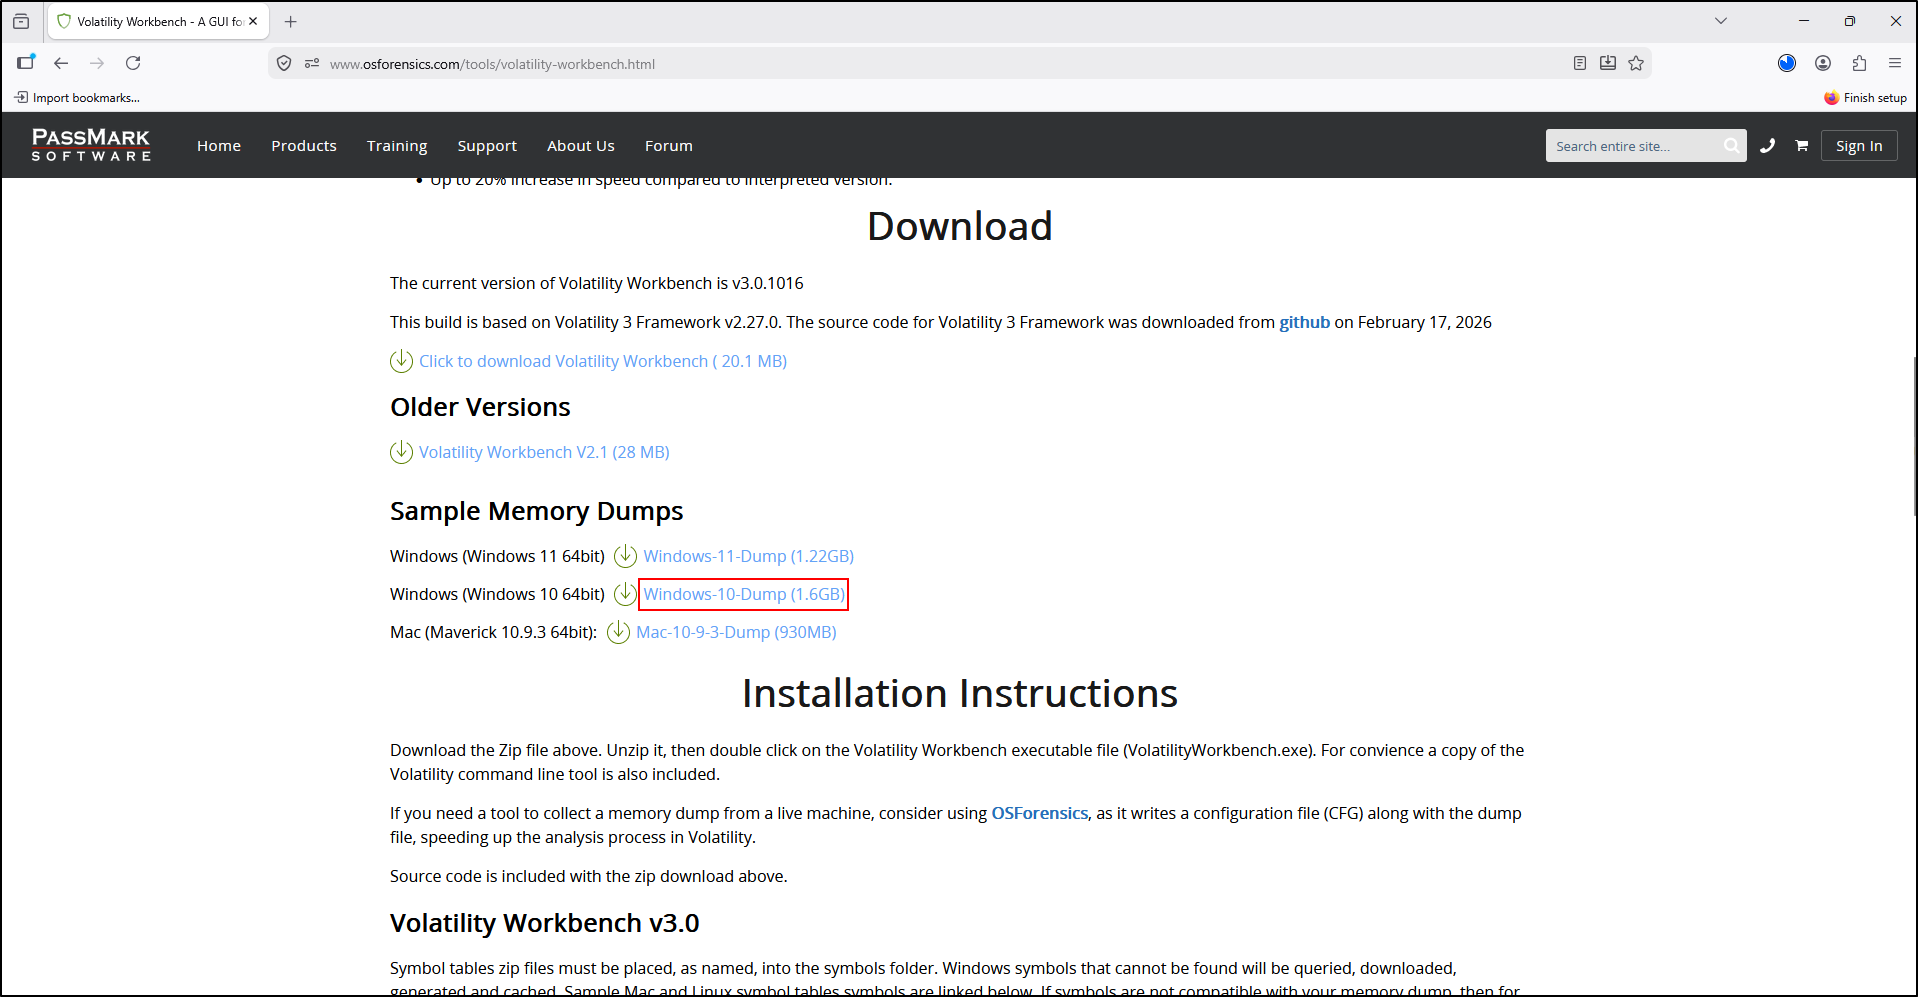
Extract the downloaded ZIP file to C:\Tools\VolatilityWorkbench-v2.1. This will extract WinDump.mem in that directory.
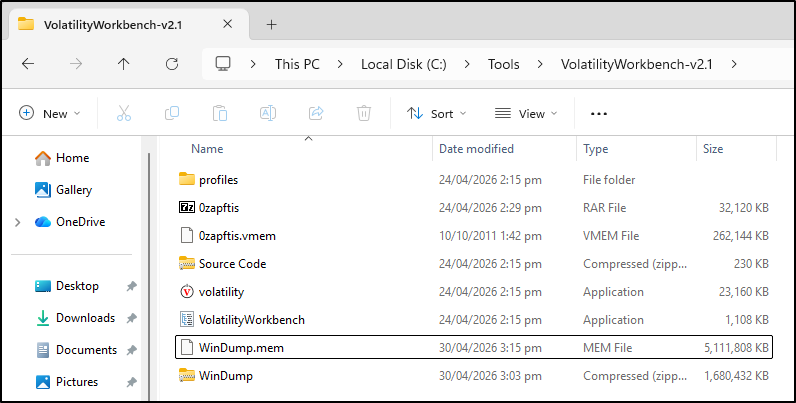
Double-click VolatilityWorkbench. Click Browse Image and select WinDump.mem. For Profile, select Windows 10 64bit build 17763 and click Get Process List. This process may take some time.
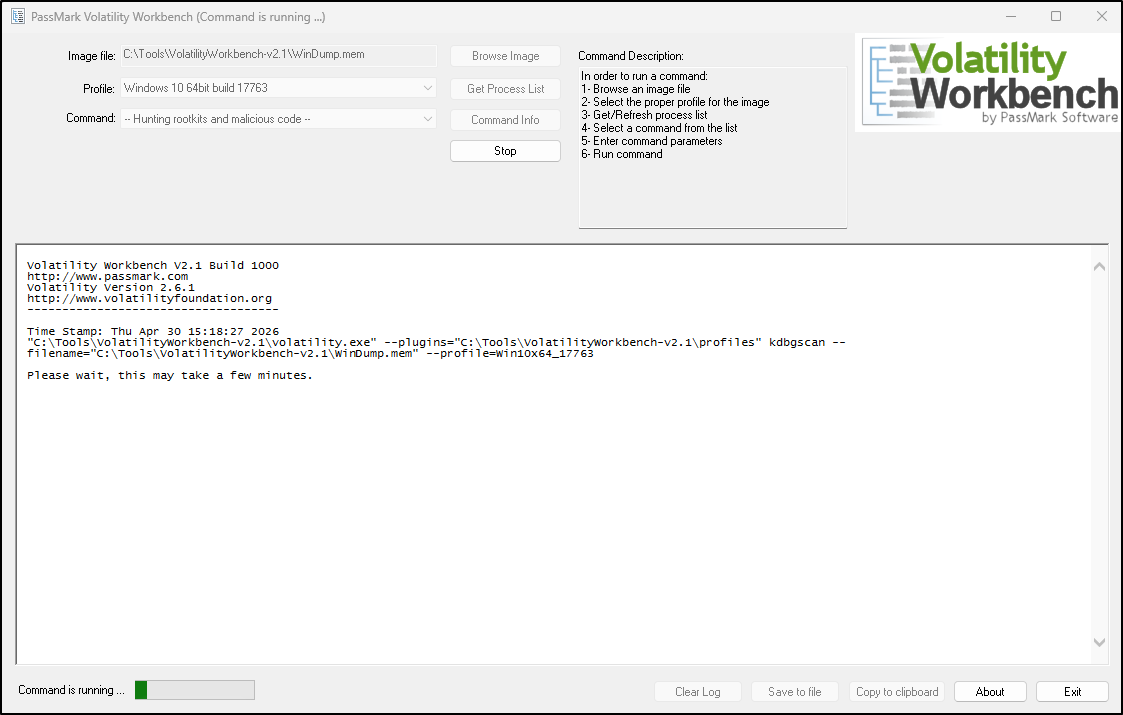
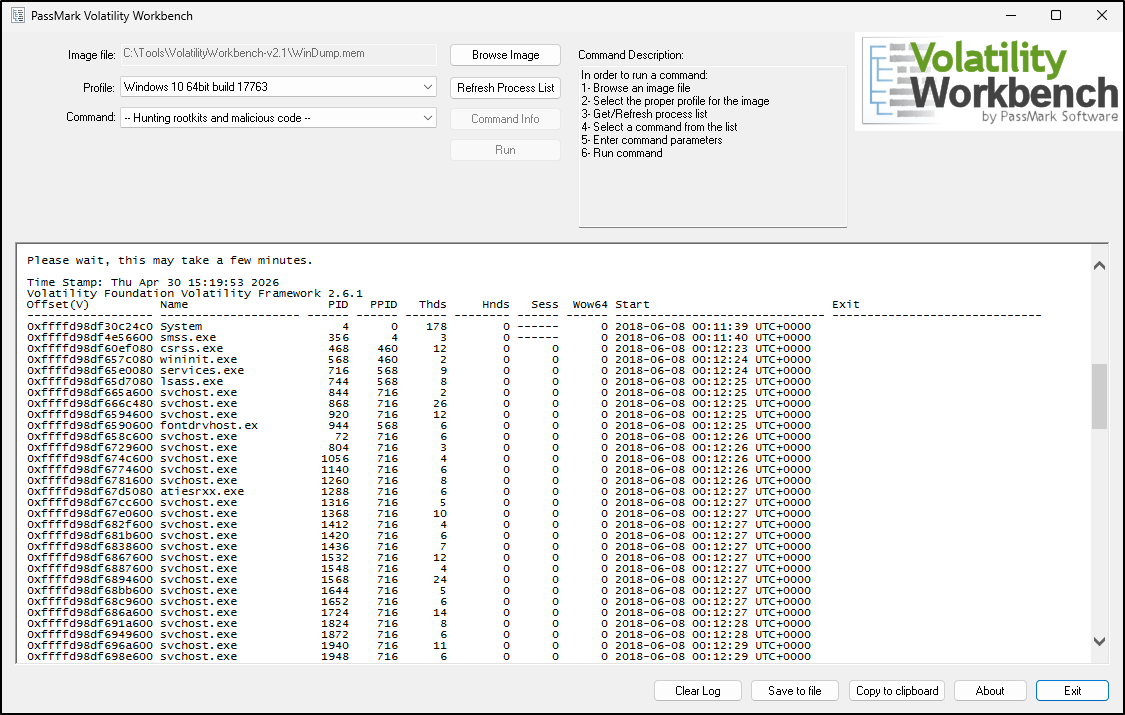
After few minutes, we can see a list of processes from the WinDump.mem.
Volatility and Workbench V3
Volatility 3 is the newer version and is actively developed. It removes the need for profiles and provides more reliable and consistent parsing, especially for modern operating systems.
Download Volatility Workbench V3.
Extract the downloaded ZIP archive to C:\Tools\VolatilityWorkbench-v3.0. This should contain Volatility 3 standalone executable and Volatility Workbench V3.0.
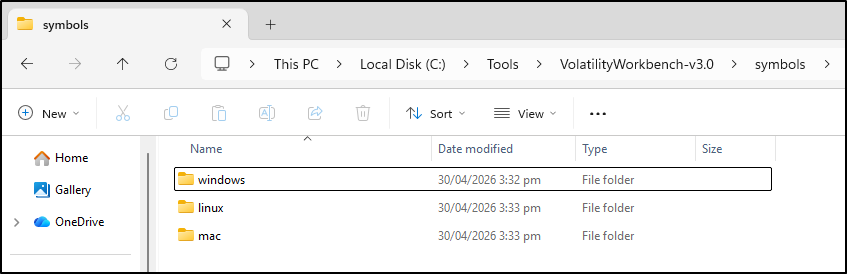
Symbol tables ZIP files must be placed, as named, into the symbols folder. Windows symbols that cannot be found will be queried, downloaded, generated and cached. Sample Mac and Linux symbol tables symbols are linked below.
Download Symbol table packs for various operating systems and extract it in the C:\Tools\VolatilityWorkbench-v3.0\symbols directory.
Windows:https://downloads.volatilityfoundation.org/volatility3/symbols/windows.zip
Mac:https://downloads.volatilityfoundation.org/volatility3/symbols/mac.zip
Linux:https://downloads.volatilityfoundation.org/volatility3/symbols/linux.zip
Installing Latest Volatility 3 with Python
The version of Volatility 3 that comes with VolatilityWorkbench v3.0 is v 2.26.2. The latest version of Volatility 3 is 2.28.0.
To install latest Volatility 3, first download Python install manager.
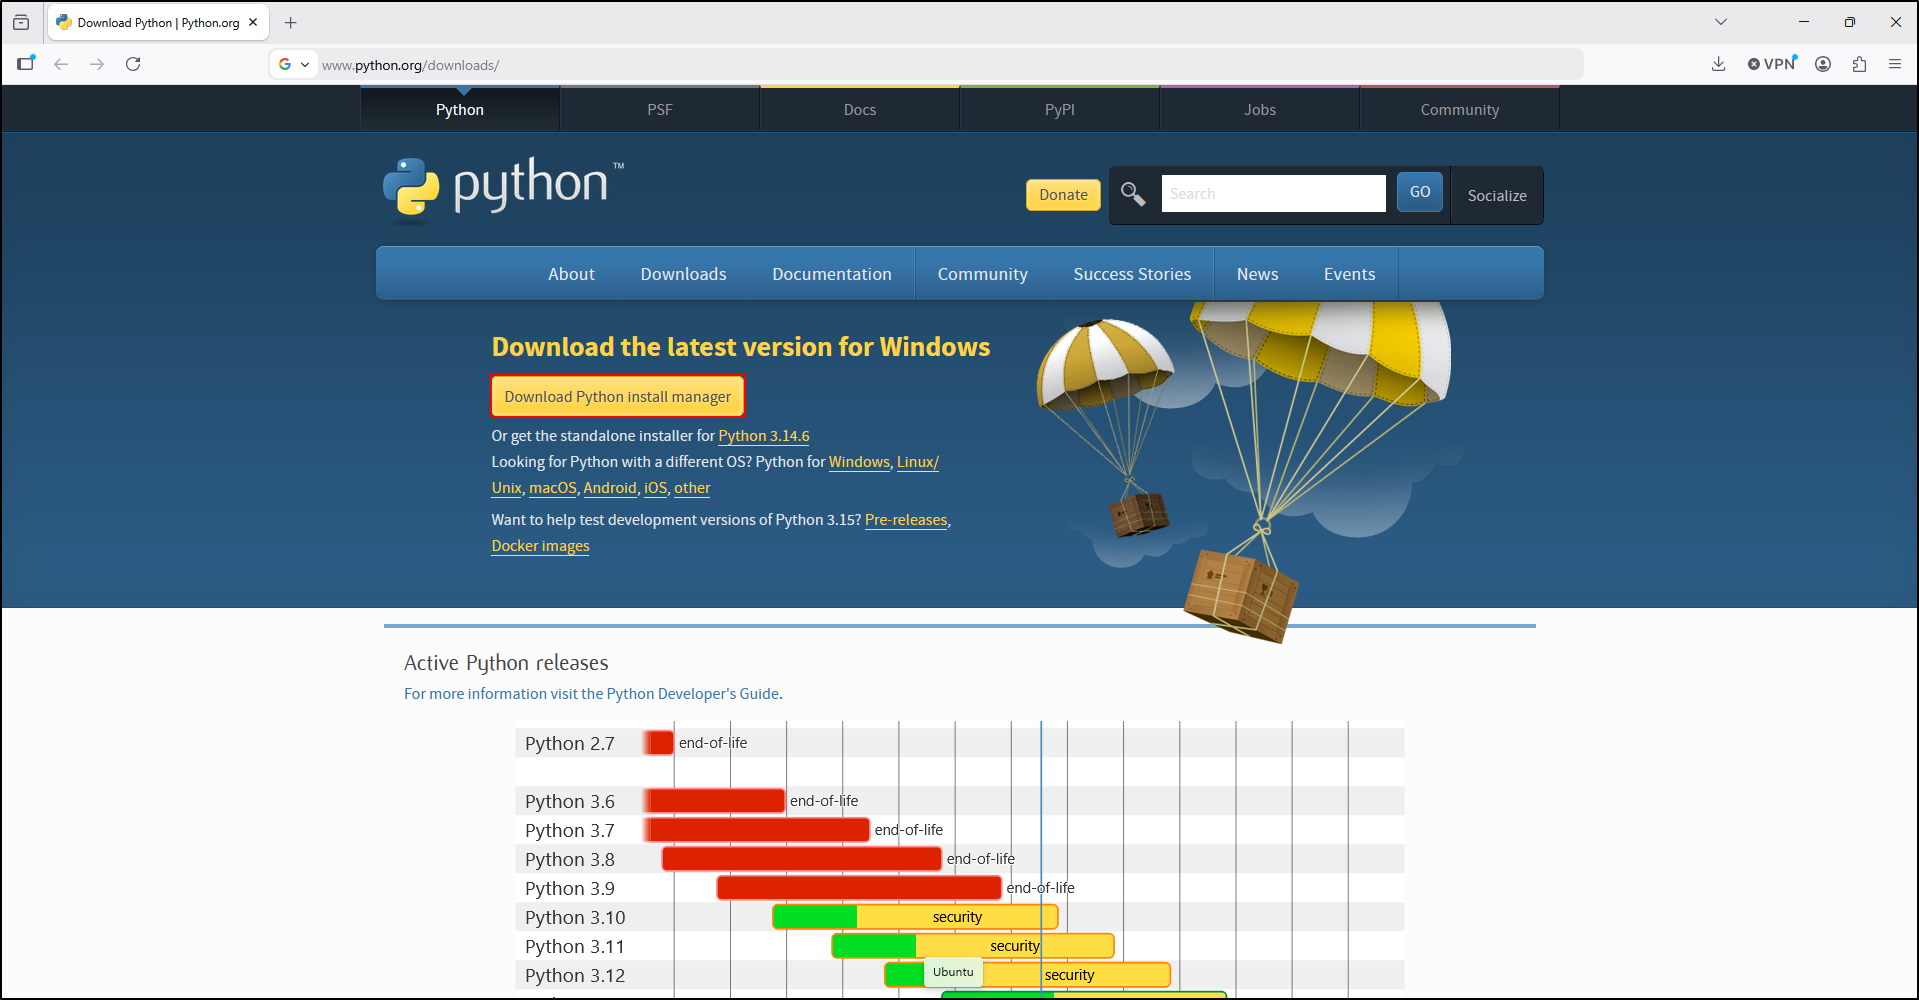
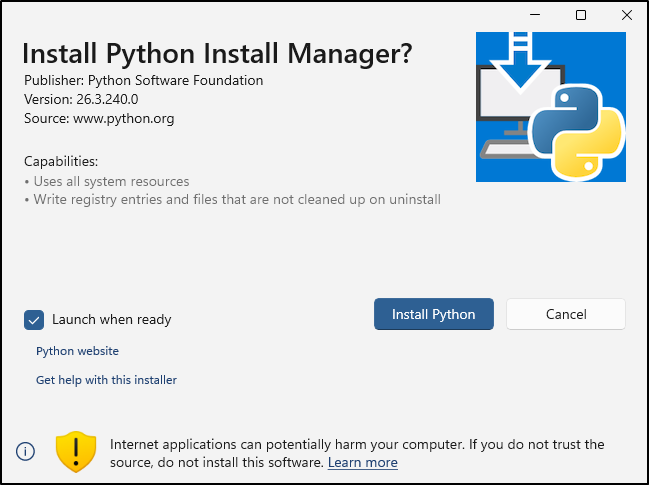
Double-click the installer file and click Install Python.
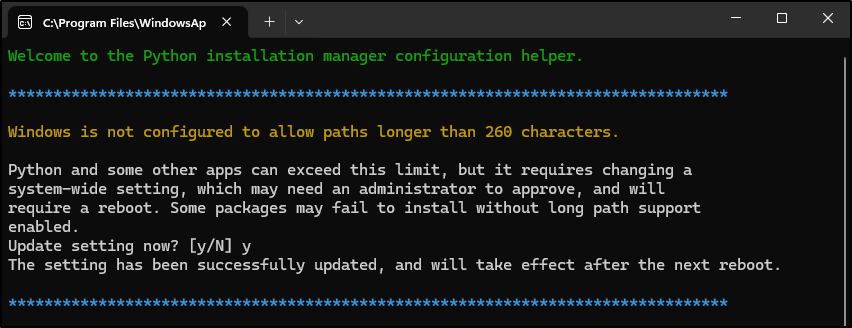
When asked to Update setting now, type y and press enter.
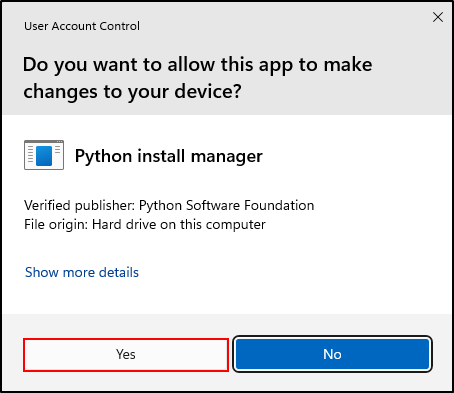
Click Yes to allow Python install manager to make changes.
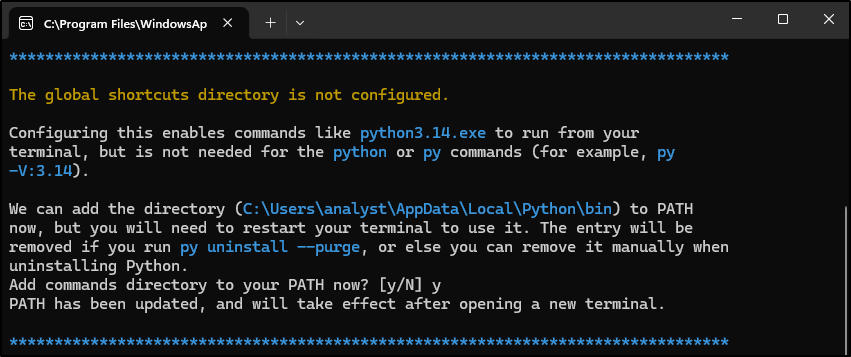
When asked to Add commands directory to your PATH now, type y and press enter.
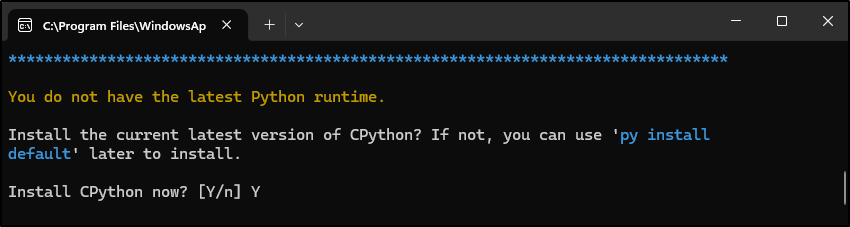
If prompted to install CPython, type Y and press enter.
After installation is complete, close terminal.
Open command prompt and install Volatility 3 by running:
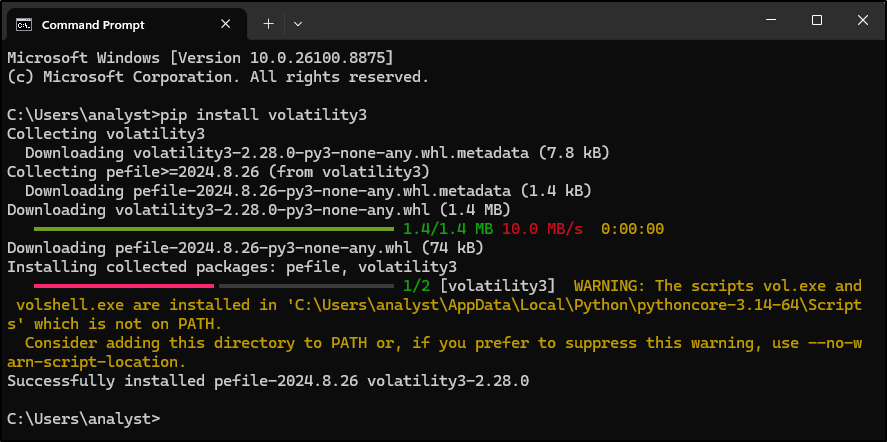
Alternatively, download the Volatility 3 wheel file.
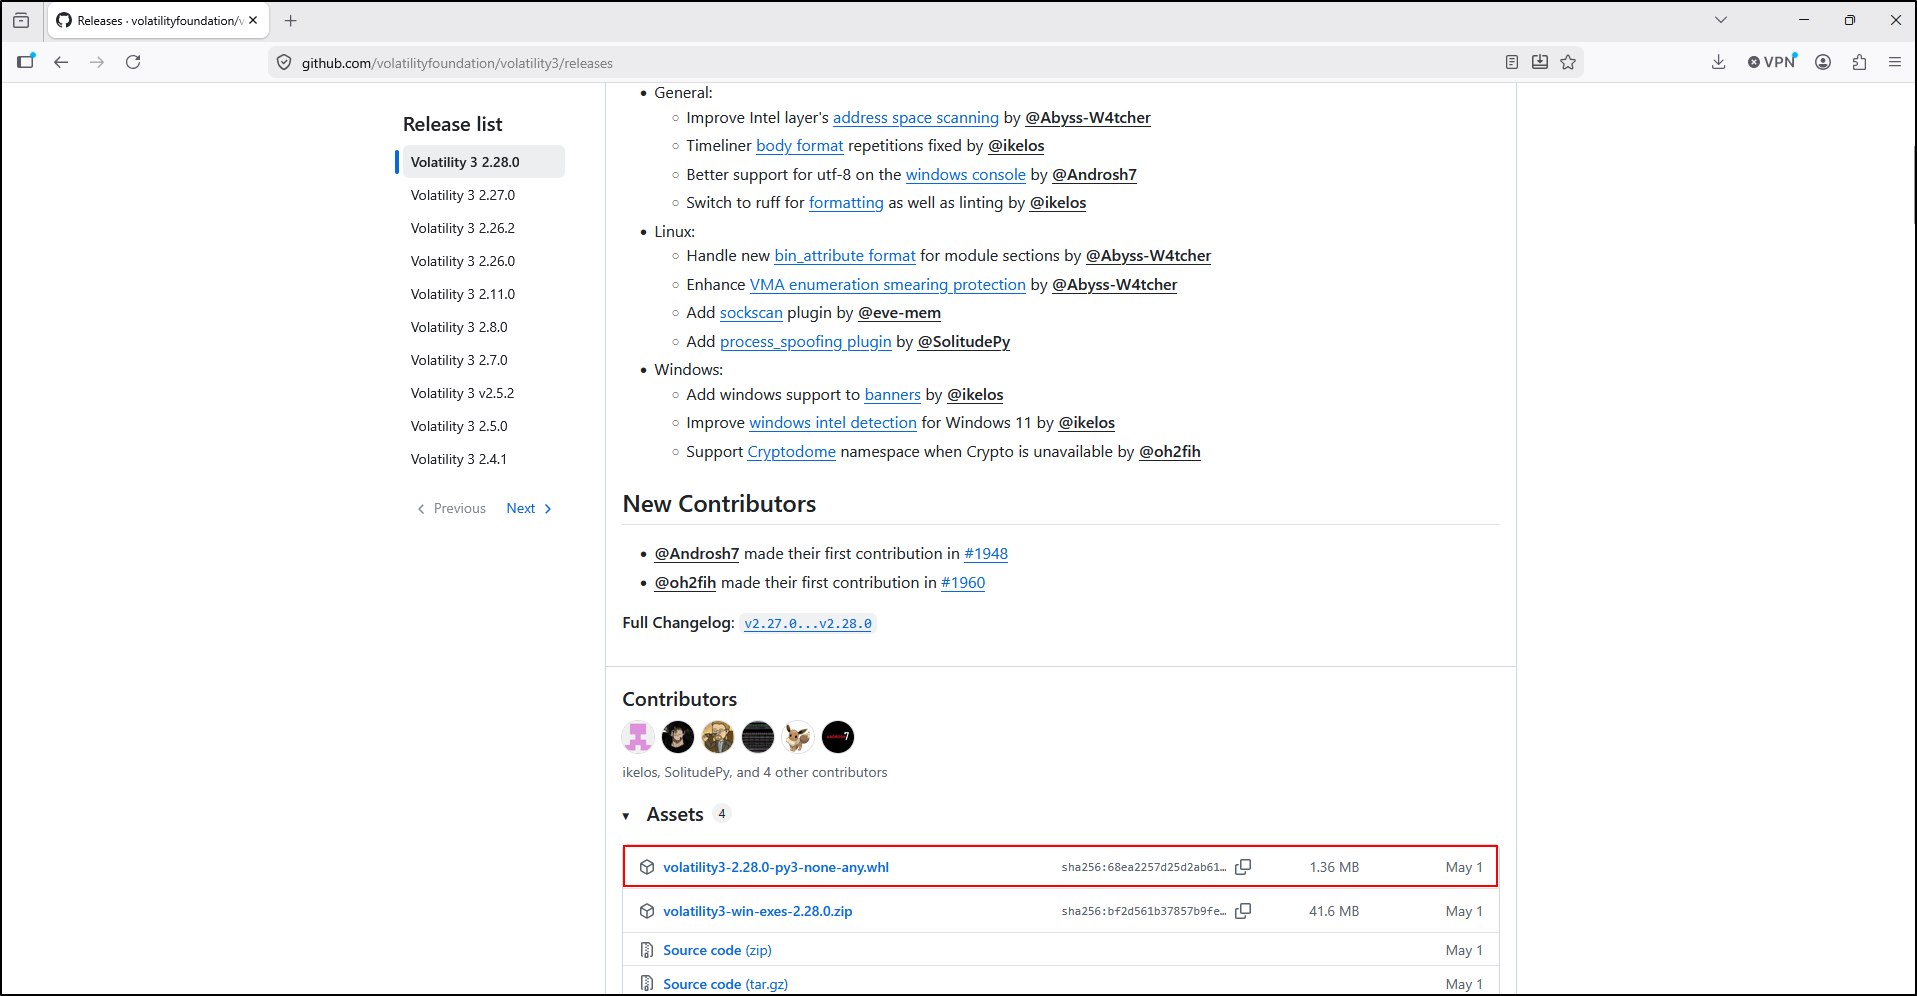
Move the wheel file to C:\Tools\Volatility3. Open the command prompt as an administrator and navigate to the C:\Tools\Volatility3 directory. Run the following command to install Volatility 3:
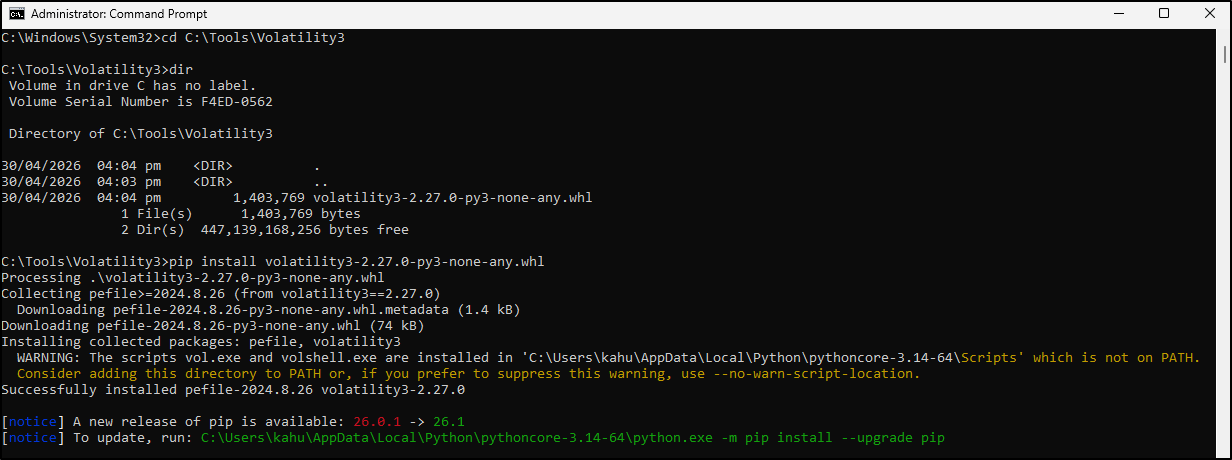
Verify that volatility is working by running the follow command in command prompt.
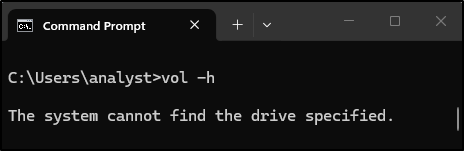
If you get the error message saying the system cannot find the drive specified, this is because vol is also a built-in Windows CMD command for showing a disk volume label.
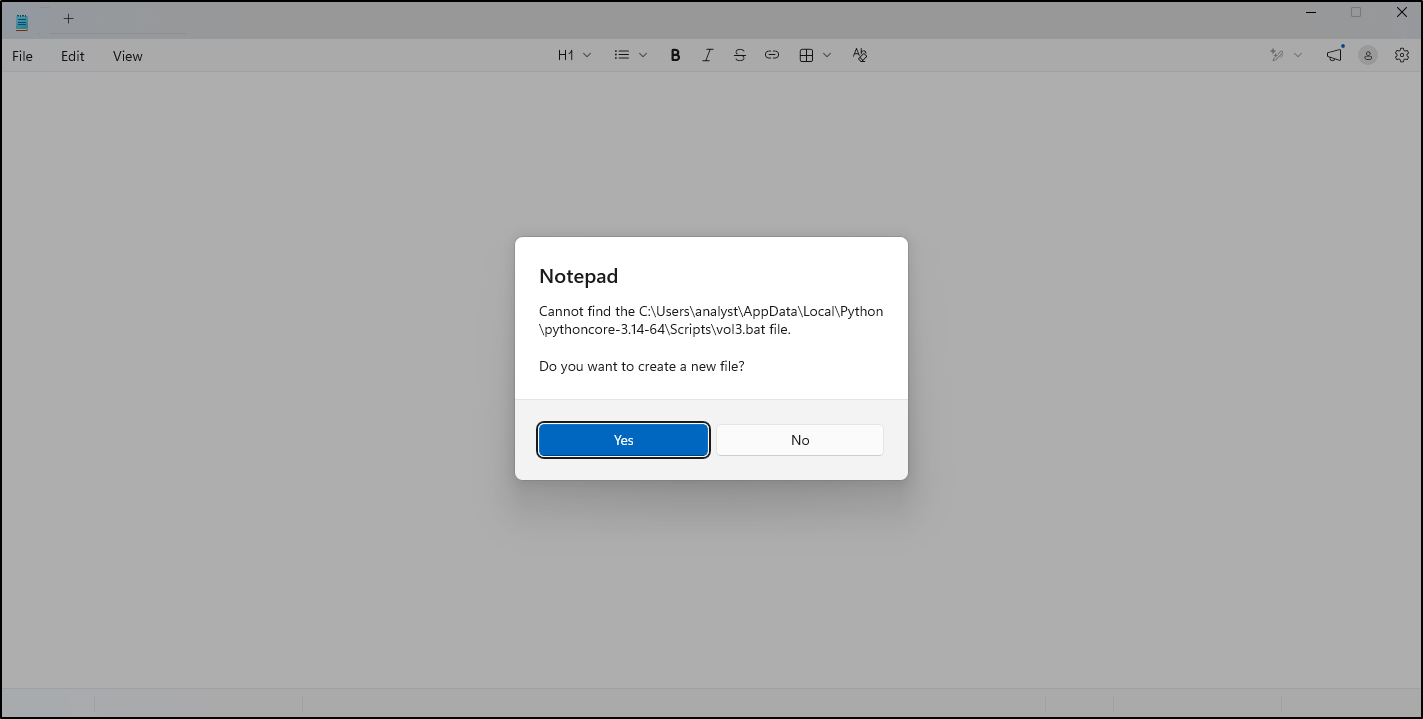
Open an administrator Command Prompt and create a vol3.bat file:
When prompted to create a new file, click Yes.
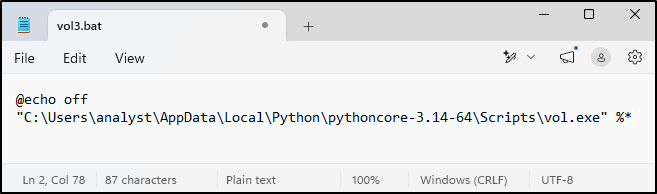
Paste the following content the save it.
Adding Scripts to PATH environment variable
Open Environment Variables (Start → Environment Variables → Edit the system environment variables → Environment Variables).
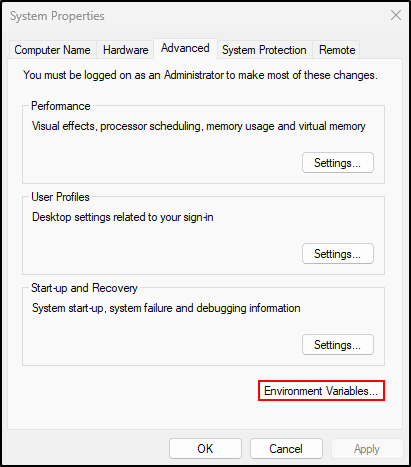
Under User variables, select path and click Edit.
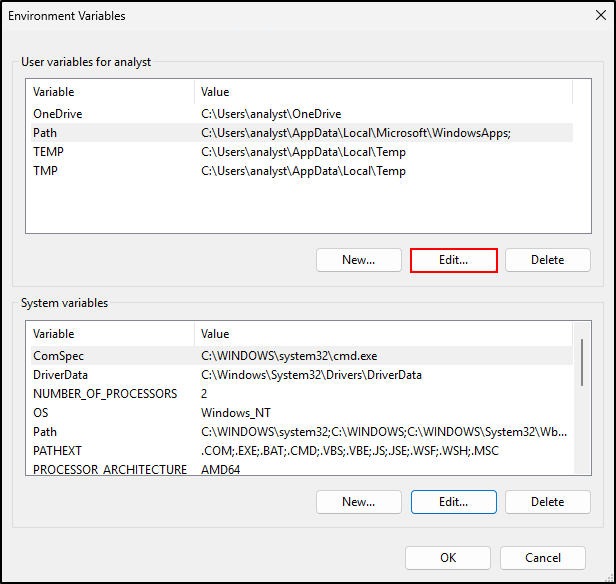
Click New and add (one entry per line):
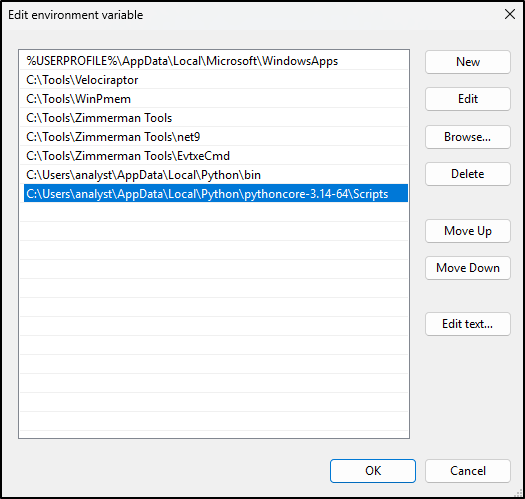
Click OK on every window. Close and reopen Command Prompt.
In Command Prompt, run vol3 and verify that it is Volatility 3 Framework.
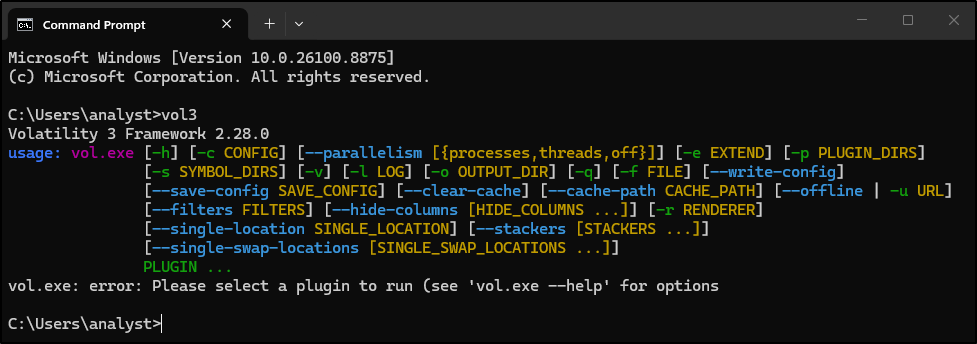
Testing Volatility 3 (2.26.2)
Copy the WinDump.mem that was downloaded earlier to C:\Tools\VolatilityWorkbench-v3.0.
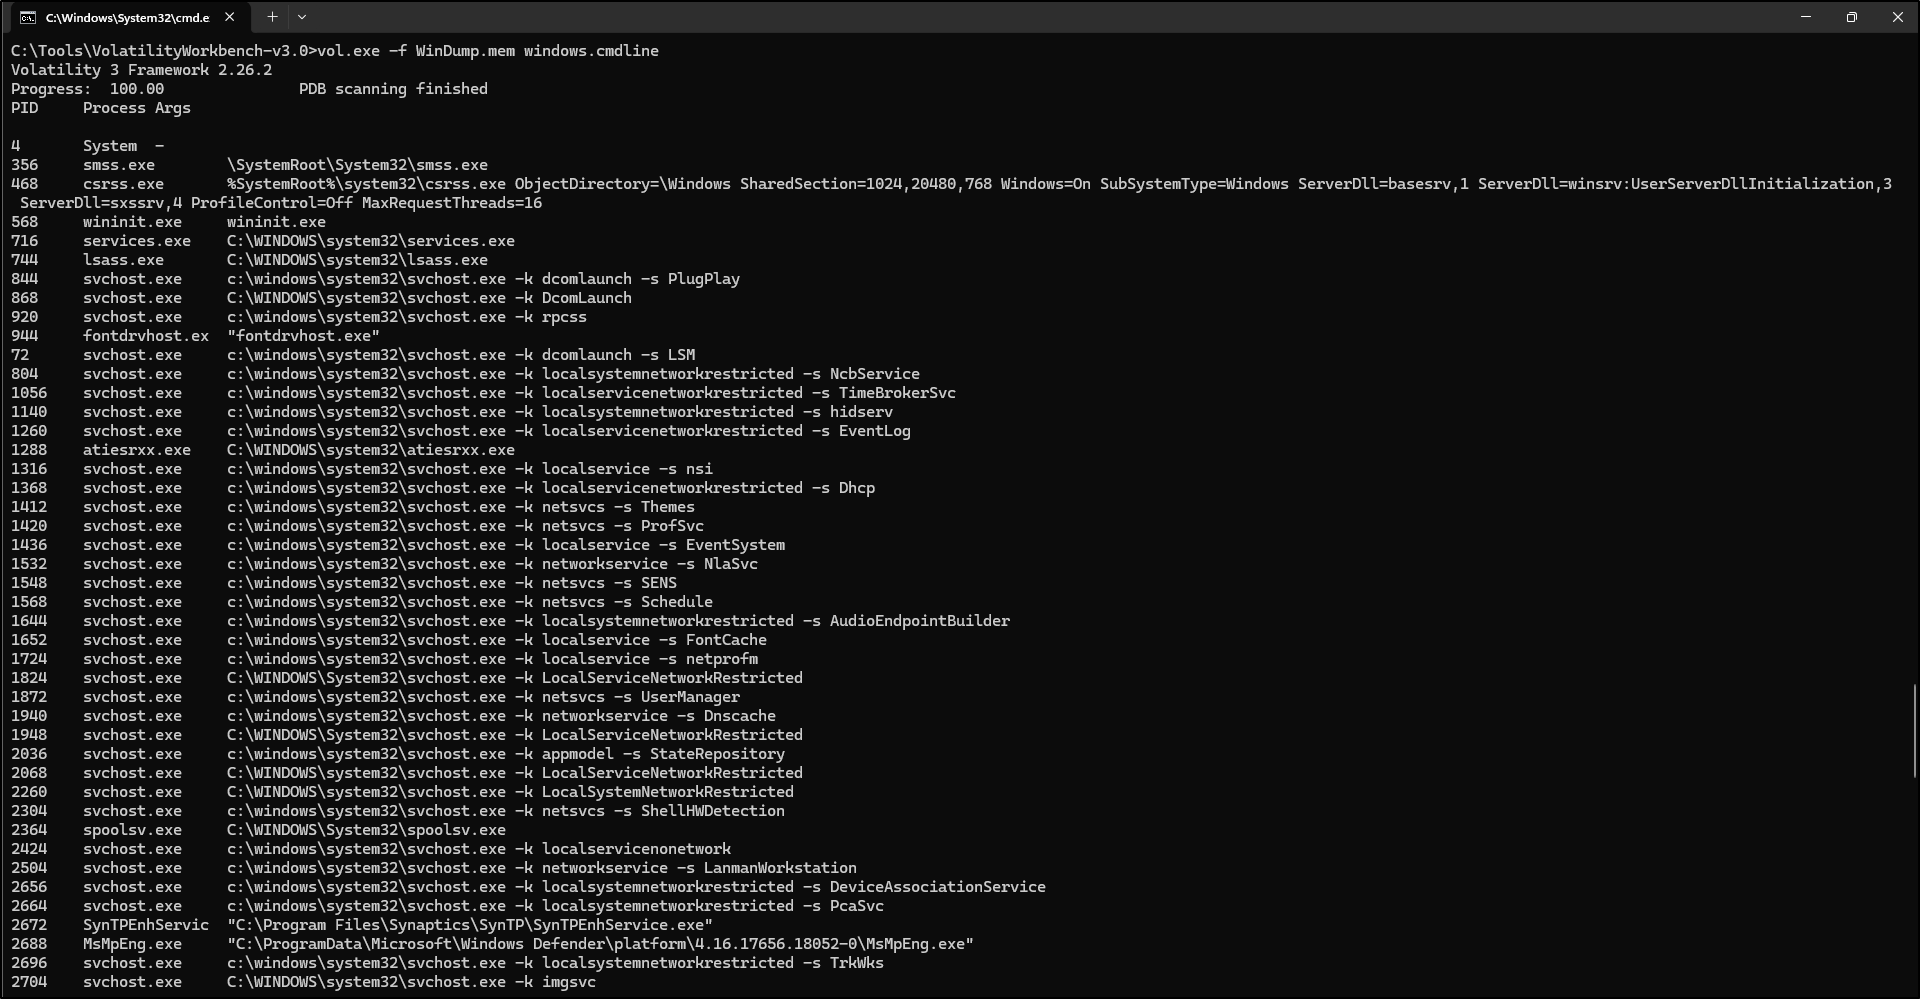
Open a command prompt and navigate to C:\Tools\VolatilityWorkbench-v3.0.
Run the following command to view a command line from the memory dump:
Testing Volatility 3 (2.27.0)
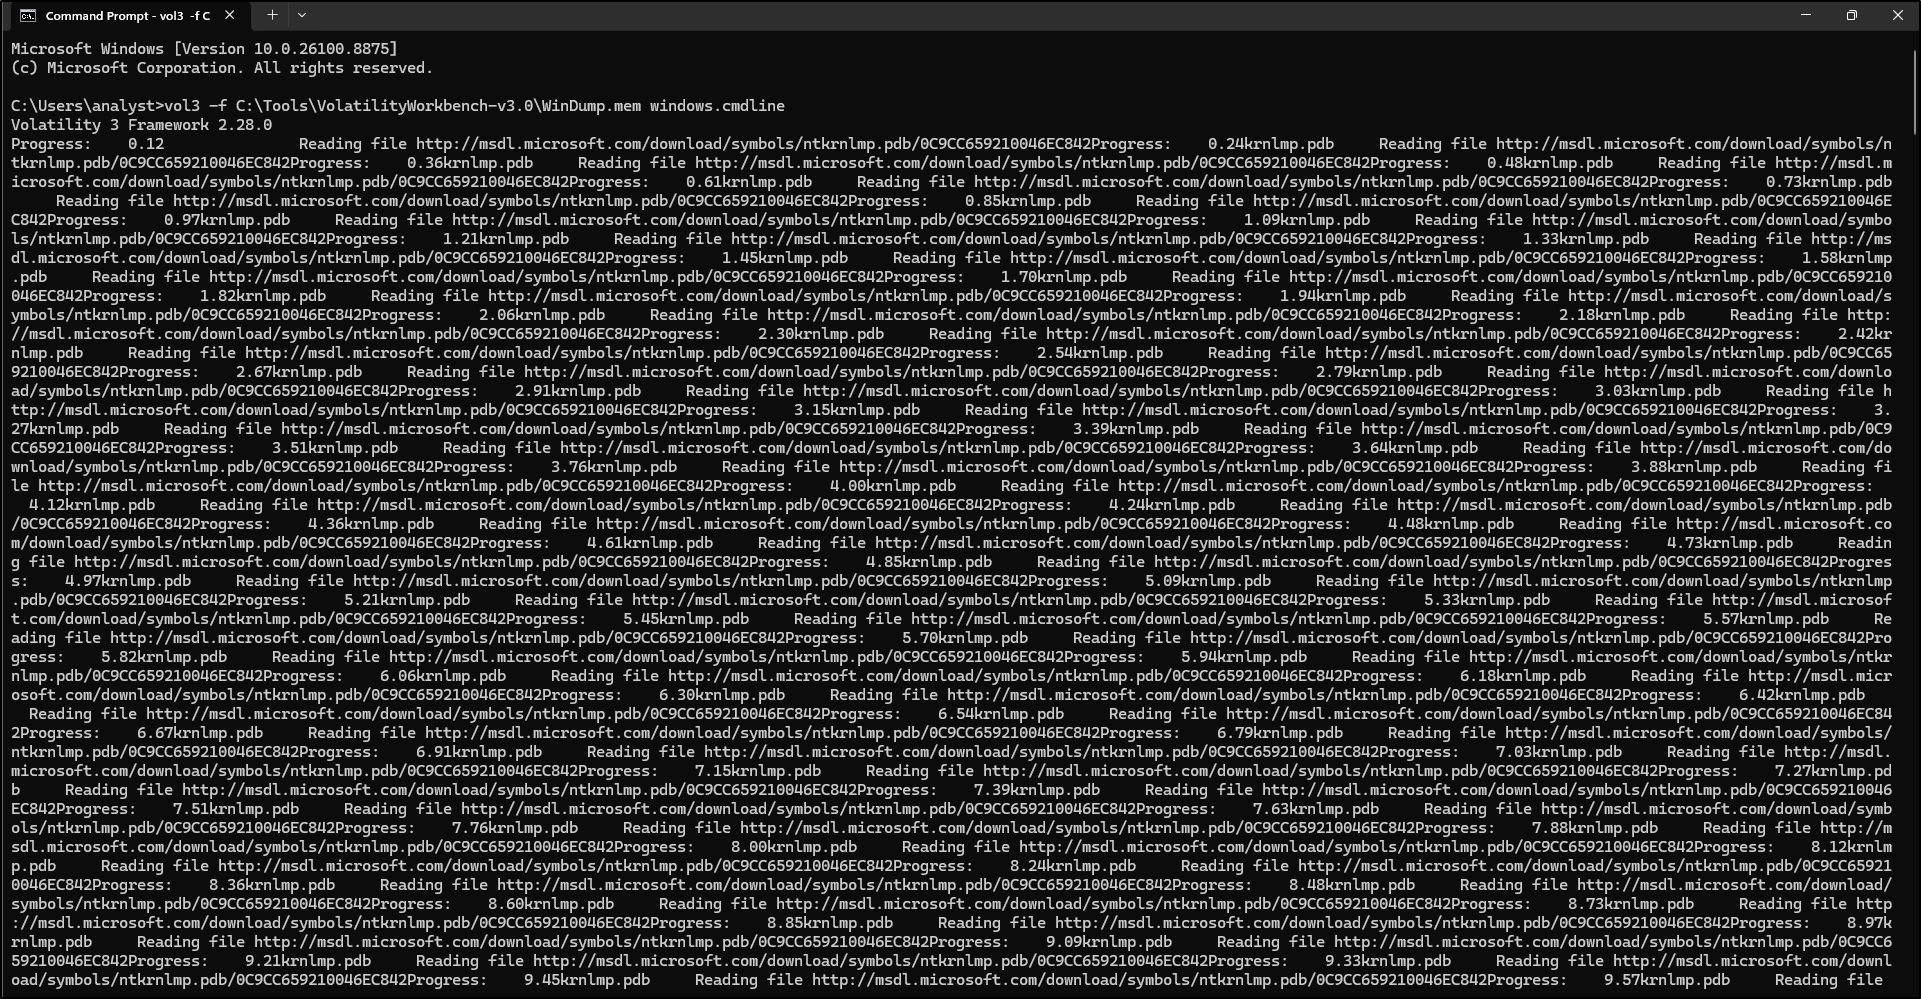
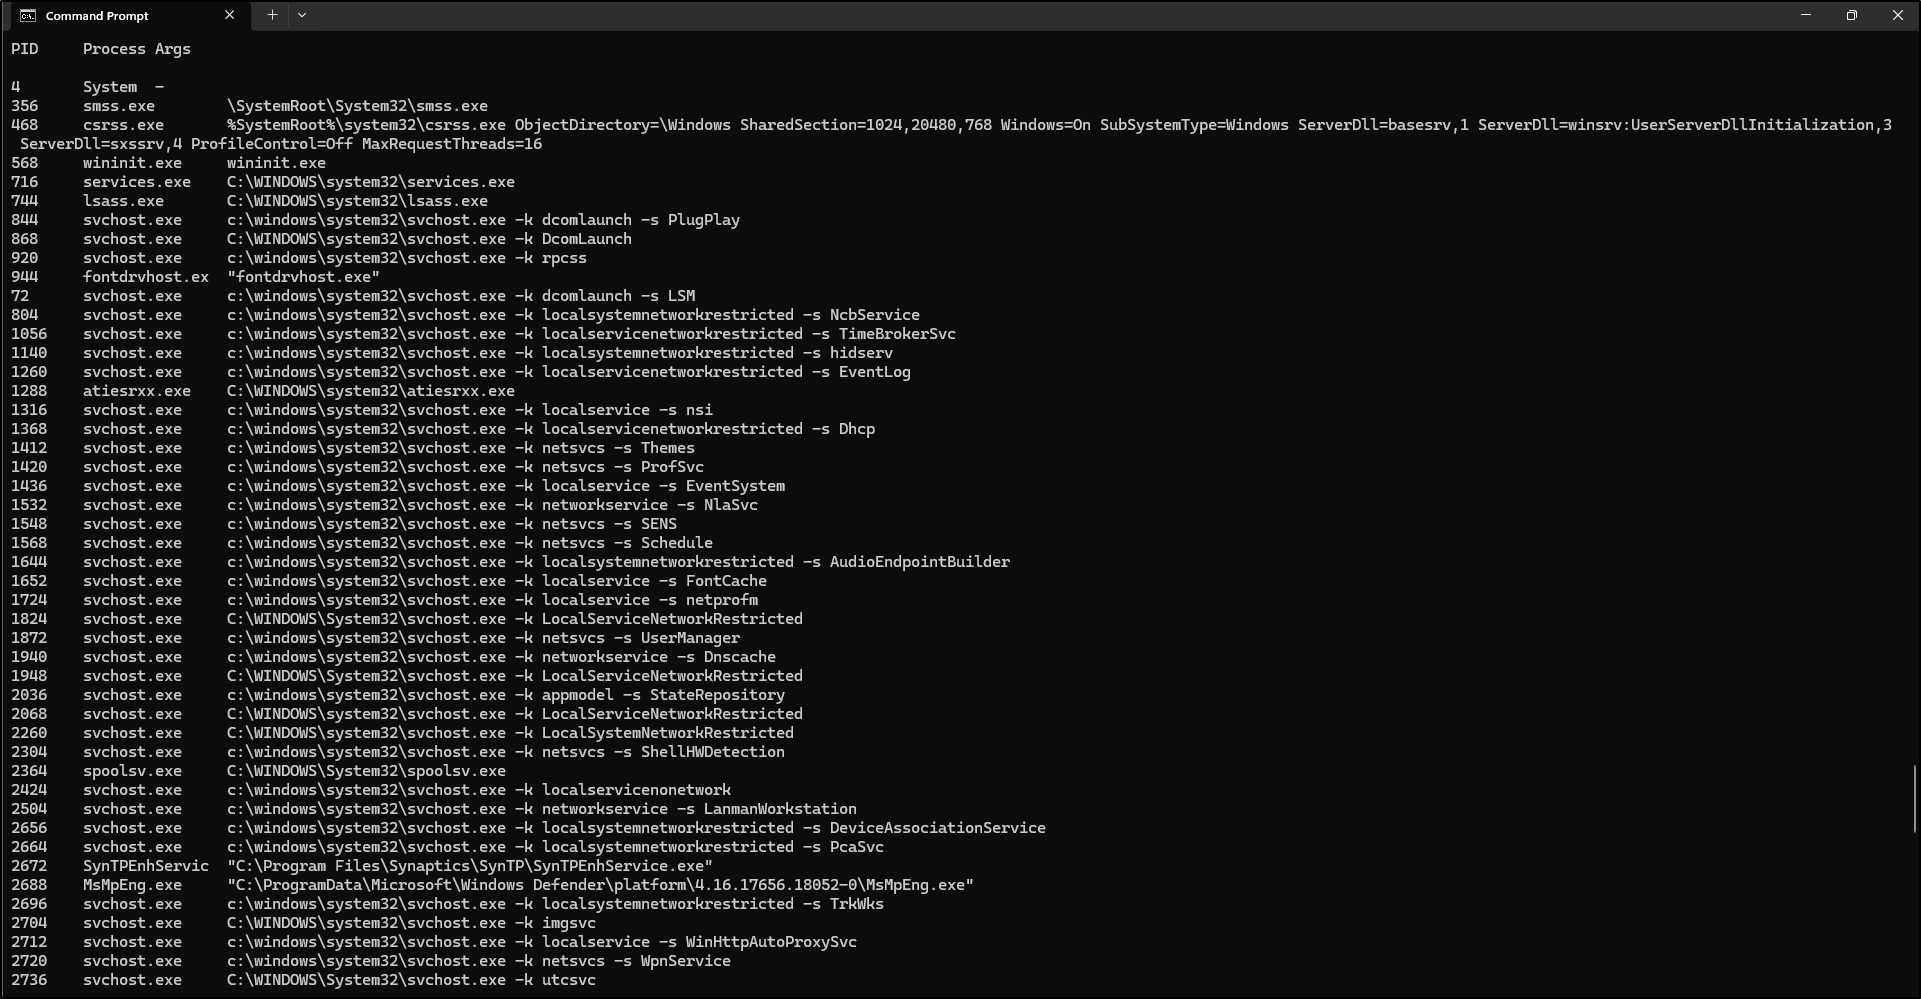
On the command prompt, run the following command to view a command line from the memory dump:
Note that Volatility 3 is first downloading Windows symbols automatically from the internet.
Testing Volatility Workbench v3.0
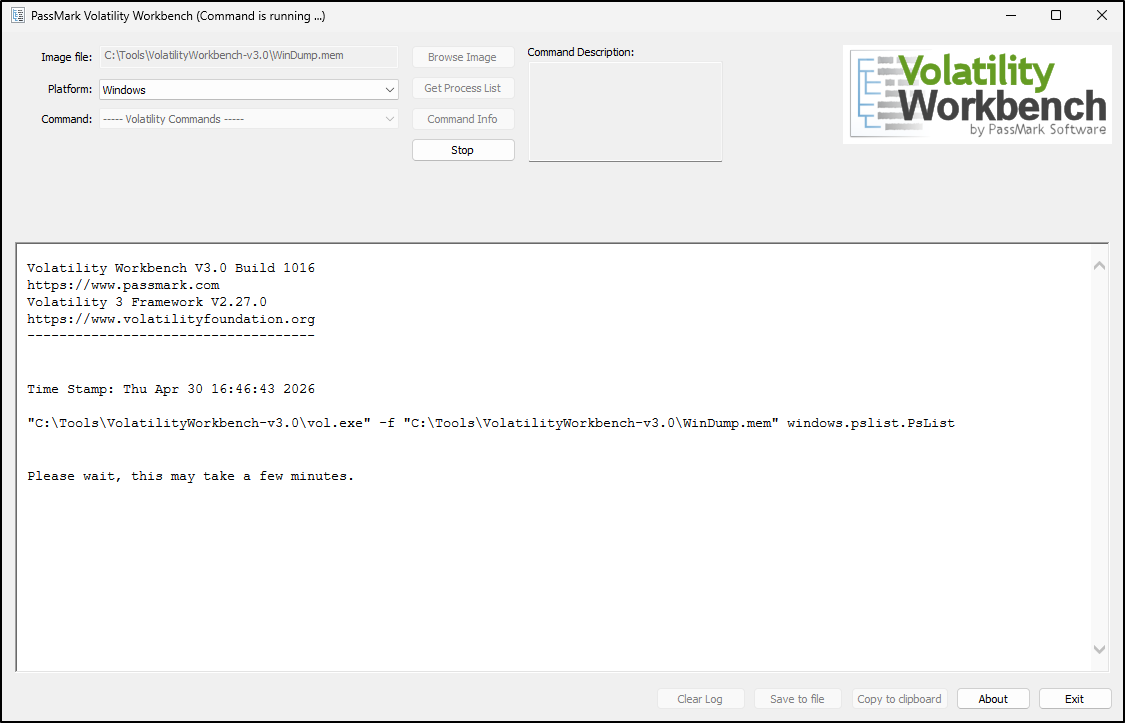
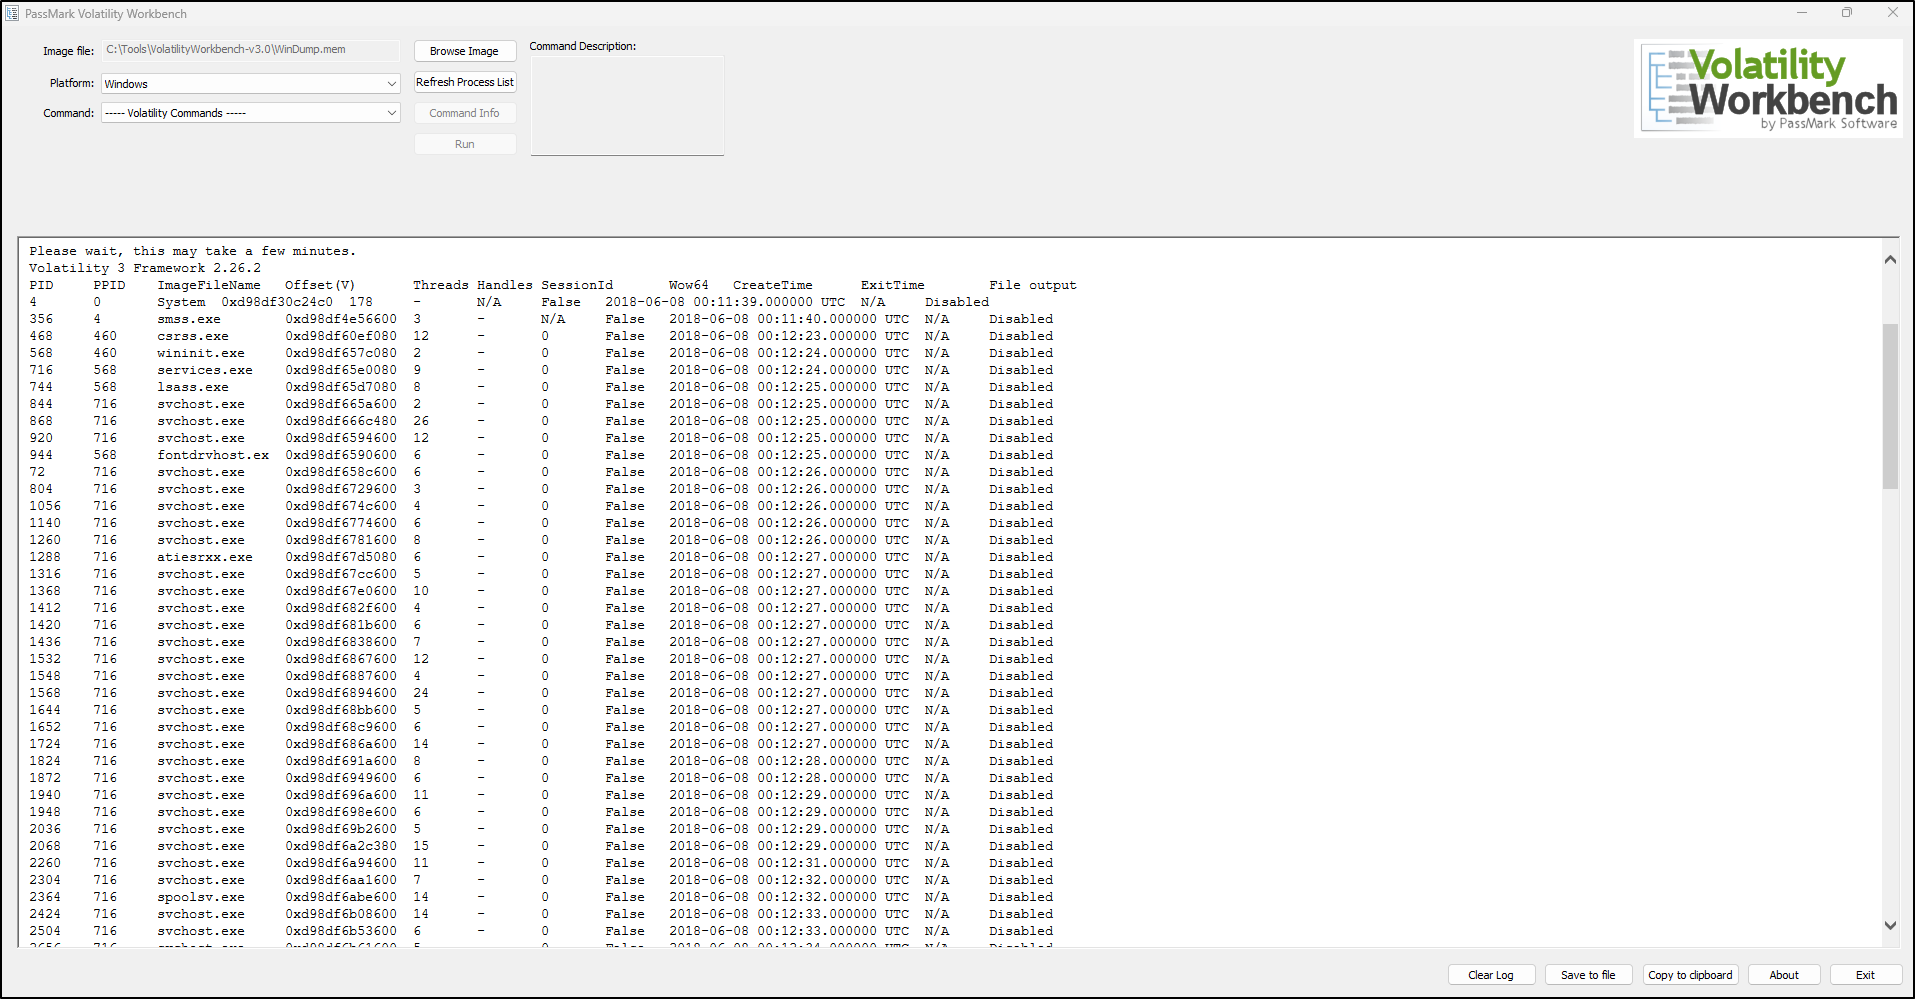
Double-click VolatilityWorkbench. Click Browse Image and select WinDump.mem. For Platform, select Windows and click Get Process List. This process may take some time.