Plaso
What Plaso does
Guided SUSA tool journey
Plaso supports timeline and correlation. In this guide, you will use it to build and filter a small multi-source timeline while preserving source provenance. The procedure and screenshots provide the practical reference; the surrounding context explains what to record and how to judge the result.
Tool guide at a glance
Build and filter a small multi-source timeline while preserving source provenance.
Verified training artefacts with known source time zones and provenance.
A normalised, filtered timeline whose important rows remain traceable to source evidence.
Evidence and safety
Retain original timestamp values and precision. Chronological proximity does not prove causation. Record the input identifier, tool version, relevant commands or settings, time and time zone, output location, and any errors or limitations as you work.
Choose your journey
01Understand the evidenceLearn the timeline and correlation concepts and limitations.Complete when you can explain what the evidence can and cannot show.Beginner · No tool required · 15–25 min 02Follow the Plaso guideWork through the commands, screenshots, and instructional sequence below.Complete when the documented workflow produces its expected output.Guided · SUSA workstation · Time varies 03Interactive labPractise the tool workflow in a safe browser simulation.Complete when the guided result is supported by the case evidence.Beginner · Browser only · 10–20 min 04Full LabInvestigate an authorised training scenario with fewer prompts and preserve a reviewable result.Complete when another analyst can reproduce and verify the outcome.Intermediate · Isolated lab · 45–90 min
How the labs complement this guide
The Interactive Lab is a safe browser simulation for practising the workflow and validation logic. The Full Lab is an independent exercise for an isolated, authorised environment. Confirm the installed tool version and expected output before relying on either exercise in a real case.
Accessing Plaso in SUSA
Plaso (log2timeline) is a tool used to collect, parse, and correlate timestamps from multiple artefacts into a single timeline.
Importing a Plaso WSL distro from a Docker Image
Run the following commands in SANS SIFT VM or Linux VM of your choice. The commands are based on Microsoft’s documentation.
Use docker to pull the latest version of Plaso:
root@siftworkstation:/cases# docker pull log2timeline/plaso:latest
latest: Pulling from log2timeline/plaso
a3629ac5b9f4: Pull complete
6a3a6e4df7ce: Pull complete
a1418a9ea6a2: Pull complete
4f4fb700ef54: Pull complete
1eeb3b3a10d8: Pull complete
Digest: sha256:e4813c242d649dda83add1f939bb0c5dad7eb1ad6bcc2db9d4e14f3f0ae1a140
Status: Downloaded newer image for log2timeline/plaso:latest
docker.io/log2timeline/plaso:latest
Verify that the image has been pulled successfully:
root@siftworkstation:/cases# docker image ls
REPOSITORY           TAG        IMAGE ID       CREATED       SIZE
log2timeline/plaso   latest     9b64af4581bc   8 weeks ago   480MB
<SNIP>
Create and start a Docker container from the log2timeline/plaso:latest image and run the log2timeline.py --version command within it. This names the Docker container Plaso-latest.
root@siftworkstation:/cases# docker run -t --name Plaso-latest log2timeline/plaso:latest log2timeline.py --version
plaso - log2timeline version 20260119
Export all of the files in the new log2timeline/plaso:latest container into a tar archive file named Plaso-latest.tar located in the /cases directory.
Delete the temporary container we created for export purposes.
Copy the Plaso-latest.tar from the Linux VM to the Windows VM (C:\Tools\Plaso-latest). Refer to Using the SMB share on the Linux VM section if required.
In the Windows VM from an Administrator command terminal, make a folder called Plaso-latest to provide a directory location where the custom WSL distro will store its files.
Next, navigate to the C:\Tools\Plaso-latest directory, import the tar file into WSL using the following commands:
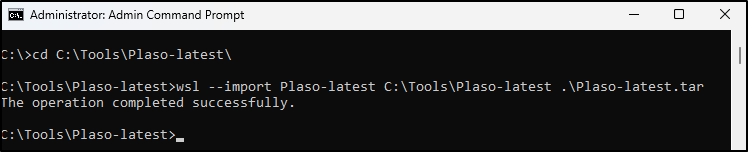
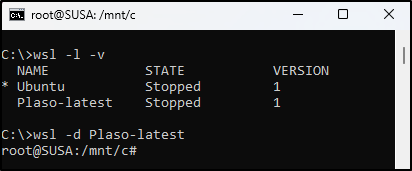
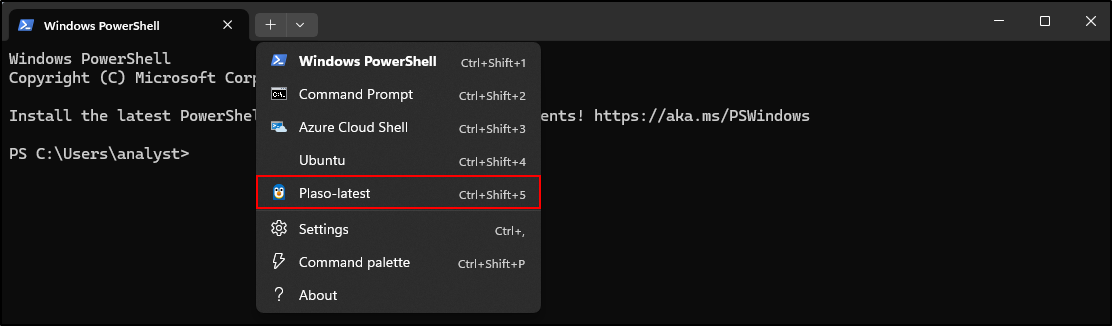
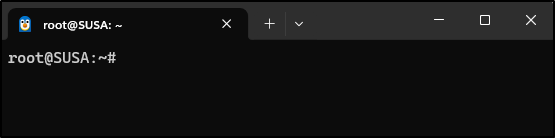
The custom WSL distro for Plaso should be ready. Run the command wsl -l -v to check which distribution you have installed. Use the command wsl -d Plaso-latest to run the new distro directly, or select from the Windows terminal new tab drop-down list.
Using the SMB share on the Linux VM
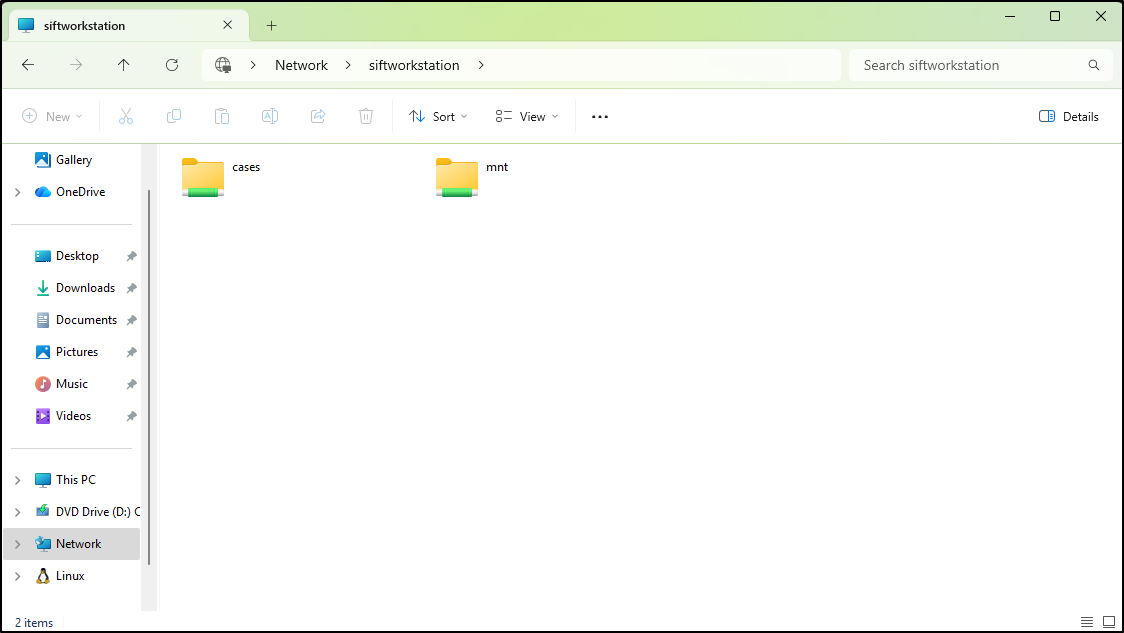
The Linux SIFT Workstation has been configured to share its /cases and /mnt directories via SMB. You can verify this SMB config by running the following command:
root@siftworkstation:/cases# cat /etc/samba/smb.conf
[global]
workgroup = SANS
server string = SIFT WORKSTATION
netbios name = SIFTWORKSTATION
security = USER
map to guest = Bad User
dns proxy = no
include = /etc/samba/smb-%L.conf
guest account = sansforensics

[cases]
path = /cases
browseable = yes
writeable = yes
guest ok = yes
inherit owner = yes
create mask = 744
inherit permissions = yes

[mnt]
path = /mnt
browseable = yes
read only = yes
guest ok = yes
Check if Samba service is running:
root@siftworkstation:/cases# systemctl status smbd
● smbd.service - Samba SMB Daemon
     Loaded: loaded (/lib/systemd/system/smbd.service; enabled; vendor preset: enabled)
     Active: active (running) since Tue 2026-04-07 20:41:56 UTC; 27min ago
       Docs: man:smbd(8)
             man:samba(7)
             man:smb.conf(5)
   Main PID: 1259 (smbd)
     Status: "smbd: ready to serve connections..."
      Tasks: 4 (limit: 4432)
     Memory: 15.0M
        CPU: 349ms
     CGroup: /system.slice/smbd.service
             ├─1259 /usr/sbin/smbd --foreground --no-process-group
             ├─1269 /usr/sbin/smbd --foreground --no-process-group
             ├─1270 /usr/sbin/smbd --foreground --no-process-group
             └─1276 /usr/lib/x86_64-linux-gnu/samba/samba-bgqd --ready-signal-fd=47 --parent-watch-fd=12 --debuglevel=0 -F

Apr 07 20:41:54 siftworkstation systemd[1]: Starting Samba SMB Daemon...
Apr 07 20:41:55 siftworkstation smbd[1259]: [2026/04/07 20:41:55.561519,  0] ../../source3/smbd/server.c:1734(main)
Apr 07 20:41:55 siftworkstation smbd[1259]:   smbd version 4.15.13-Ubuntu started.
Apr 07 20:41:55 siftworkstation smbd[1259]:   Copyright Andrew Tridgell and the Samba Team 1992-2021
Apr 07 20:41:56 siftworkstation systemd[1]: Started Samba SMB Daemon.
Newer versions of Windows do not allow accessing anonymous SMB shares by default. Also, Windows 11 24H2 Enterprise added an SMB signing requirement for both inbound and outbound connections, which breaks outbound connections to a Linux SMB server. Open a PowerShell command prompt as Administrator and run the following commands:
Set-ItemProperty -Path "HKLM:\SYSTEM\CurrentControlSet\Services\LanmanWorkstation\Parameters" AllowInsecureGuestAuth -Type DWORD -Value 1 -Force
Set-SmbClientConfiguration -RequireSecuritySignature $false -Force
We can either use the hostname siftworkstation or the IP address of the Linux SIFT to connect to the share directly:
Plaso
Create a Virtual Disk Image of Windows VM using KAPE
Transfer KAPE to the target Windows VM and run gkape.
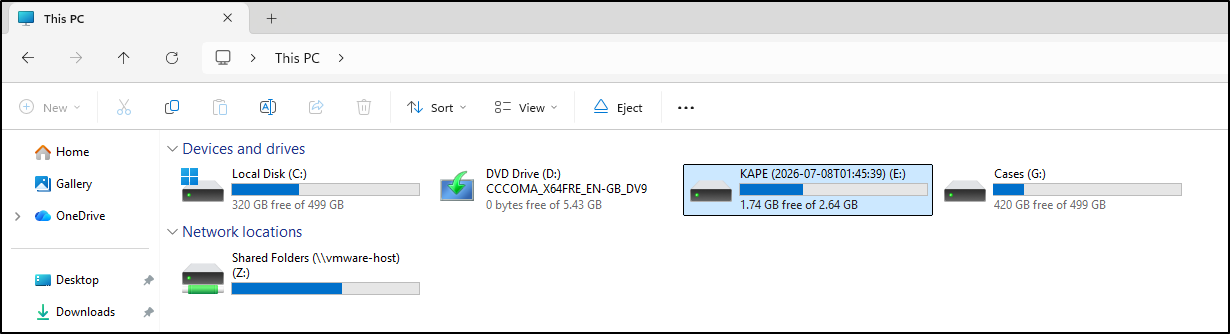
Select C drive as the Target source and E drive as the Target destination. Uncheck Flush.
Select SANS Triage and VHDX as the Container. Set Base name as cdrive. Click Execute.
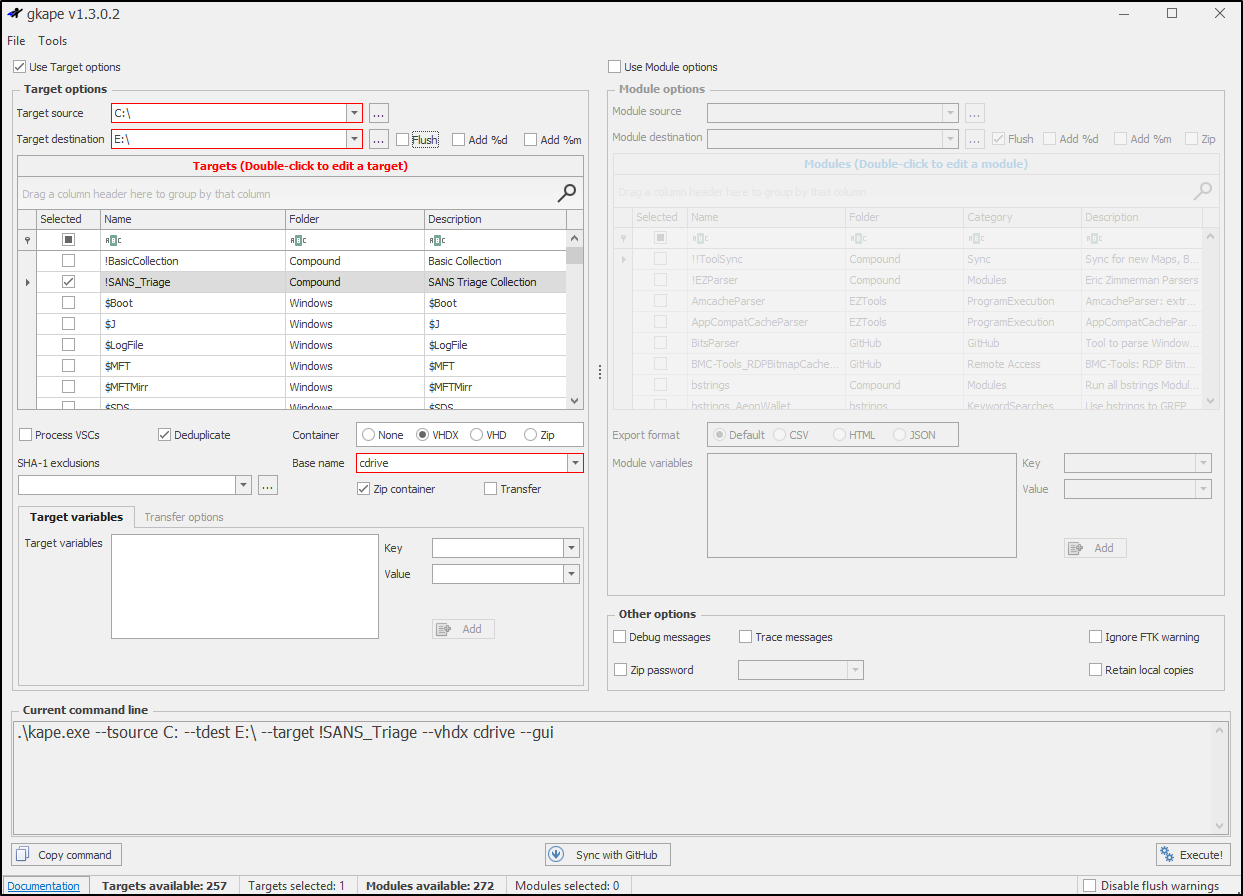
This process may take some time. After completion, it will create a compressed folder in E drive containing the virtual disk image. Copy this to the DFIR VM’s G drive and unzip it.
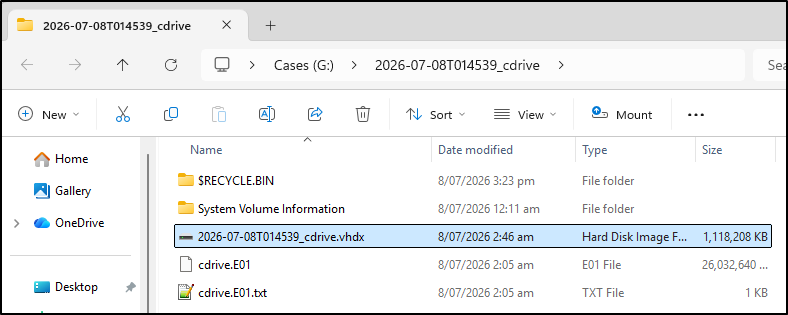
Double-clicking the VHDX will mount it on the DFIR VM as an E drive.
Create the Super Timeline
Parse the Virtual Disk Image using log2timeline.py
For demonstration purposes, I have created a Windows 11 VM and simulated user activity by installing Sysmon and Firefox. I have copied the virtual disk file to my DFIR VM.
log2timeline.py scans forensic evidence, extracts timestamped events from supported artefacts, and stores them in a Plaso database for later analysis.
Open terminal and from the drop-down menu, select Plaso-latest.
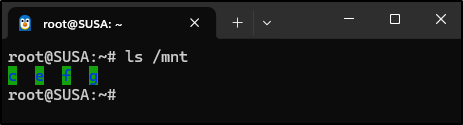
Run the following command to verify that the mounted virtual disk image (E drive) can be seen from Plaso.
Manually Mounting a Windows Drive
In some cases, the Plaso terminal may not automatically mount all Windows drives. This can occur with removable media, mounted forensic images, or virtual volumes. If the required drive is not present under /mnt, it can be mounted manually using the drvfs filesystem.
Check which drives are currently mounted:
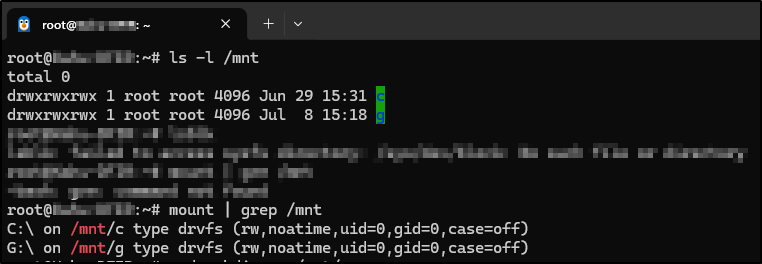
If the required drive (for example, E:) is missing, create a mount point and mount it manually:
Verify that the drive has been mounted successfully:
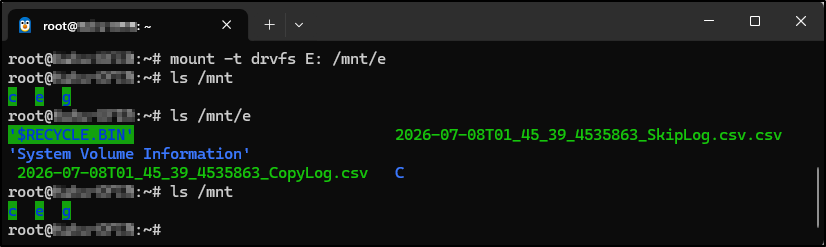
The drive can then be accessed using its Linux path (for example, /mnt/e) when running log2timeline.py.
We begin by parsing the contents of the mounted VHDX image using log2timeline. In the commands below, we specify the known time zone of the Windows host (UTC) and the preferred parsers. We are using the "win7" preset minus the "filestat" parser. We then run log2timeline.py a second time to add in the filesystem timeline body file we created with MFTECmd and mactime in previous exercise.
log2timeline.py --timezone 'UTC' --parsers 'win7,!filestat' --storage-file /mnt/g/timeline/windows-triage.plaso /mnt/e/C/
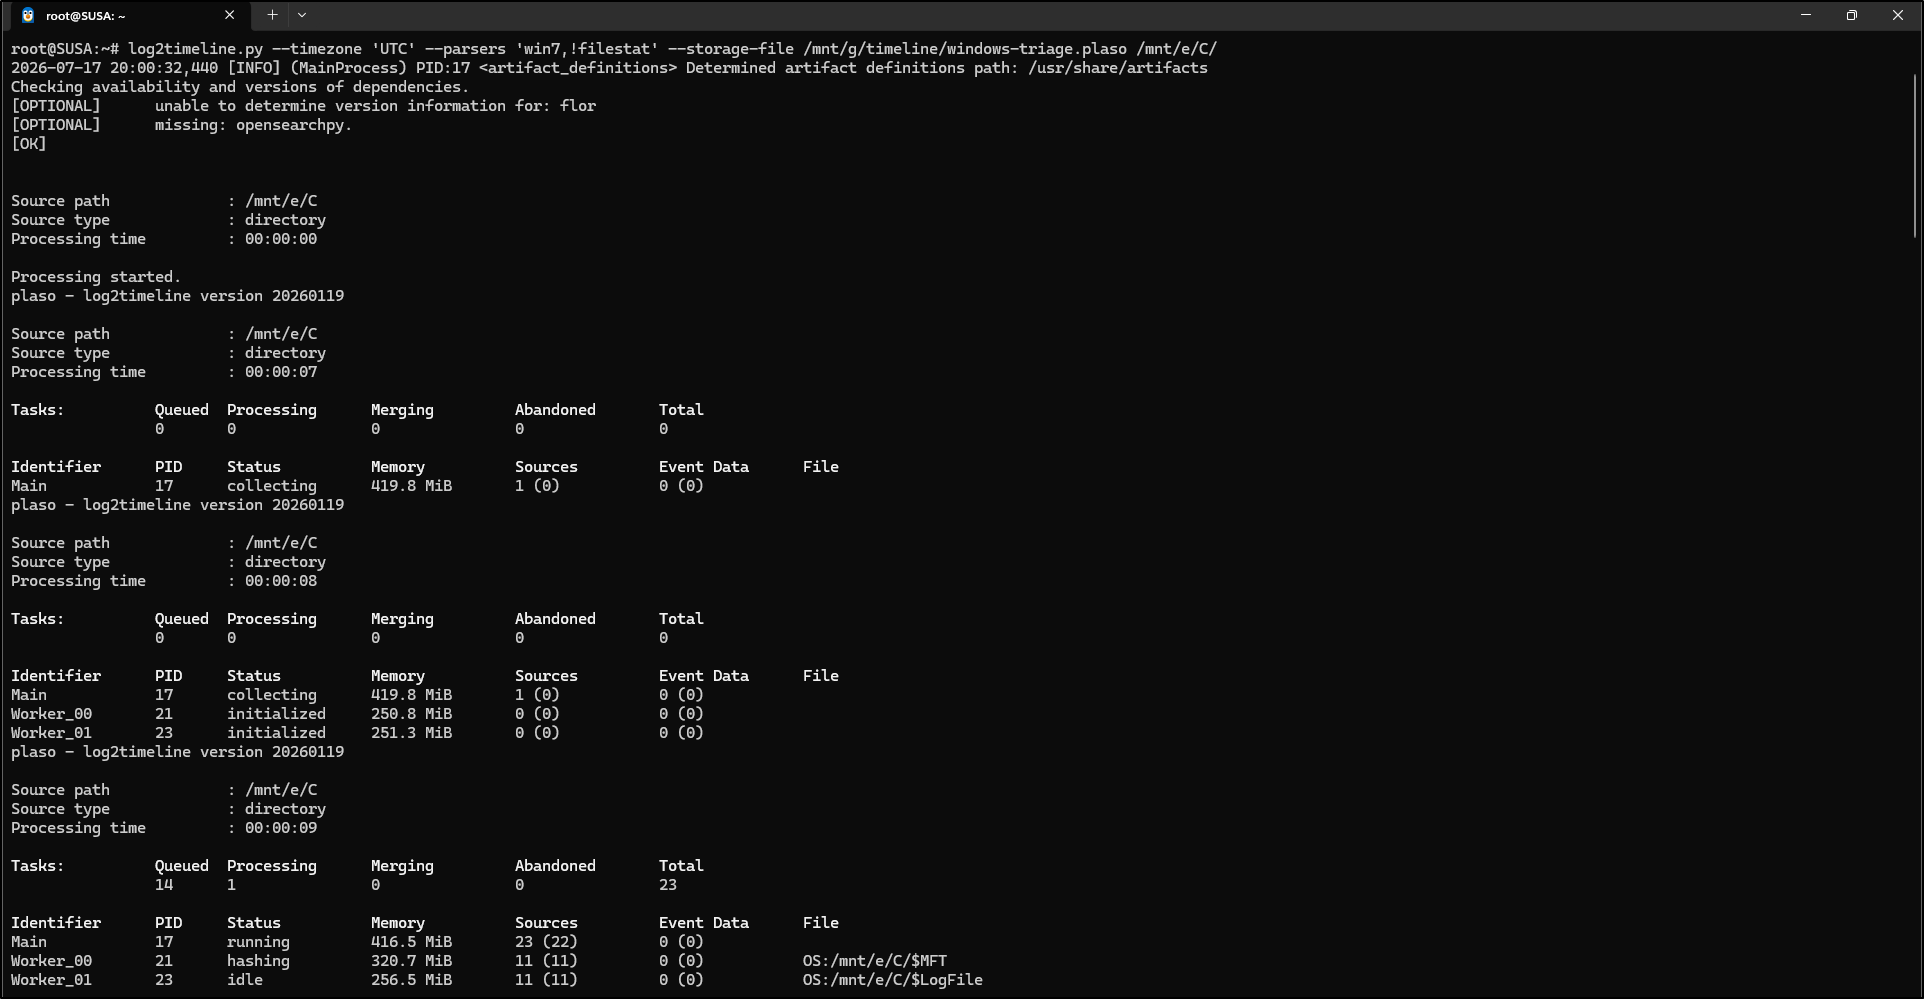
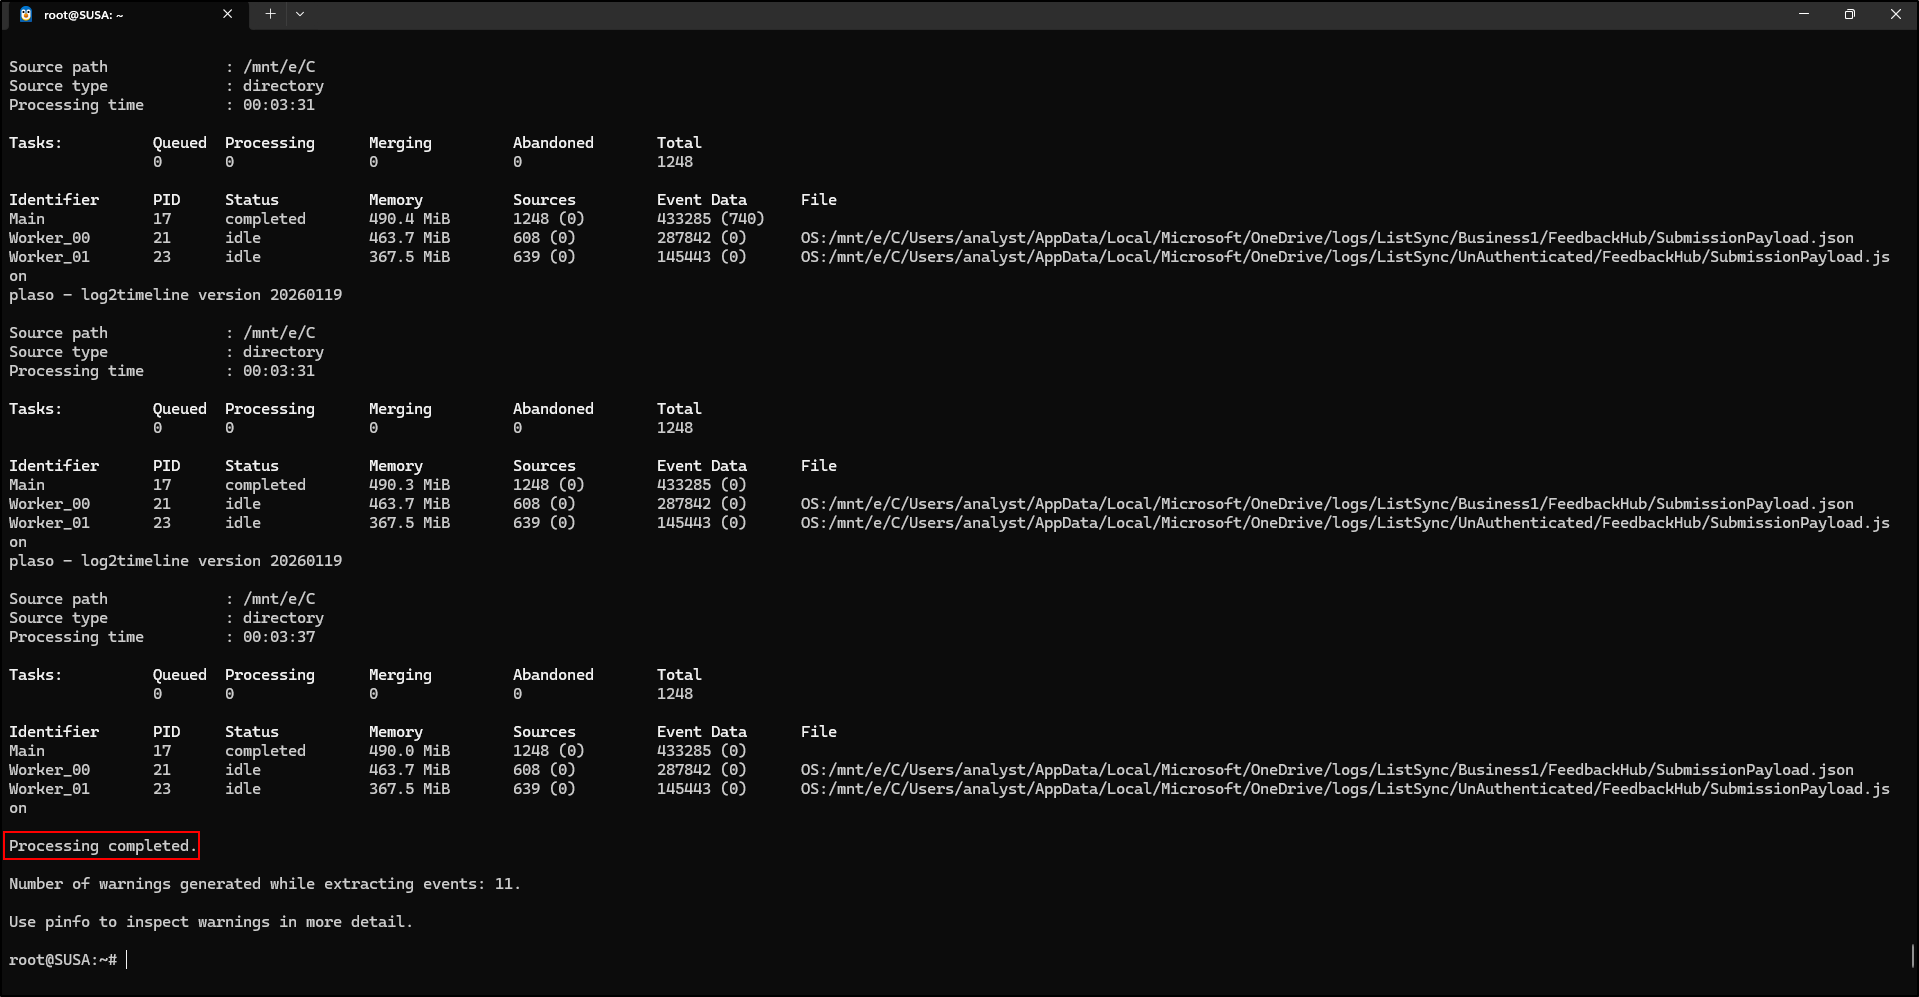
This process may take some time to complete. Once it is complete, before we add in the body file for the file system timestamps, we are going to filter out noisy events as we did in previous exercise.
grep -a -v -i -f /mnt/g/timeline/keyword_filter.txt /mnt/g/timeline/mft.body > /mnt/g/timeline/windows-mft-final.body
We also would like to change the forward slashes to backslashes to match the Windows path style. We can do that with the following sed command:

We are now ready to import the final file system timeline data into log2timeline:
log2timeline.py --parsers 'mactime' --storage-file /mnt/g/timeline/windows-triage.plaso /mnt/g/timeline/windows-mft-final.body
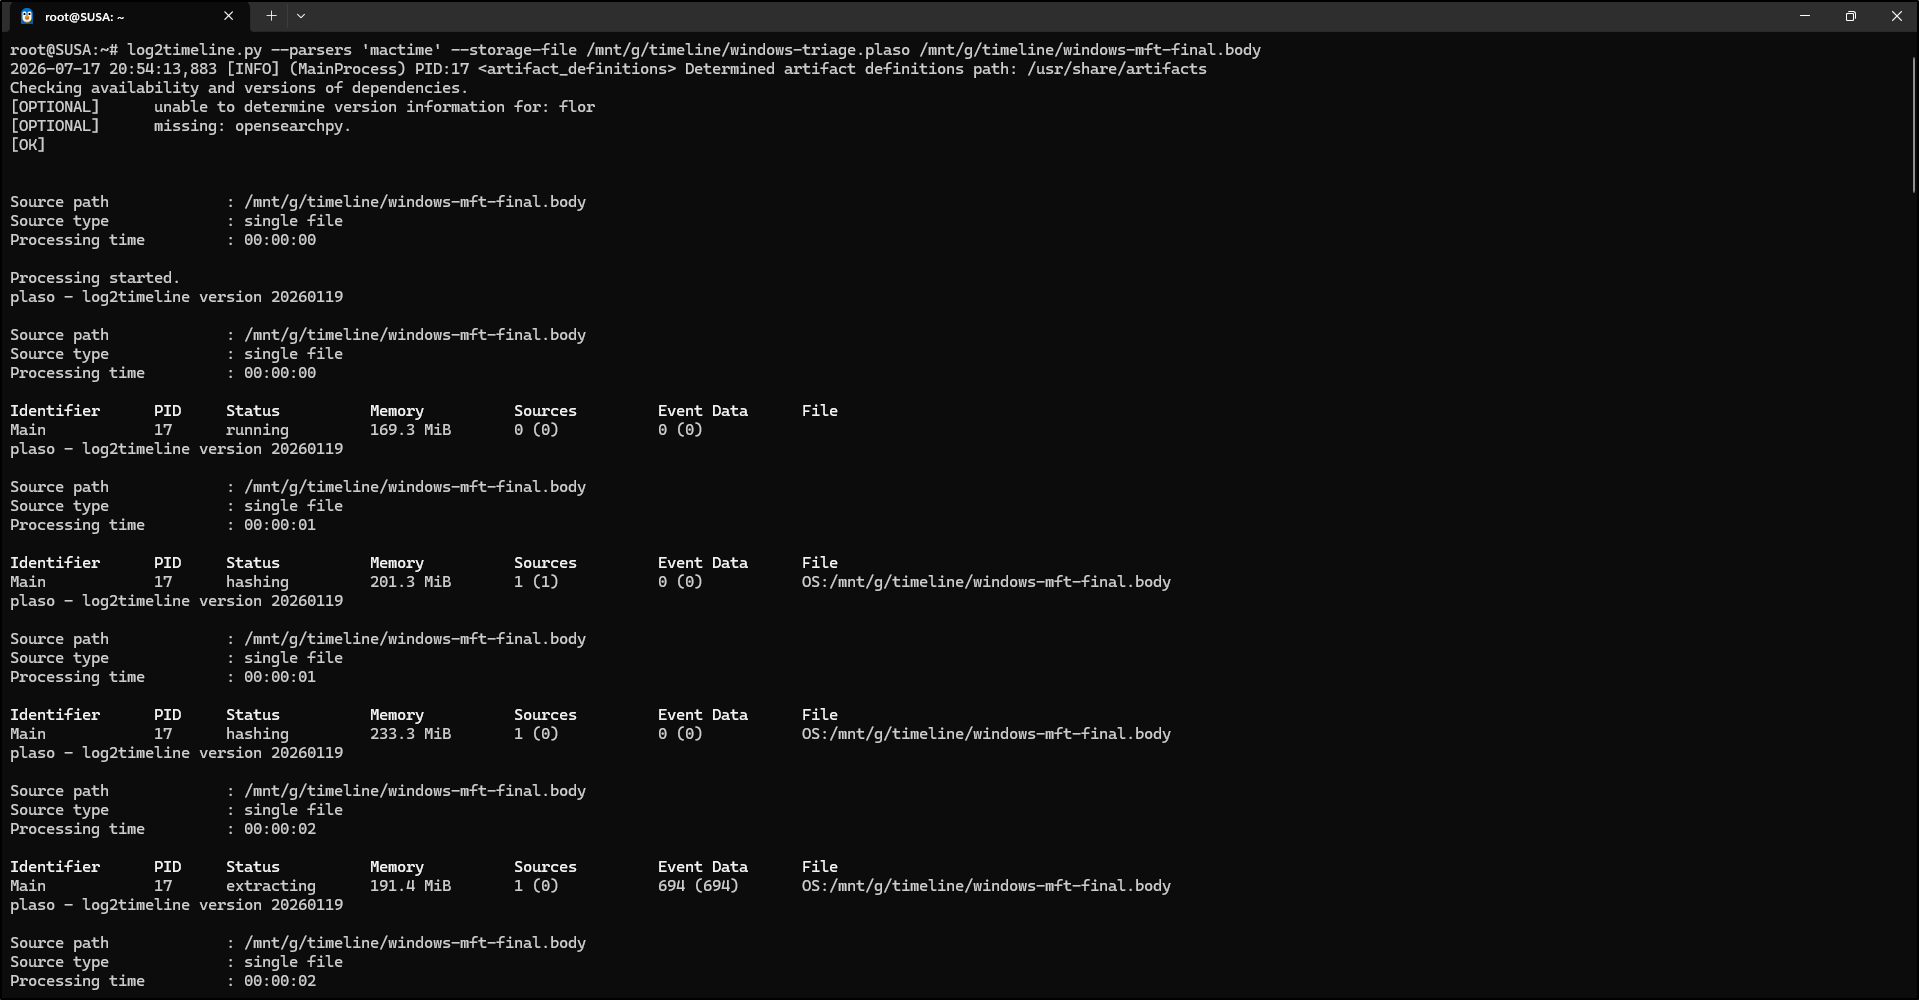
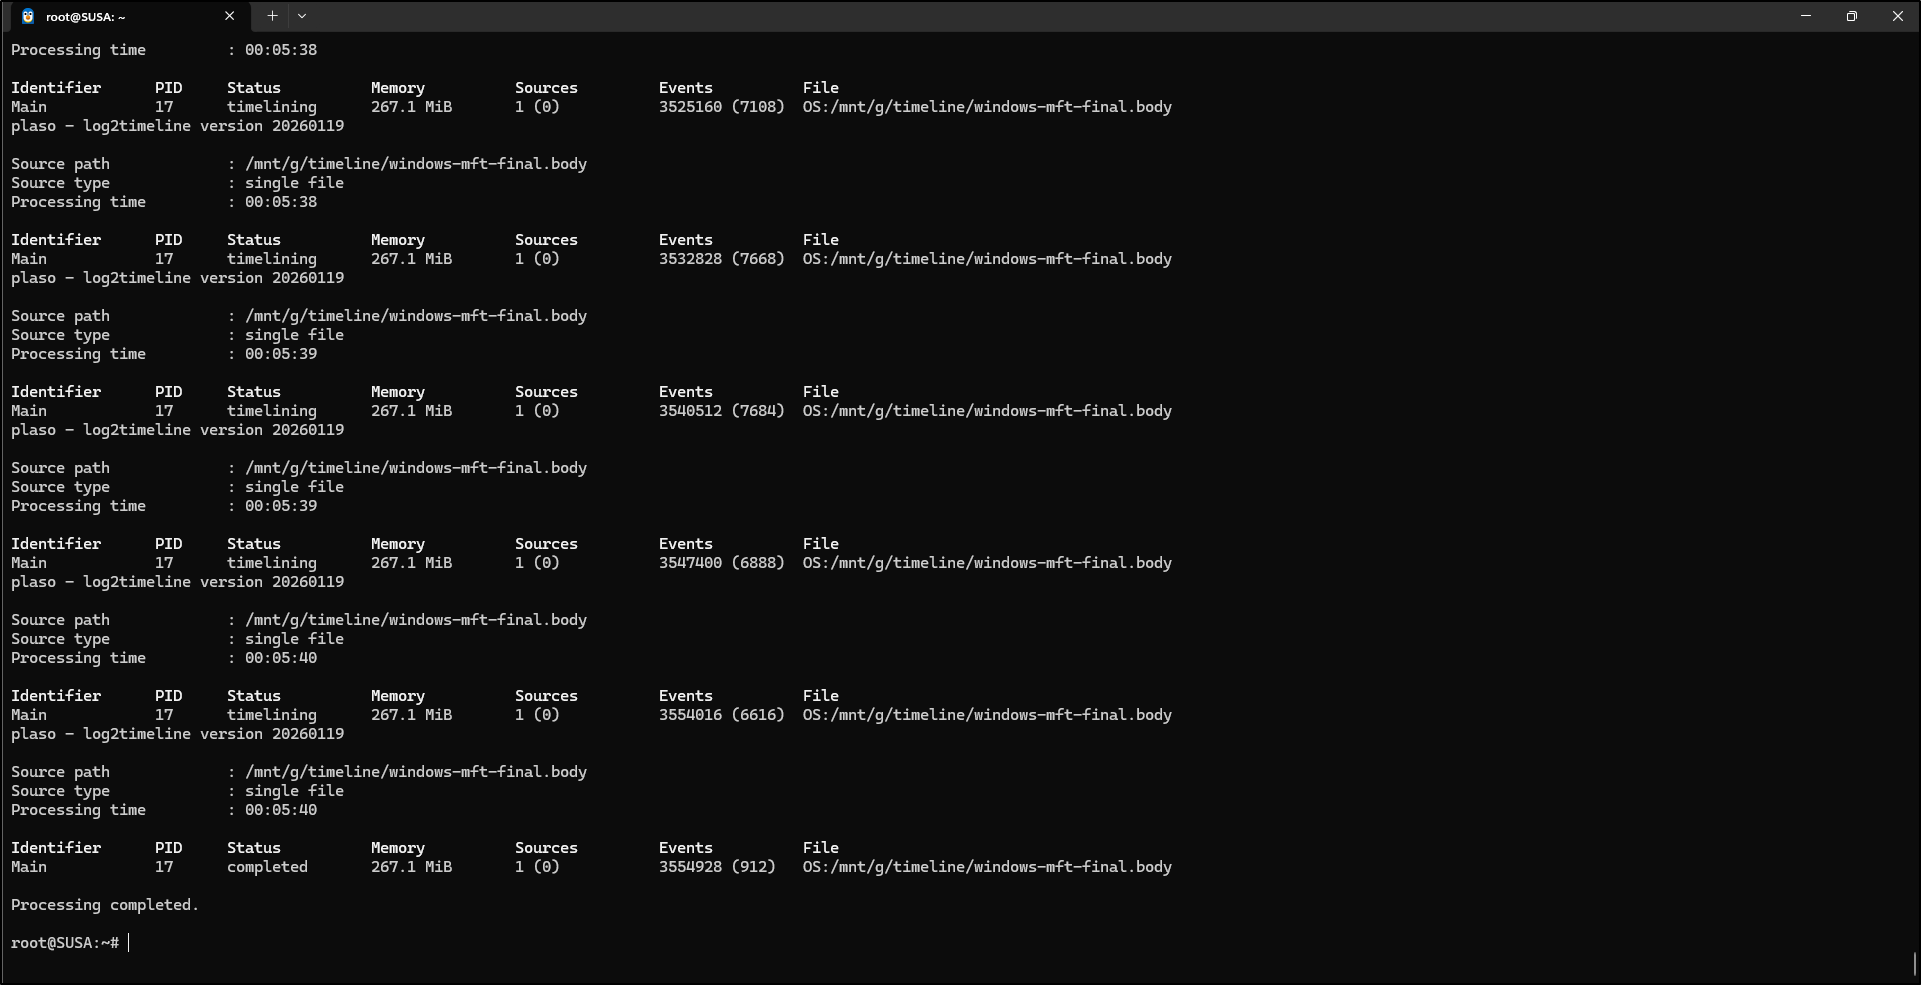
After the log2timeline commands are complete, we have a Plaso database file with artifacts ready to export. To get the data exported into a CSV or other format for timeline review, we use psort.py. Run the following command to export the data to CSV:
psort.py --output-time-zone 'UTC' -o l2tcsv -w /mnt/g/timeline/windows-triage.csv /mnt/g/timeline/windows-triage.plaso
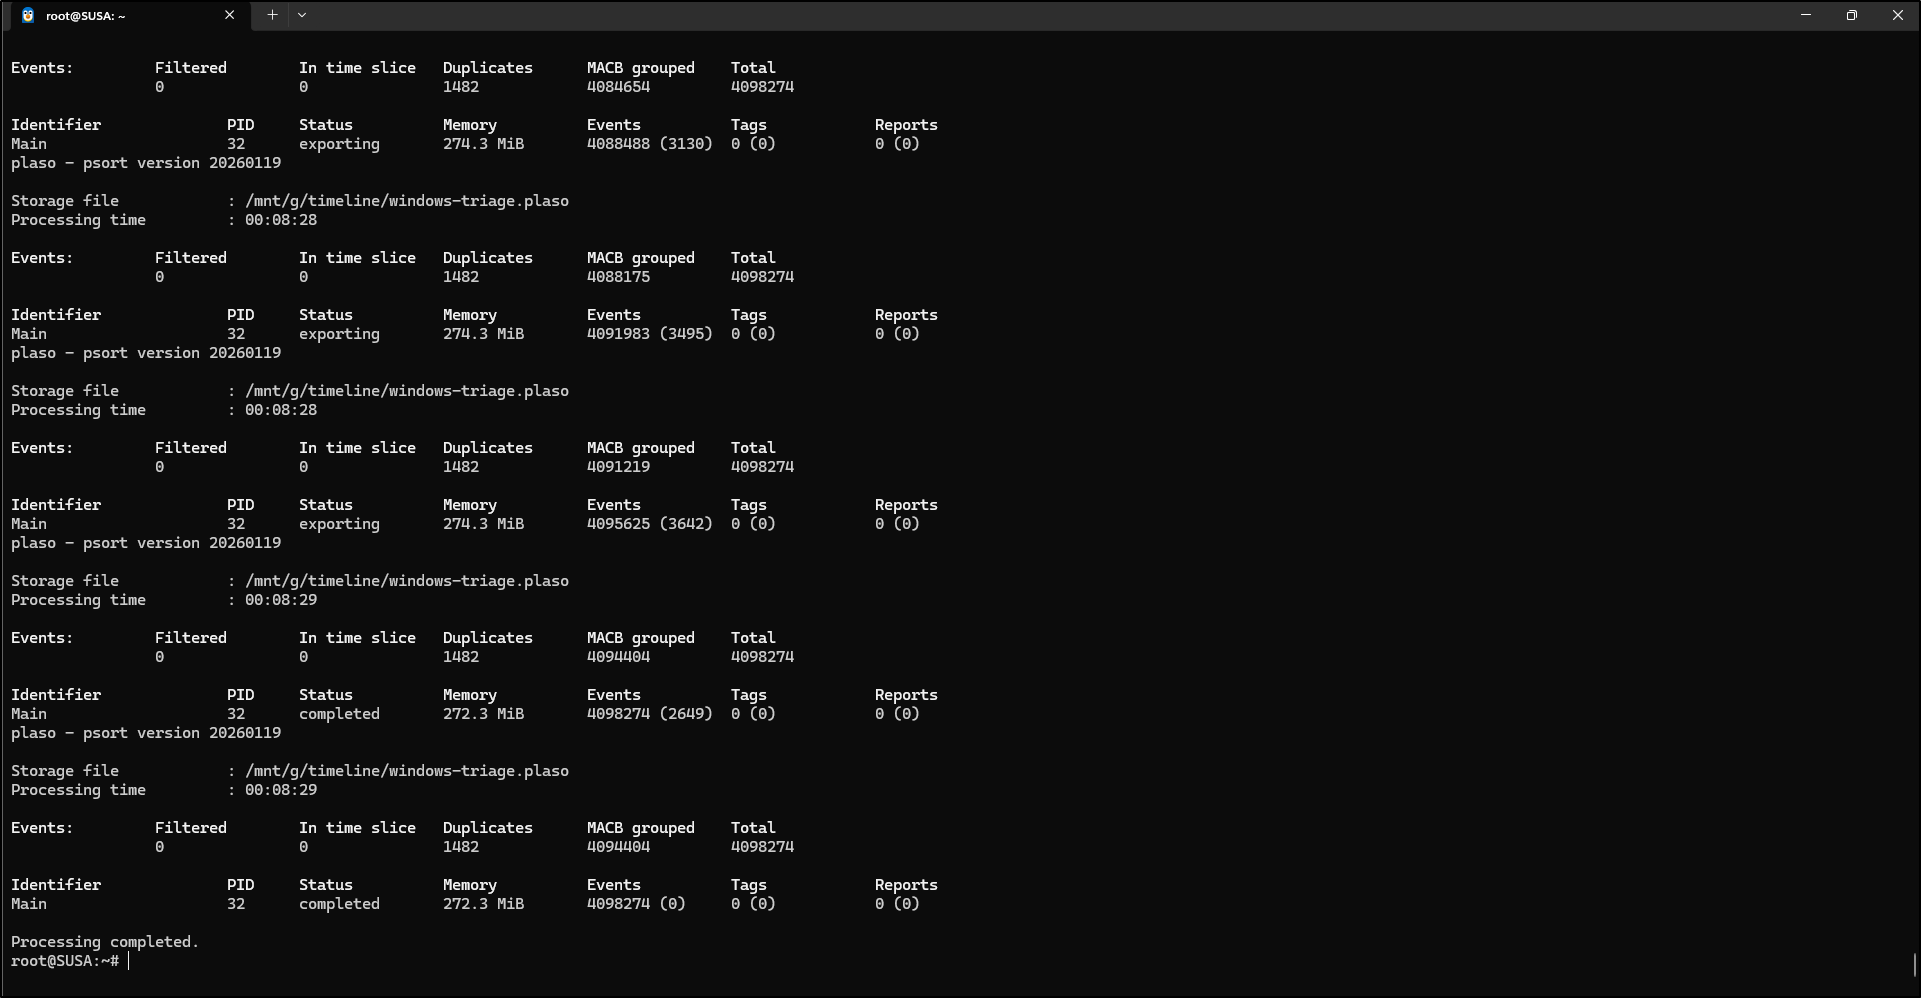
Verify the super timeline
Confirm that the CSV was created:
Optionally verify that it contains records:
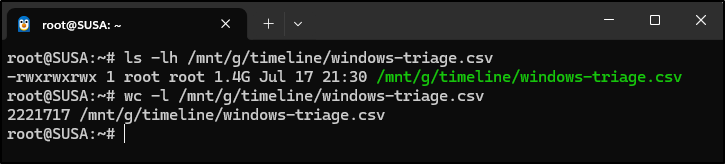
Then return to Windows and browse to:
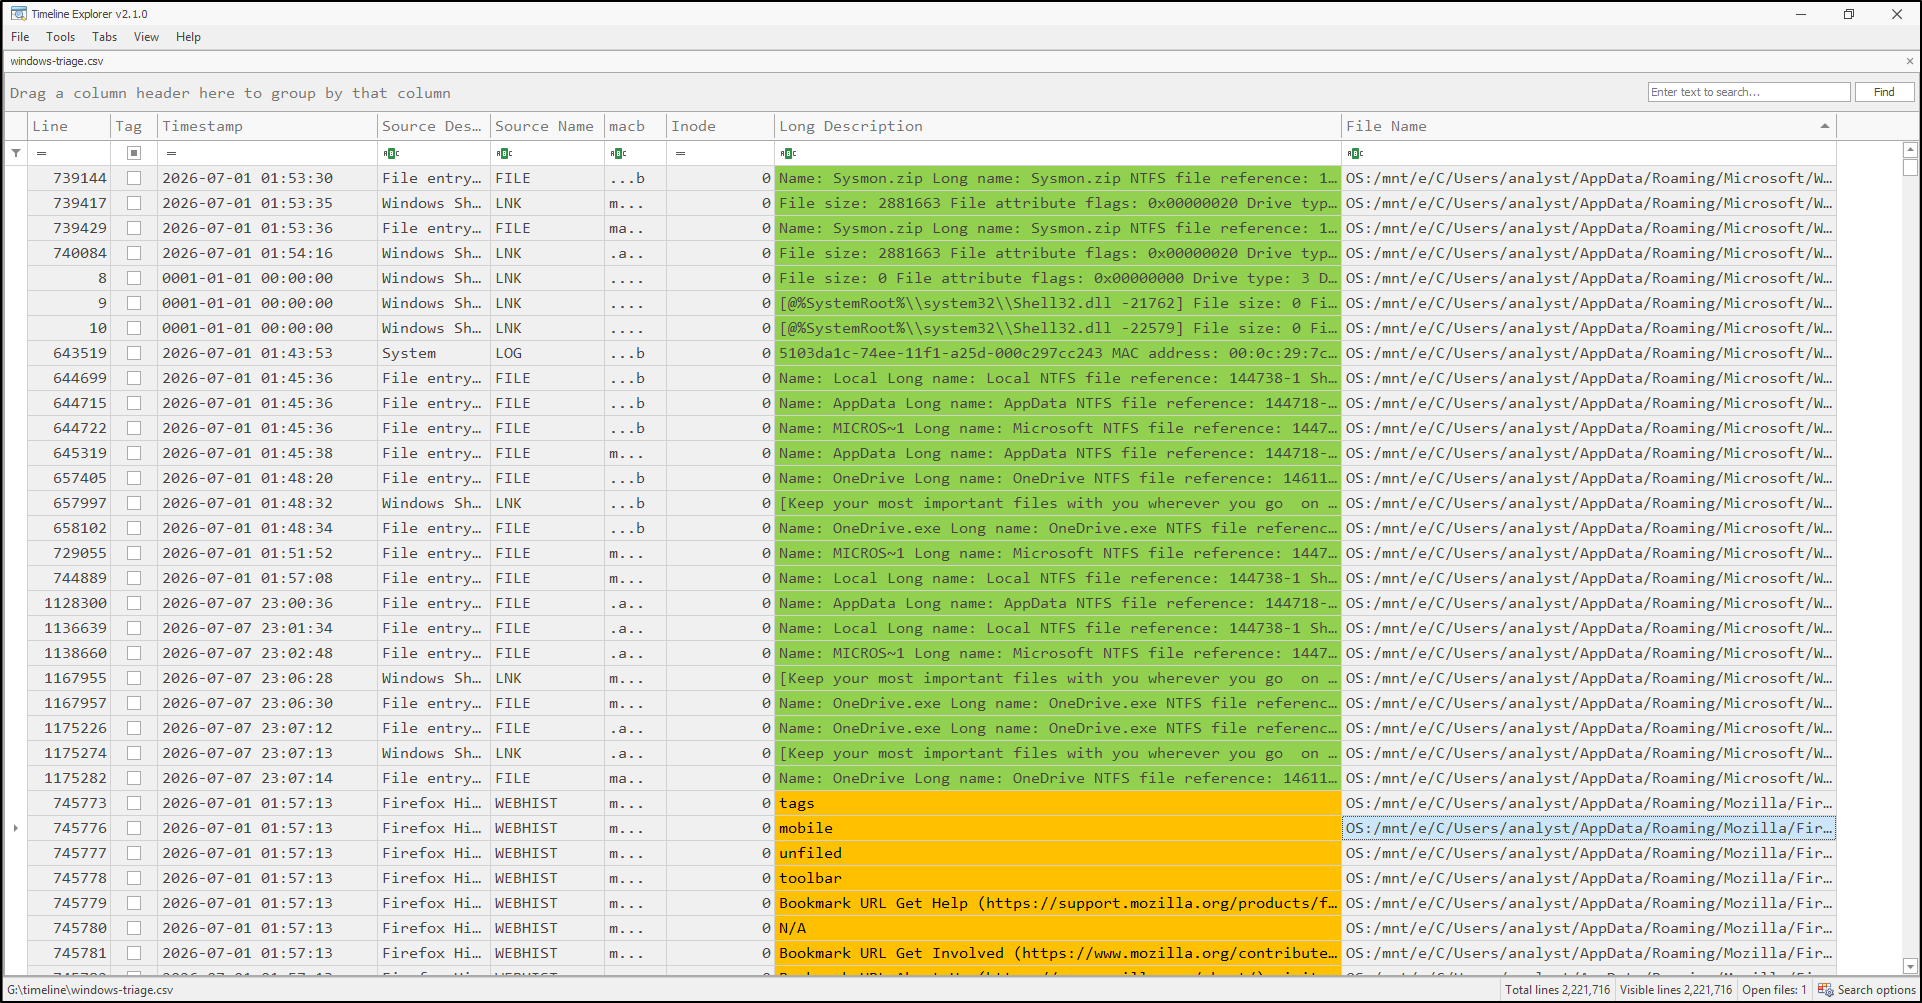
Open windows-triage.csv using Timeline Explorer.
Note: Large timelines may take several minutes to load. Timeline Explorer may appear unresponsive while importing and indexing the CSV.
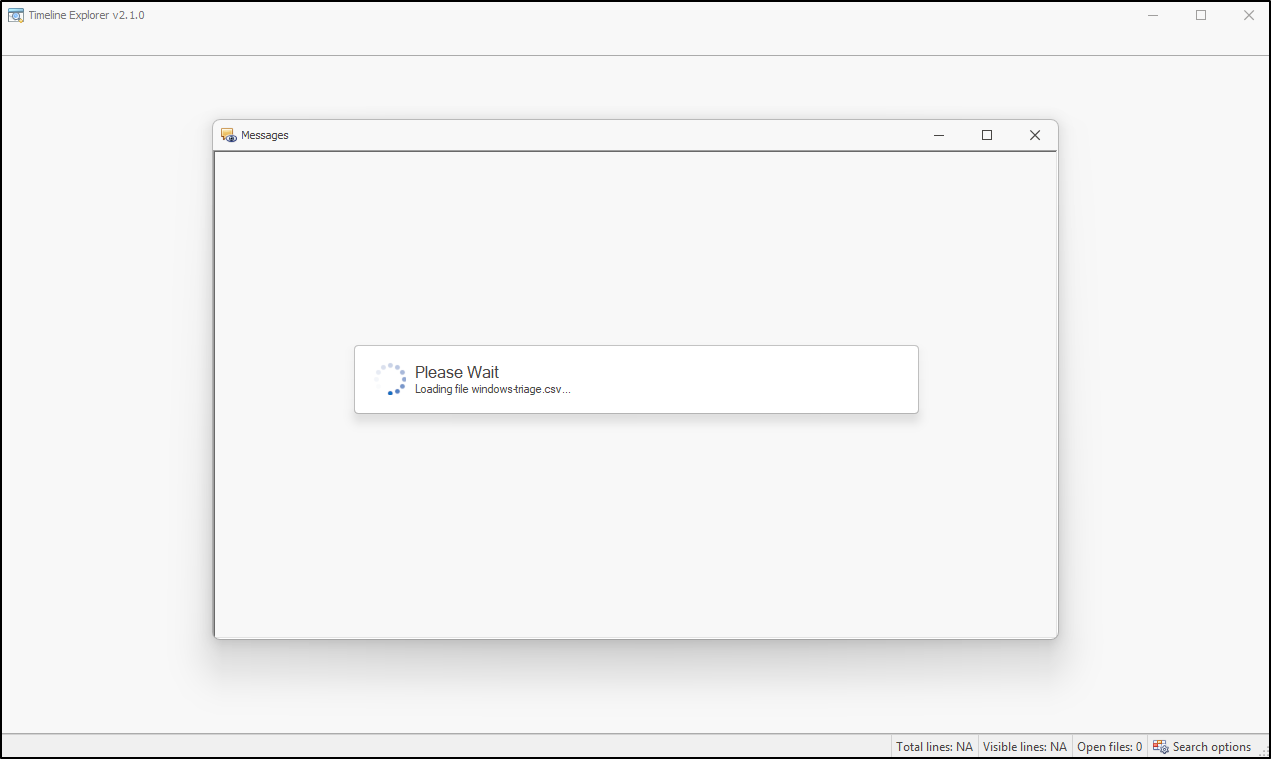
Once loaded, confirm that the timeline contains:
- timestamps in UTC;
- Windows Event Log records;
- file-system and MFT events;
- records from other artifacts collected by KAPE; and
- sortable fields such as
date,time,source,sourcetype,type, anddescription.
Use Timeline Explorer’s column filters and keyword search to narrow the timeline according to the case. For example, filter by time range, username, executable, IP address, Event ID, or suspected indicator.