Velociraptor
What Velociraptor does
Endpoint collection and threat hunting
Velociraptor is a digital forensic and incident response platform for endpoint visibility, targeted evidence collection, threat hunting and approved response tasks. Its Velociraptor Query Language (VQL) supports flexible extraction and analysis of endpoint data.
This section arranges the original CDK proof-of-concept deployment, client and hunt procedures into guided journeys. Follow the route that matches your goal, or use the Hands-on Lab to validate the complete evidence path in an authorised environment.
Reviewed reference implementation
This journey was reviewed against the official Velociraptor documentation and release channel in August 2026. The preserved screenshots demonstrate an earlier proof of concept, so interface labels and available artefacts can differ between releases. Record the exact version and check current release notes before following a production procedure.
Operational model
Architecture
Velociraptor uses a server and endpoint clients to run targeted collections, repeatable hunts, and approved response tasks. Investigators select artifacts, scope the target clients, launch a collection, and review the returned evidence without working directly on every endpoint.
Collection context
It can collect defined endpoint artefacts using built-in or imported projects, run the same investigation question across selected clients, and retain the collection context alongside results, logs, and notebooks. Approved response tasks can also be performed with explicit scope and recorded outcomes.
Choose the operating mode
- Instant GUI
One local binary starts a temporary server, GUI and client for learning and focused local triage. - Server and clients
Centralised collection and hunts across enrolled endpoints with persistent case context. - Offline collector
A purpose-built collector gathers approved artefacts where a persistent client is unsuitable.
Mode selection principle
Use the smallest mode that answers the investigation question. A persistent deployment provides central control and history, but it also introduces credentials, server configuration, client identity, storage, retention and access-control responsibilities.
Choose your journey
You do not need to complete every section. Choose the journey that matches what you want to accomplish:
01Deploy the server Generate the configuration, install the Linux server, and open the Admin GUI. Complete when the services respond and you can sign in.Intermediate · Linux VM · 60–90 min 02Connect Windows clients Build or use an MSI package and register a Windows endpoint. Complete when the client appears in the Admin GUI.Intermediate · Server + Windows VM · 30–45 min 03Create and review hunts Collect process evidence, label clients, and search by filename or hash. Complete when a hunt result supports a documented finding.Beginner · Connected client · 45–60 min 04Go hands-on Practise in the browser or validate the complete workflow in your own VMs. Complete when another analyst can review your evidence.Guided beginner · Two alternative routes
Evidence workflow
When troubleshooting, follow the path from left to right. Confirm the endpoint is connected before checking artifact selection, hunt scope, collection state, and returned rows.
Before you begin
Lab requirements
You will need an Ubuntu server, a Windows endpoint, administrator access, and an isolated network. The server and client must be able to reach each other, and their clocks should be synchronised before evidence is collected.
Evidence quality and limitations
- Returned data is an observation
A row shows what the selected artefact and endpoint interfaces reported at collection time; it does not by itself prove compromise or user intent. - Live collection can be incomplete
Endpoint state changes, permissions, endpoint load, security controls or an untrusted client can affect results. - Context makes results reviewable
Preserve the client ID, flow or hunt ID, artefact name and version, parameters, scope, collection time, logs, exports and interpretation. - Important findings need corroboration
Compare significant observations with event logs, filesystem metadata, memory, disk evidence or network records.
Use an isolated, authorised lab
Deploy clients and collect evidence only on systems you own or are authorised to examine. Protect server configuration files and credentials, record collection scope, and take recoverable VM snapshots before testing.
Troubleshooting shortcuts
| Problem | Start here |
|---|---|
| Server service or GUI is unavailable | Verify the server component |
| Windows client does not appear | Verify client connection |
| Hunt does not return expected rows | Create and review hunts |
| You need another artifact project | Import artifacts from external projects |
Lab Setup for Proof of Concept
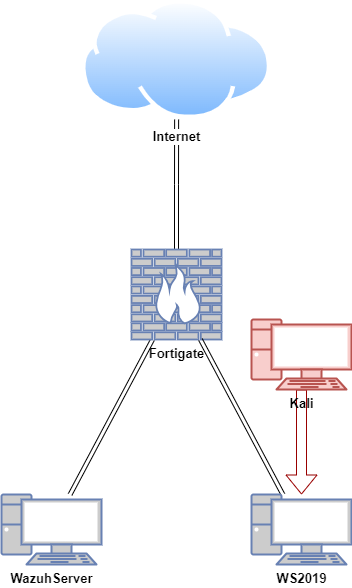
In this proof of concept, the Velociraptor server was configured on an Ubuntu virtual machine (VM), and the Velociraptor client was configured on a Windows VM. An attack simulation was conducted on the Windows hosts using a Kali machine in a safe and controlled setting.
Note: Do not attempt to replicate the attack emulation demonstrated here unless you are properly trained and it is safe to do so. Unauthorised attack emulation can lead to legal consequences and unintended damage to systems. Always ensure that such activities are conducted by qualified professionals in a secure, isolated environment.
| Host | OS | Role | IP Address |
|---|---|---|---|
| Fortigate | Fortios 7.6.0 | Firewall/Router | 192.168.1.111 (WAN) / 10.0.0.1 (LAN) |
| WazuhServer | Ubuntu 22.04 LTS | Velociraptor Server | 10.0.0.20 |
| WS2019 | Windows Server 2019 | Velociraptor Client | 10.0.0.40 |
| Kali | Kali Linux 2024.2 | Attacker machine | 10.0.0.22 |
Use Instant Velociraptor in SUSA
Instant Velociraptor provides a self-contained server and local client in one process. Use it for individual practice on the SUSA workstation when you do not need the separate server-and-client topology used by the deployment journeys and Full Lab.
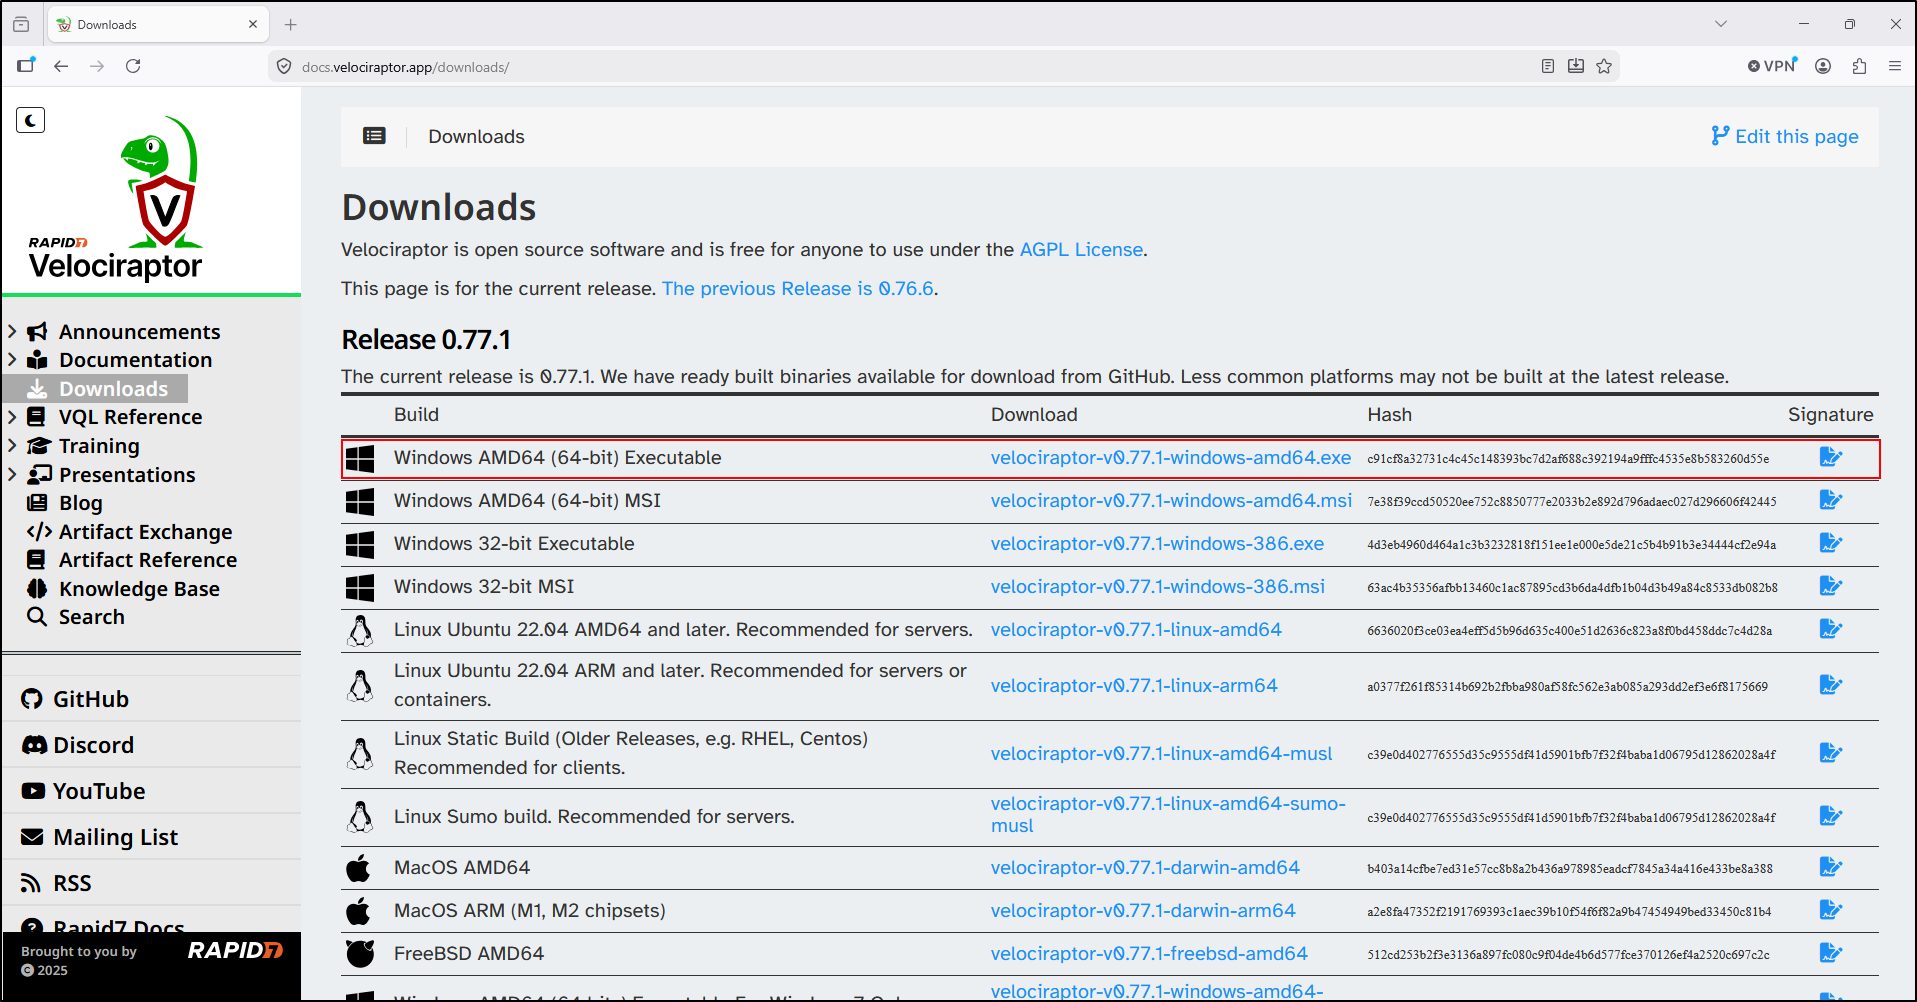
Download the Velociraptor executable for Windows,
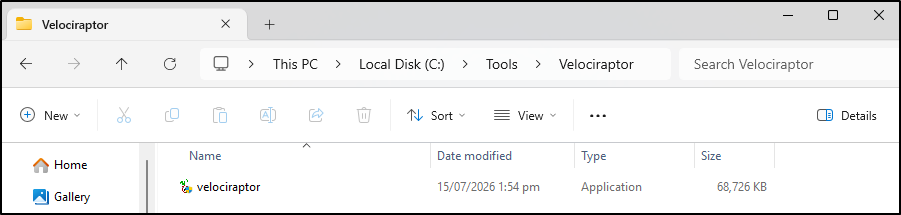
rename it to velociraptor.exe, and move it to C:\Tools\Velociraptor.
Add Velociraptor to PATH
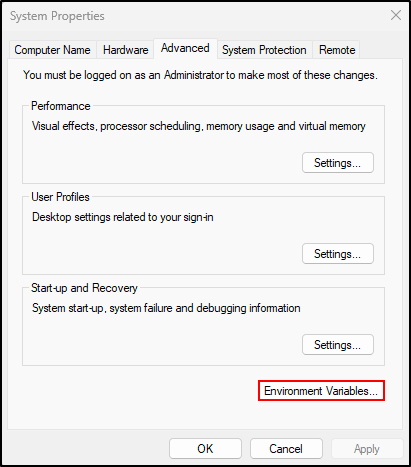
Open Edit the system environment variables, select Environment
Variables, then edit Path under User variables.
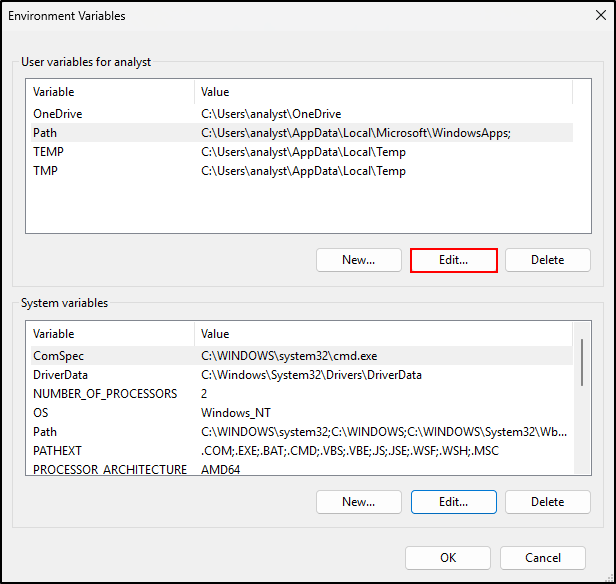
Add this directory as a new entry:
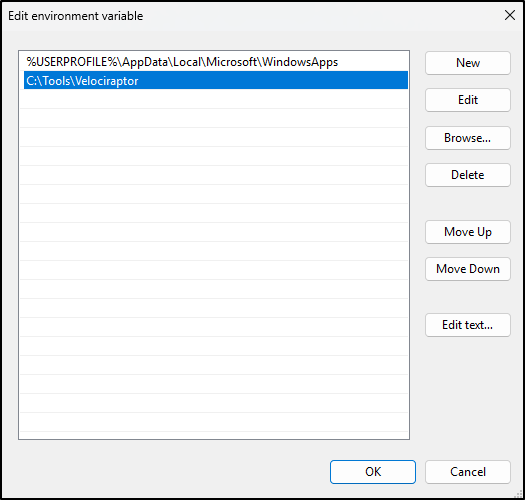
Select OK in each open dialogue to save the change.
Start and verify the local instance
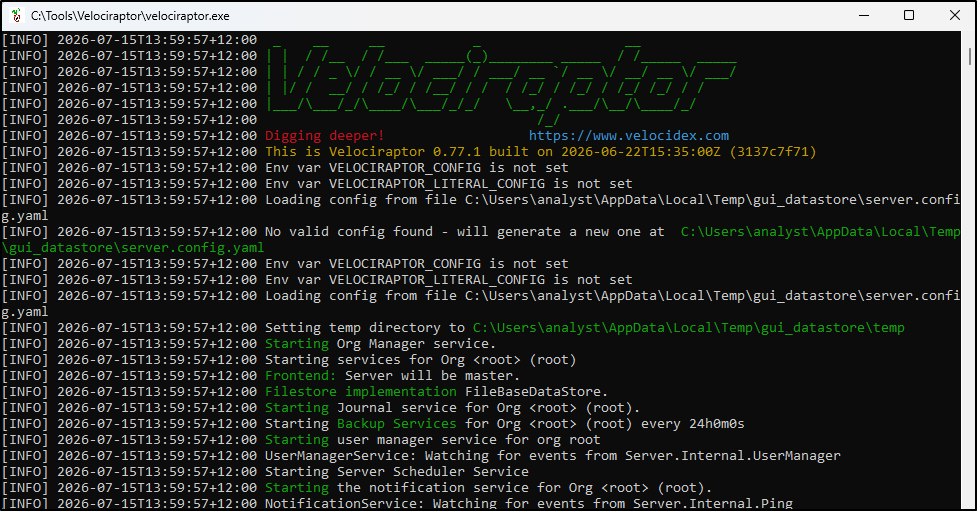
Open a new Command Prompt and run:
If Microsoft Defender SmartScreen blocks the executable, select More info and then Run anyway. Approve the User Account Control prompt only when you have obtained Velociraptor from its official source and verified the download.
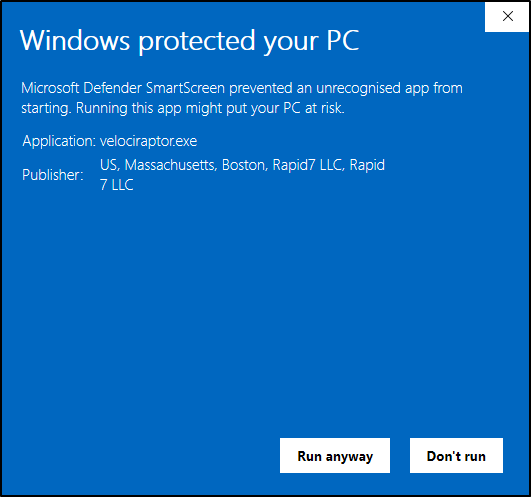
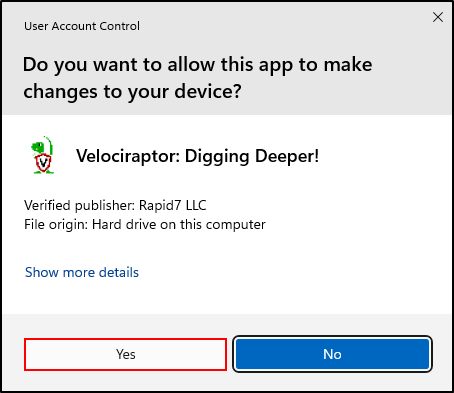
Leave the second Command Prompt open while using the local interface.
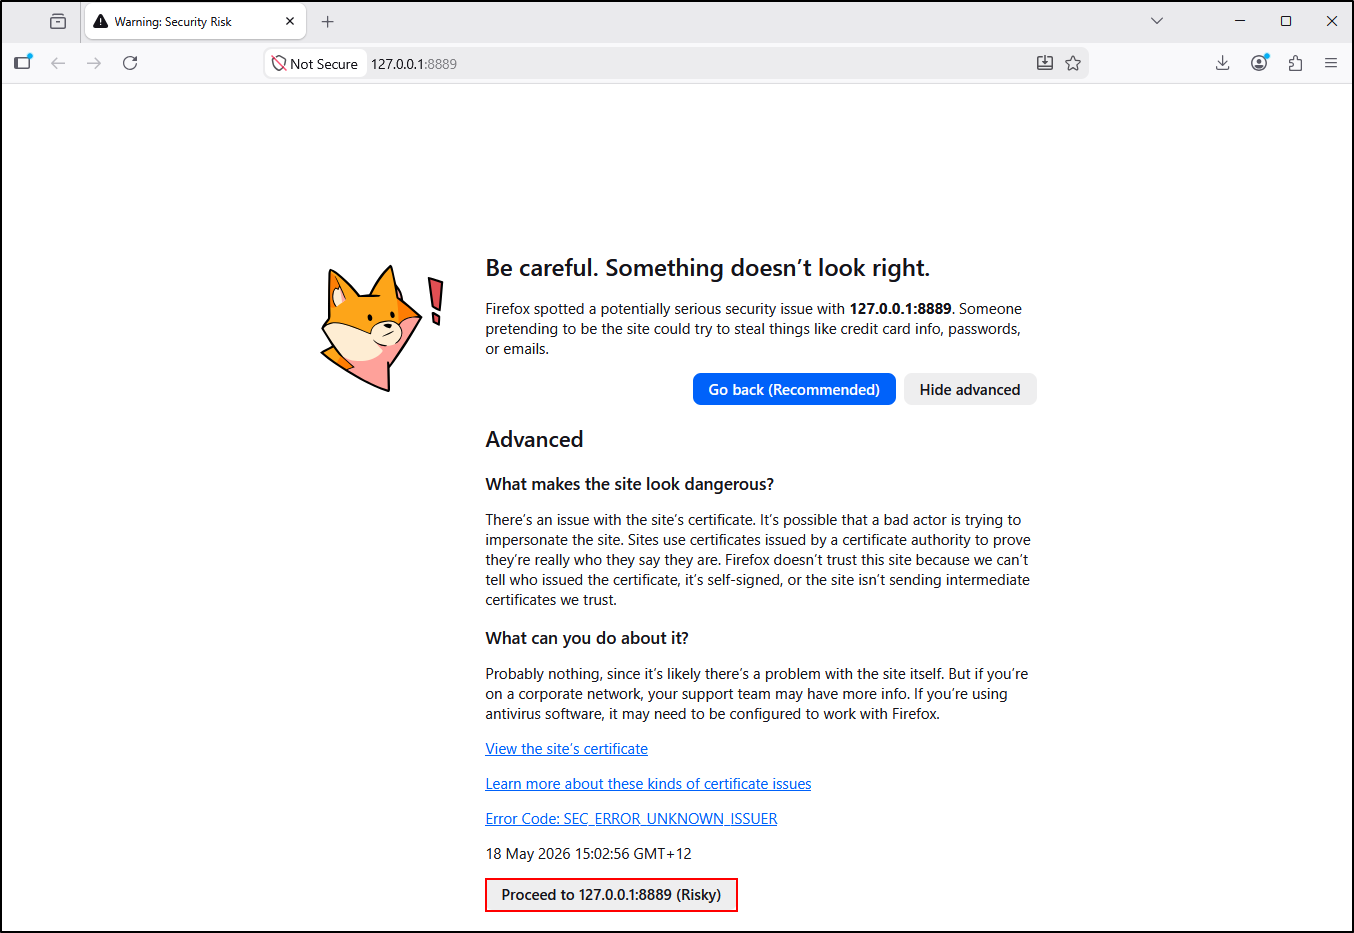
Open https://127.0.0.1:8889/. Because the local lab uses a self-signed
certificate, the browser may display a certificate warning. Confirm that the
address is exactly 127.0.0.1:8889 before proceeding.
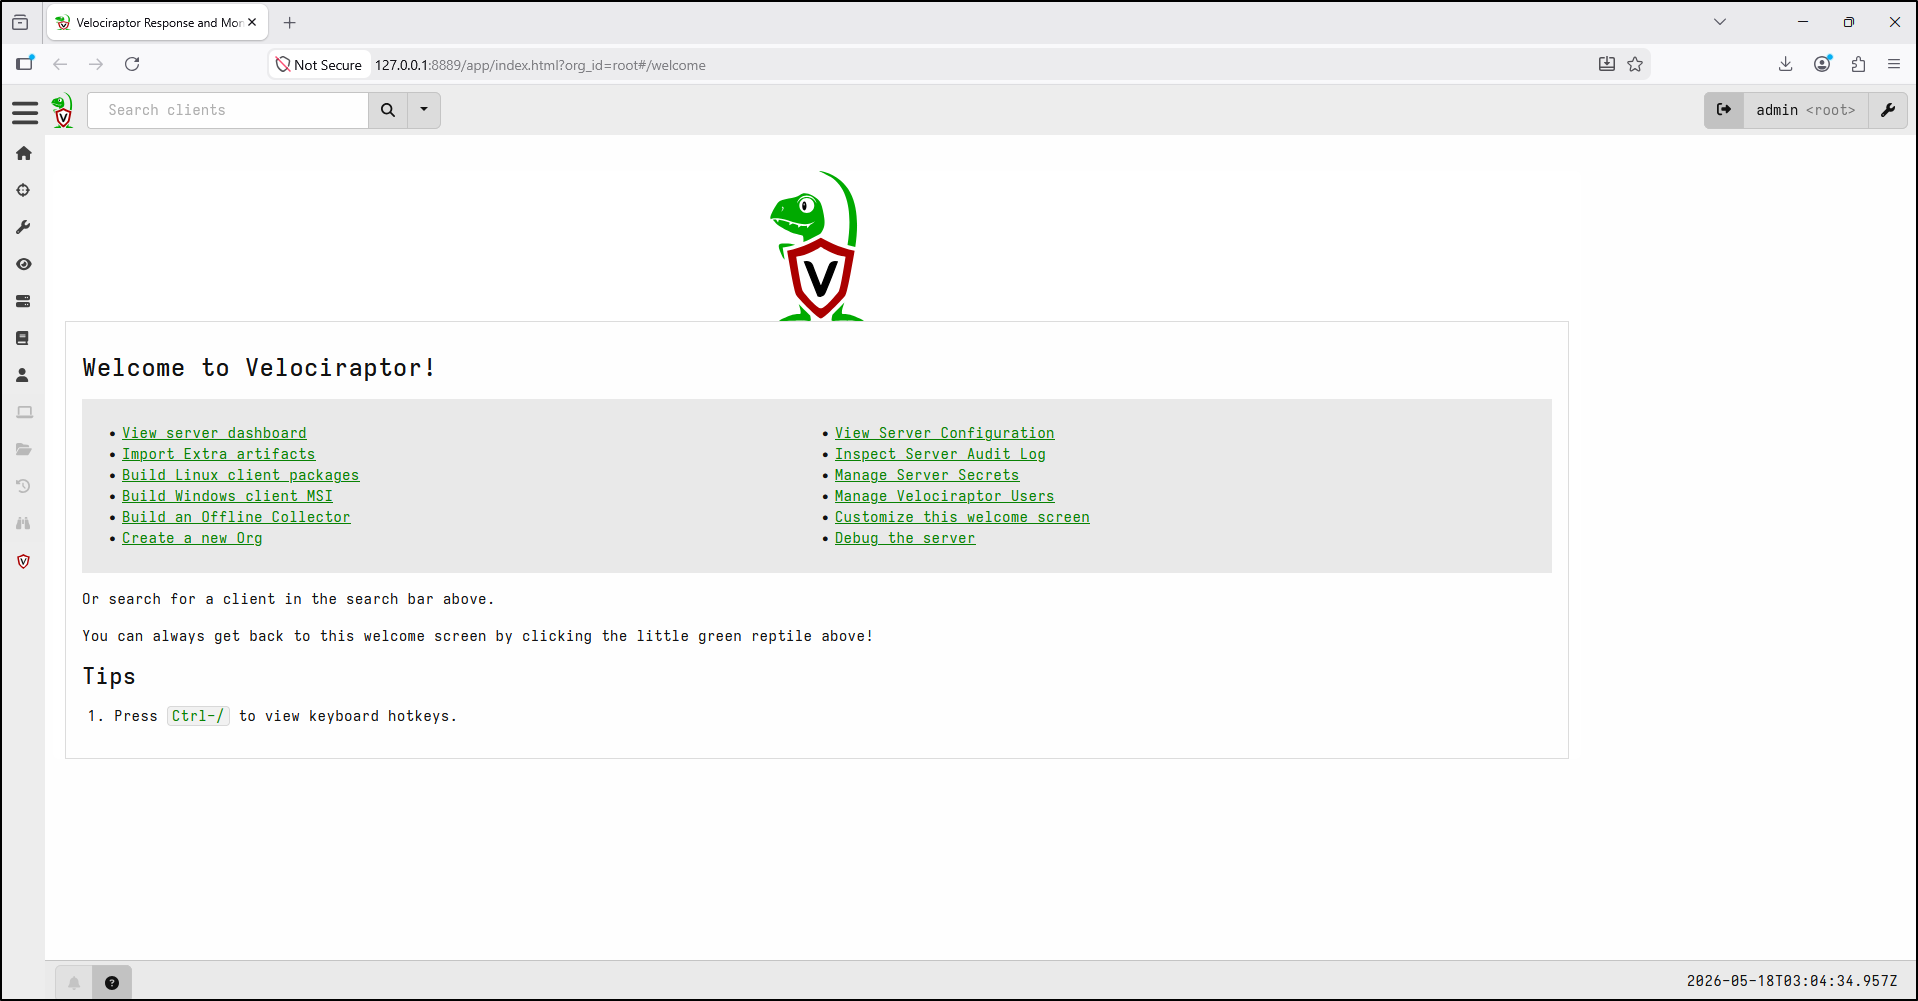
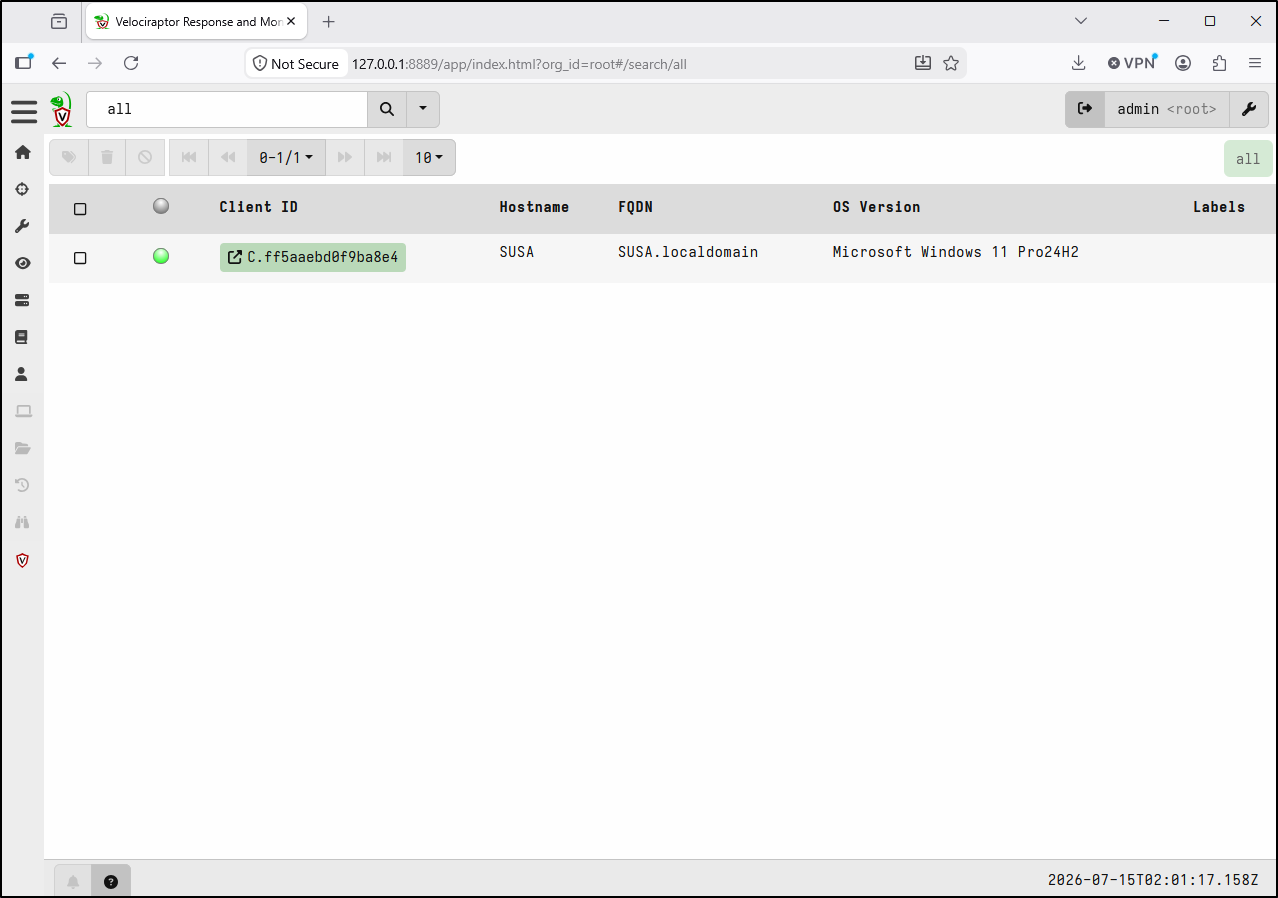
The Velociraptor home page should open. Select the client-search icon and confirm that the local client is connected before starting a collection.
Review Understanding Live Response & Triage for the evidence-handling context behind this local workflow.