Git for Windows
What Git for Windows does
Guided SUSA tool journey
Git for Windows supports analyst workflow support. In this guide, you will use it to clone a trusted training repository and record source, revision, and local changes. The procedure and screenshots provide the practical reference; the surrounding context explains what to record and how to judge the result.
Tool guide at a glance
Clone a trusted training repository and record source, revision, and local changes.
Clearly labelled working copies and a separate controlled output directory.
A reproducible supporting result with input, transformation, output, and integrity context.
Evidence and safety
Keep original, working, and derived material separate. Treat links, archives, and files as untrusted when appropriate. Record the input identifier, tool version, relevant commands or settings, time and time zone, output location, and any errors or limitations as you work.
Choose your journey
01Understand the evidenceLearn the analyst workflow support concepts and limitations.Complete when you can explain what the evidence can and cannot show.Beginner · No tool required · 15–25 min 02Follow the Git for Windows guideWork through the commands, screenshots, and instructional sequence below.Complete when the documented workflow produces its expected output.Guided · SUSA workstation · Time varies 03Interactive labPractise the tool workflow in a safe browser simulation.Complete when the guided result is supported by the case evidence.Beginner · Browser only · 10–20 min 04Full LabInvestigate an authorised training scenario with fewer prompts and preserve a reviewable result.Complete when another analyst can reproduce and verify the outcome.Intermediate · Isolated lab · 45–90 min
How the labs complement this guide
The Interactive Lab is a safe browser simulation for practising the workflow and validation logic. The Full Lab is an independent exercise for an isolated, authorised environment. Confirm the installed tool version and expected output before relying on either exercise in a real case.
Accessing Git for Windows in SUSA
Git for Windows is a Windows-friendly distribution of Git that lets you use Git on a Windows machine without needing Linux or complex setup.
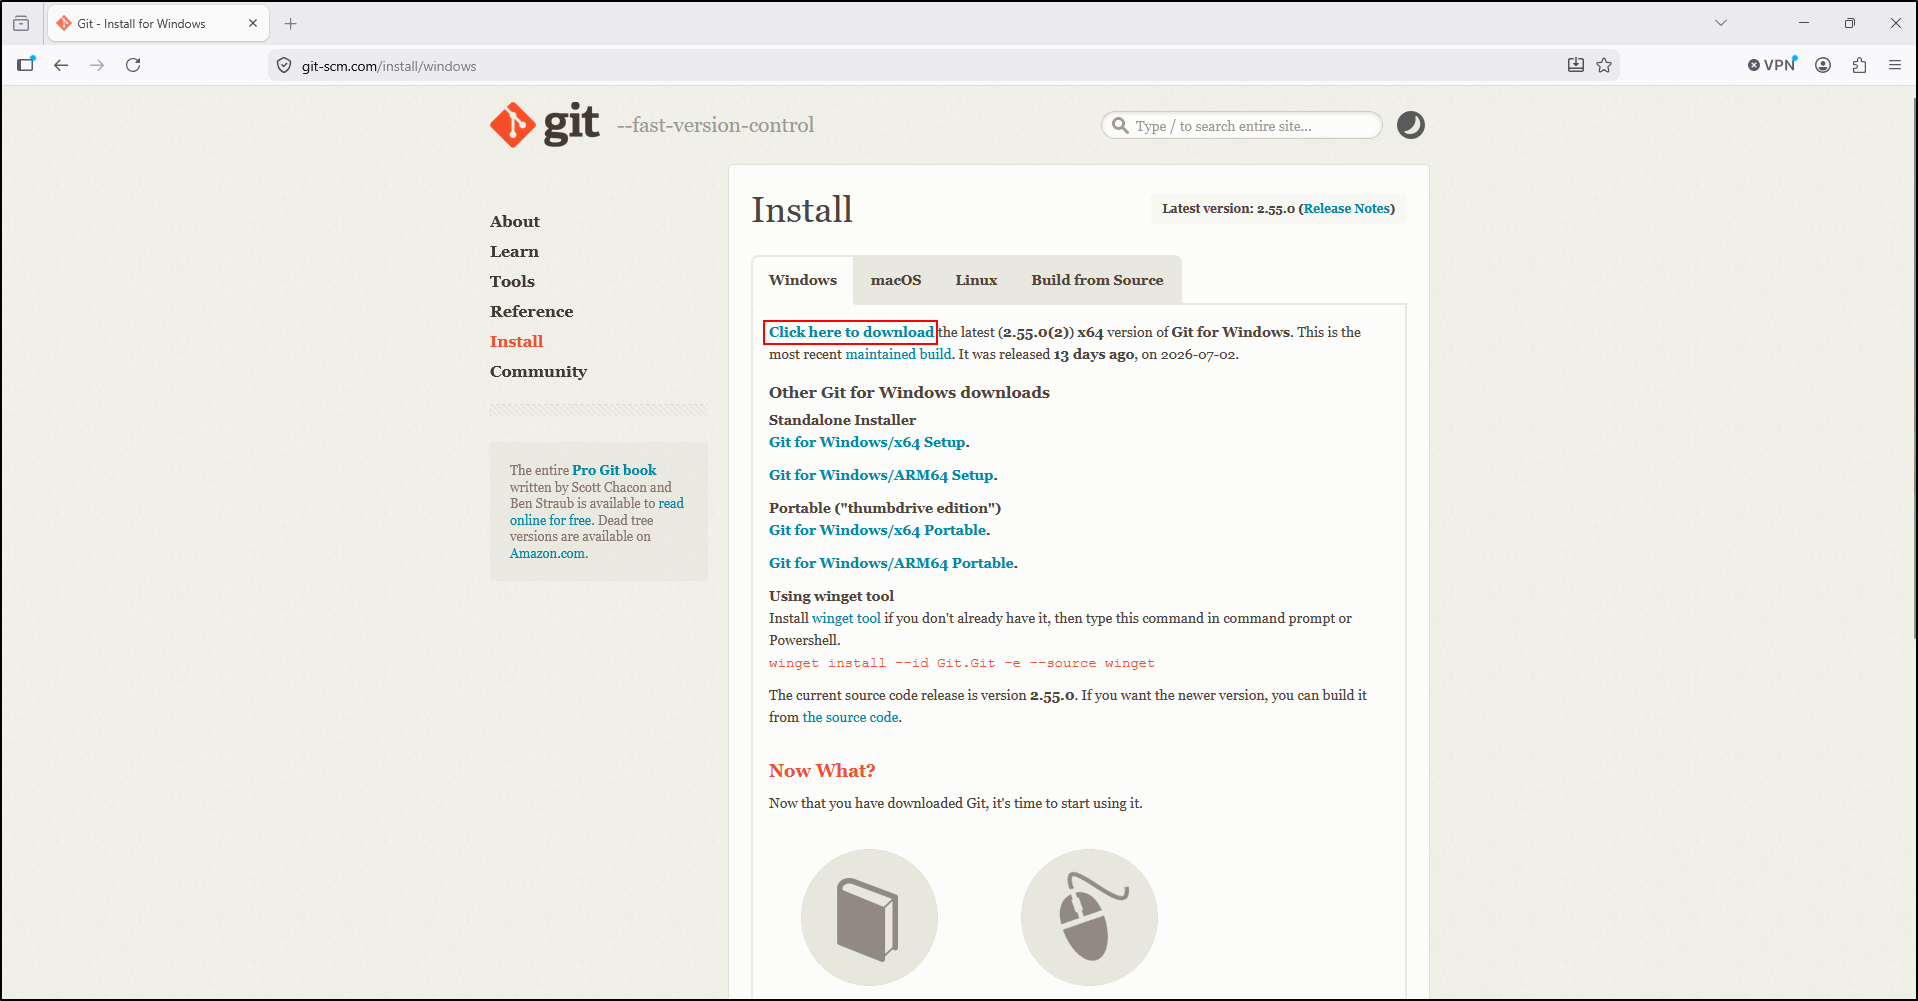
Download Git for Windows.
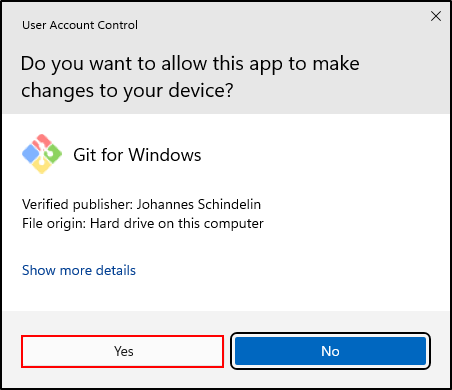
Move the executable to C:\Tools\Git folder and double-click the executable. When prompted by the User Account Control, select Yes.
Click Next.
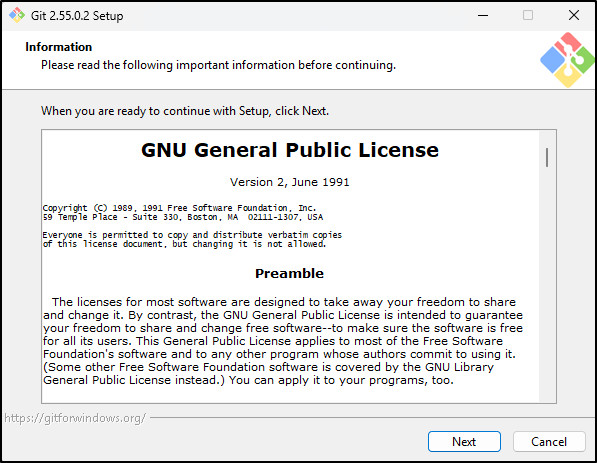
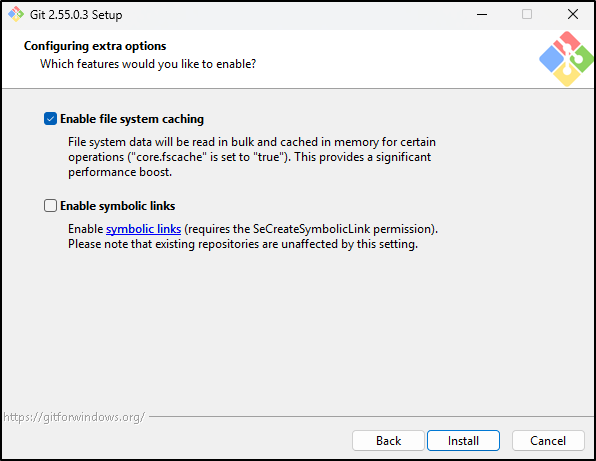
Select default options and click Next.
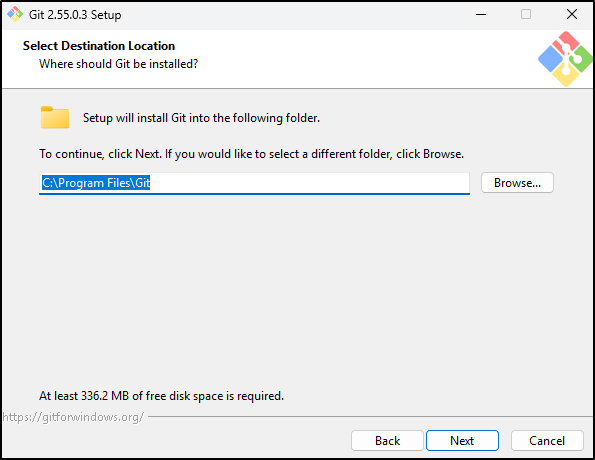
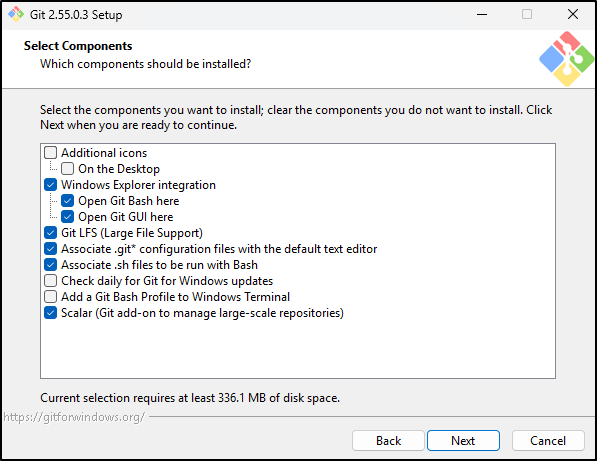
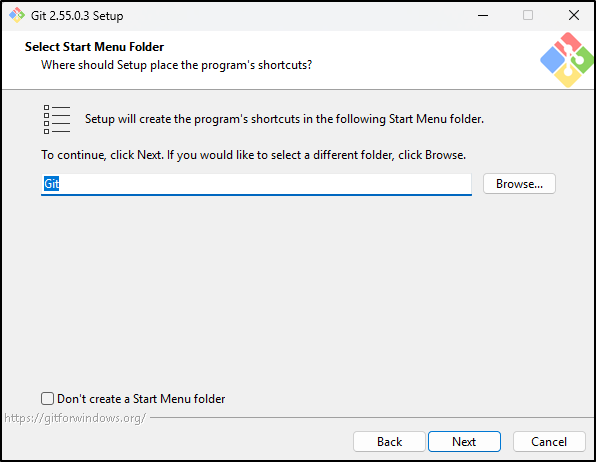
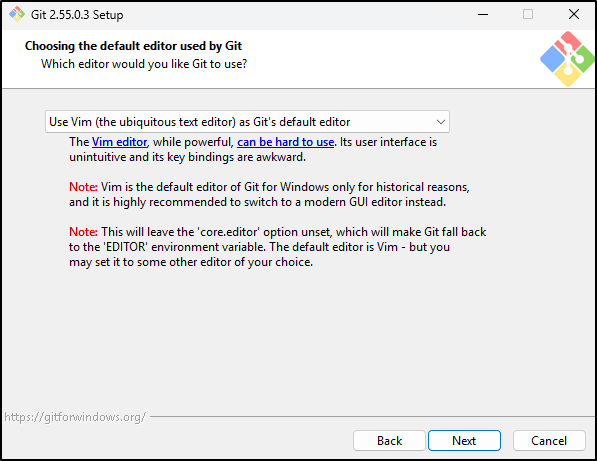
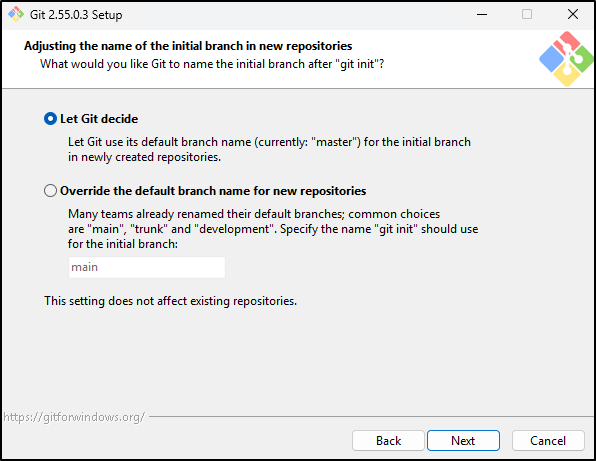
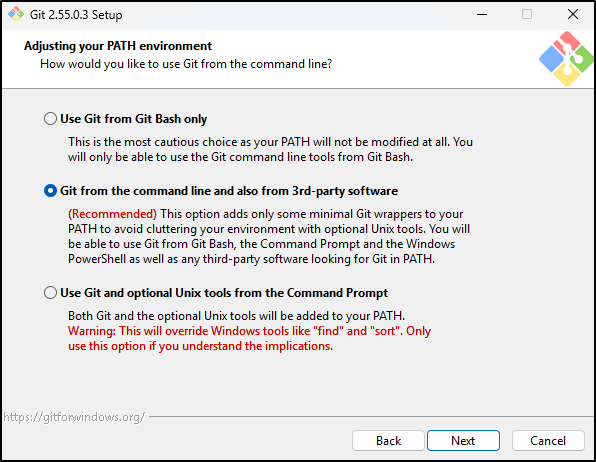
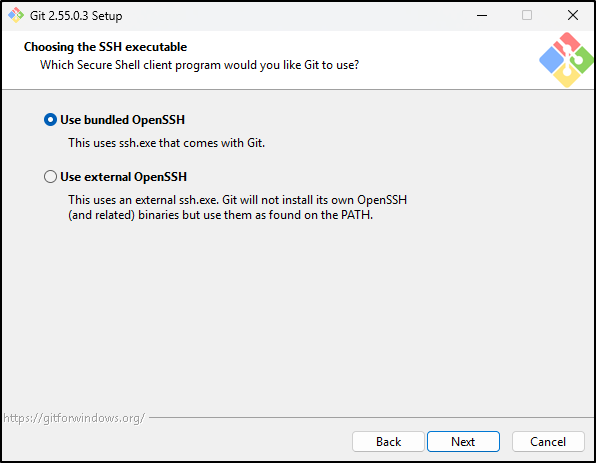
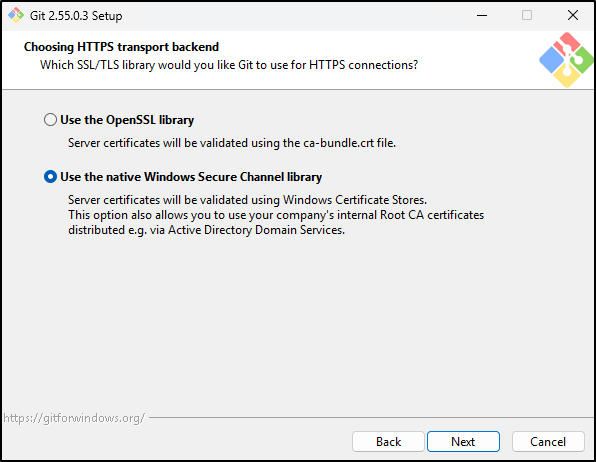
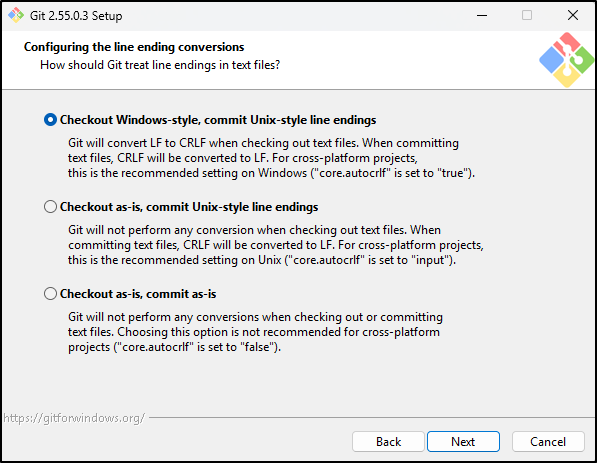
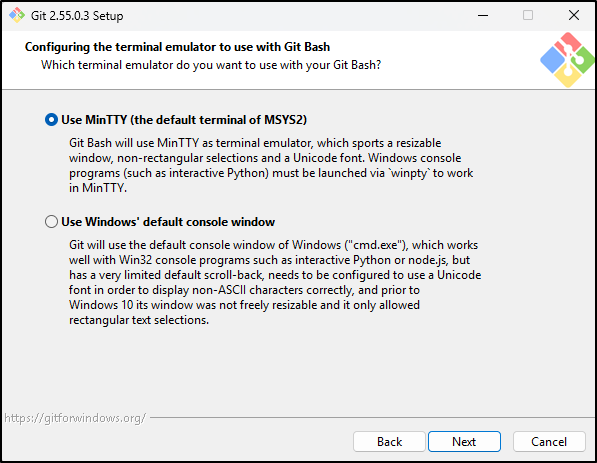
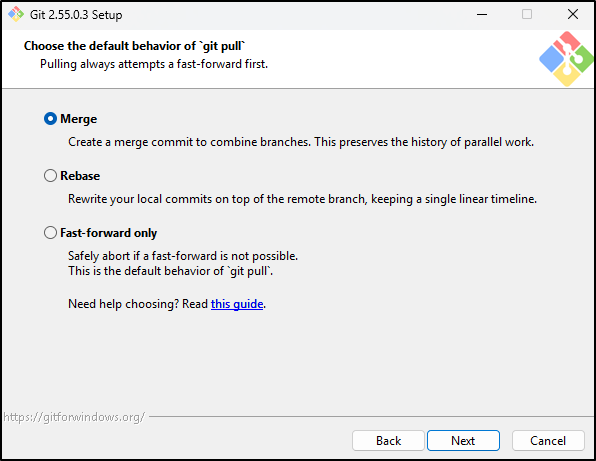
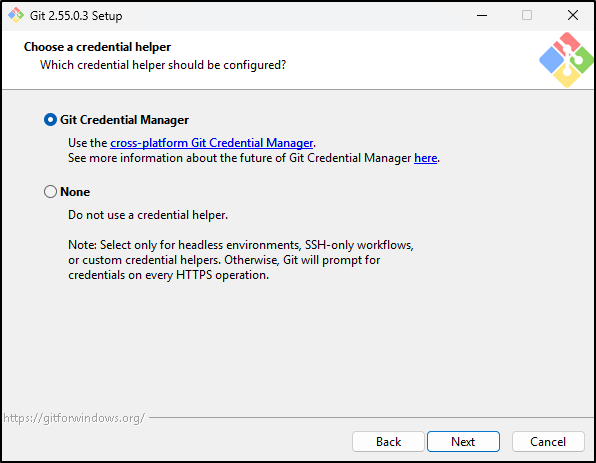
Click Install.
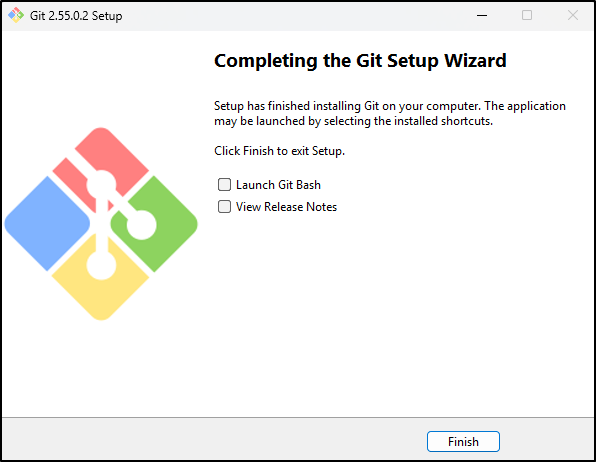
Once the installation completes, click Finish.
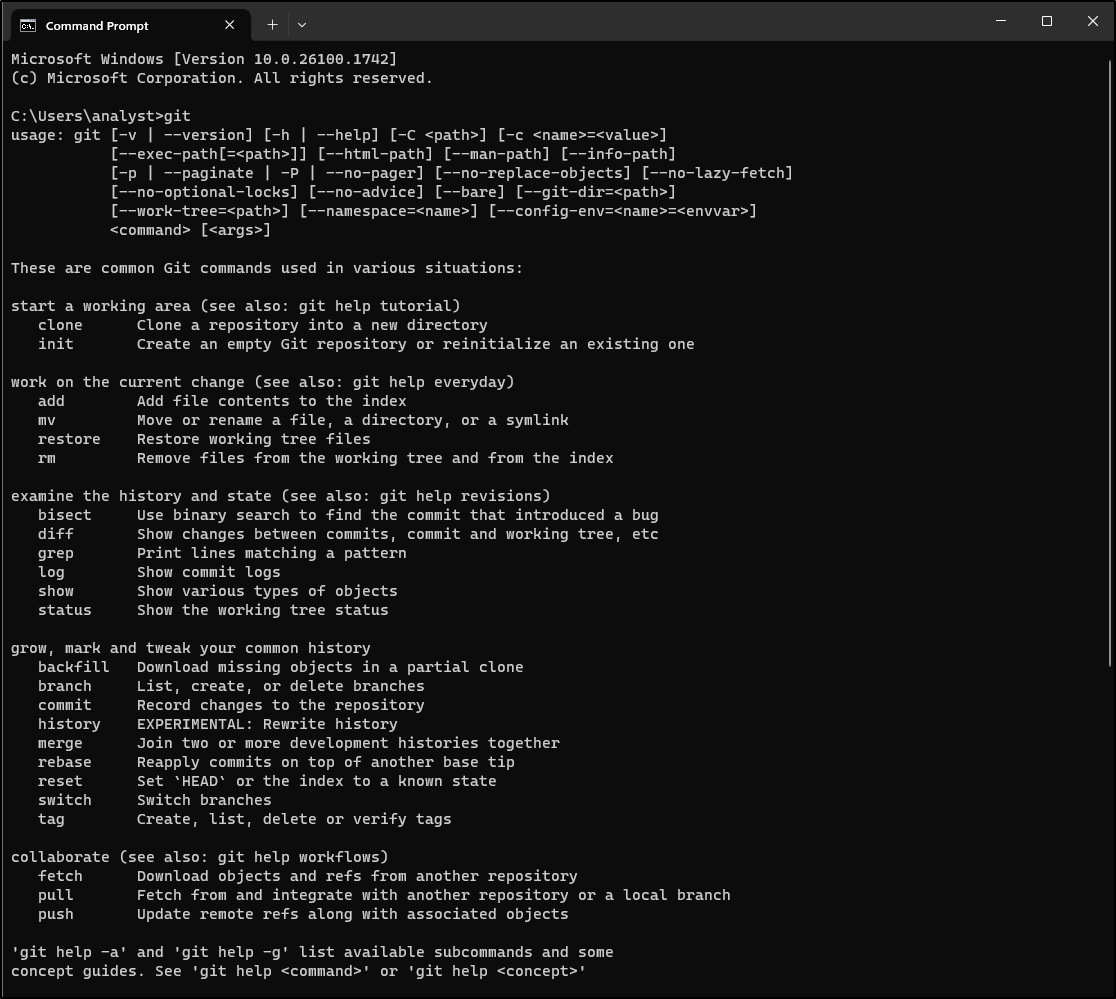
To verify the installation, open a Command Prompt and type git. This should display a help menu for Git.