Install and Open PhotoRec GUI
PhotoRec GUI is distributed as qphotorec_win.exe inside the TestDisk archive.
It is portable: extract the complete package rather than moving only one
executable, and record the package version and source before use.
Version-aware instructions
Screenshots preserve the supplied SUSA installation journey. Folder names, signing details and interface labels may differ in later TestDisk releases.
Download and stage the package
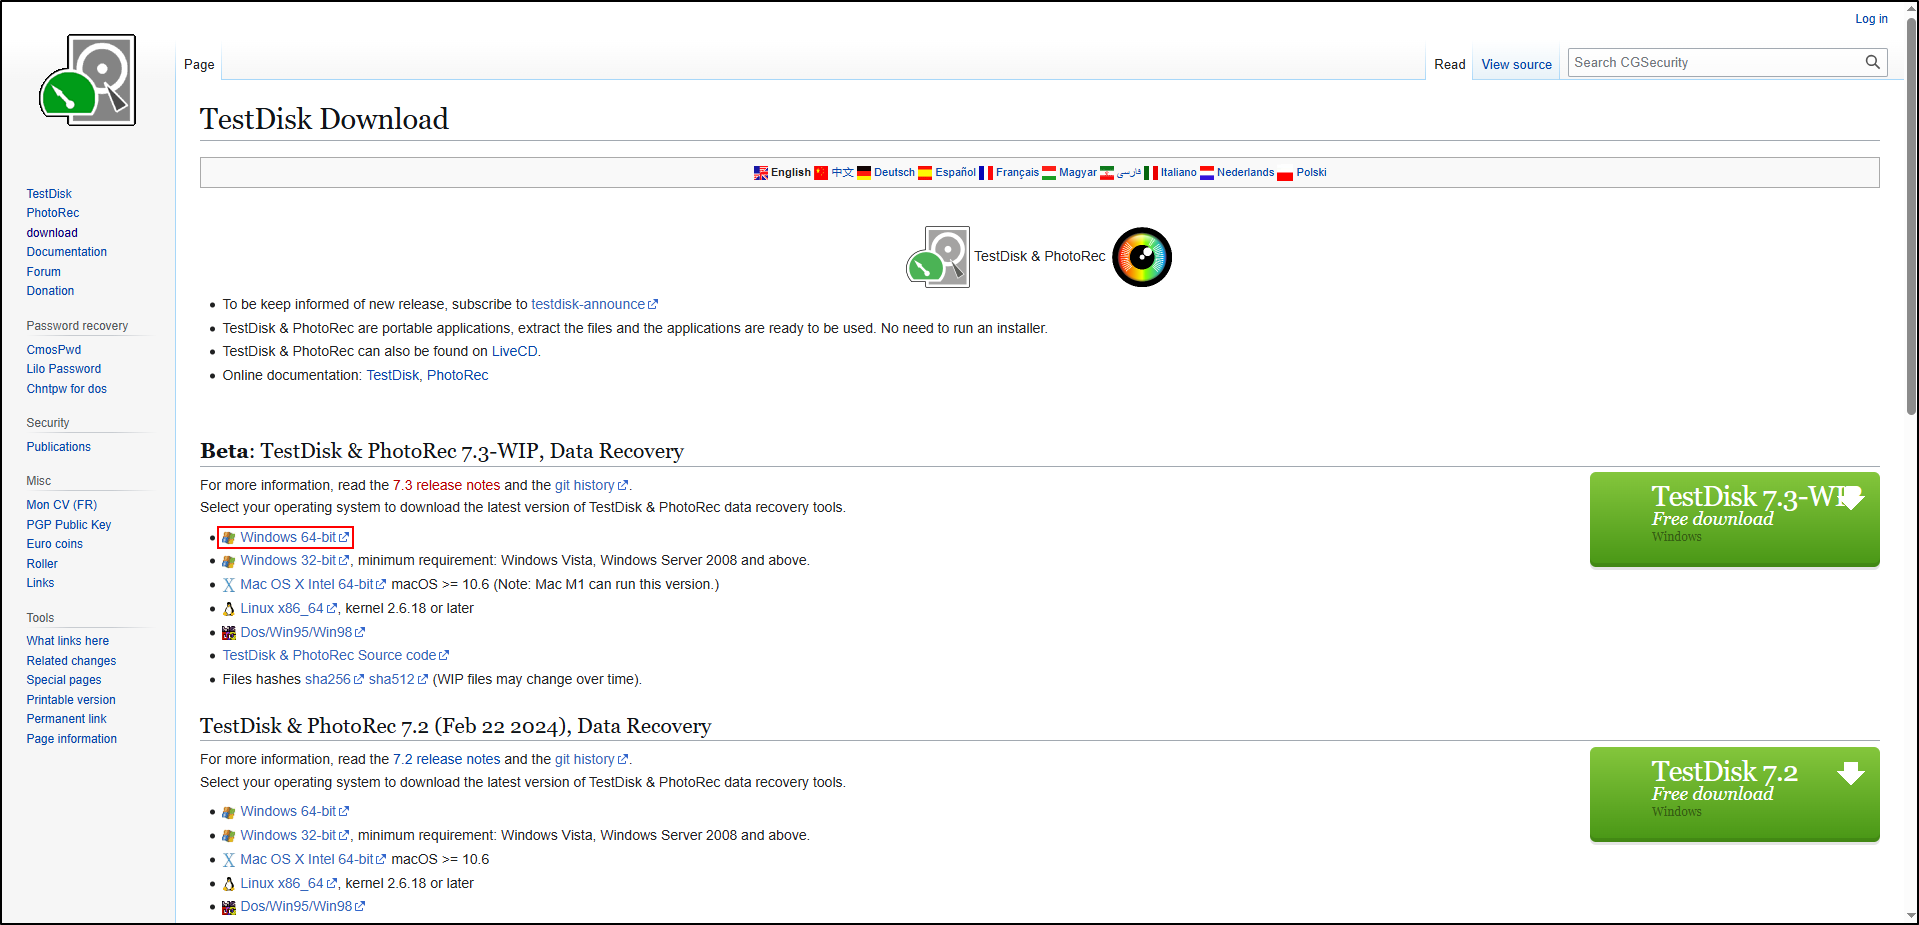
- Open the official TestDisk and PhotoRec download page.
- Download the Windows archive appropriate for the authorised workstation.
- Record the URL, retrieval date, archive filename, version, byte size and a SHA-256 value calculated after download.
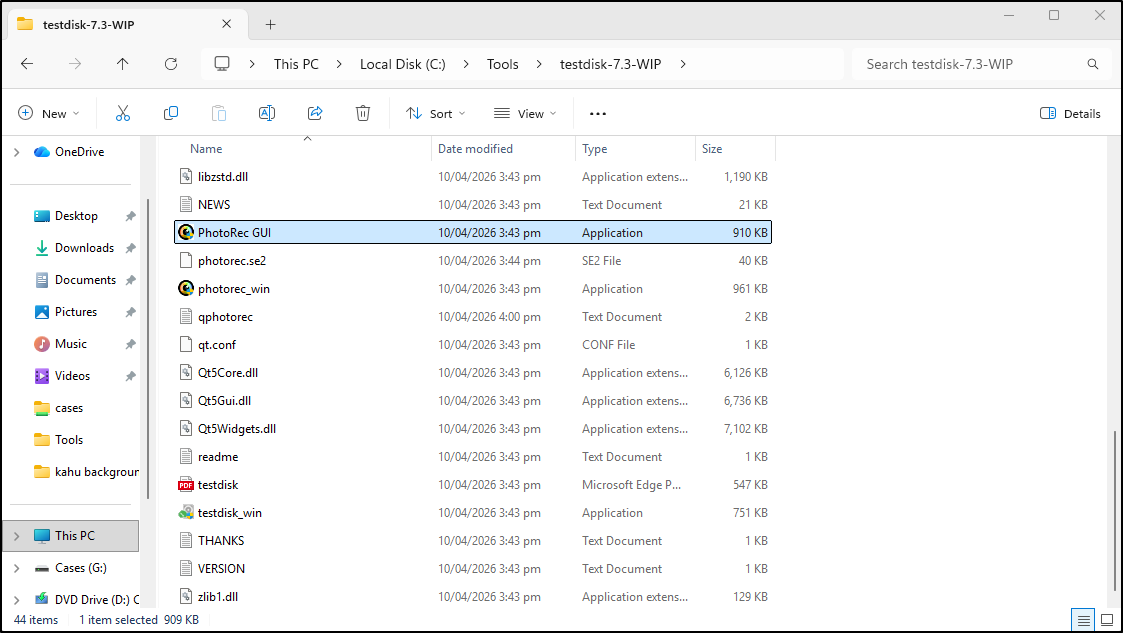
Extract the archive into C:\Tools. The preserved example creates a
testdisk-7.3-WIP directory. Keep its supporting files together and retain the
original archive until staging and integrity checks are complete.
Open and identify the interface
Open qphotorec_win.exe from the extracted folder. If Windows presents a trust
or security prompt, verify the recorded package and organisational policy before
allowing it to run.
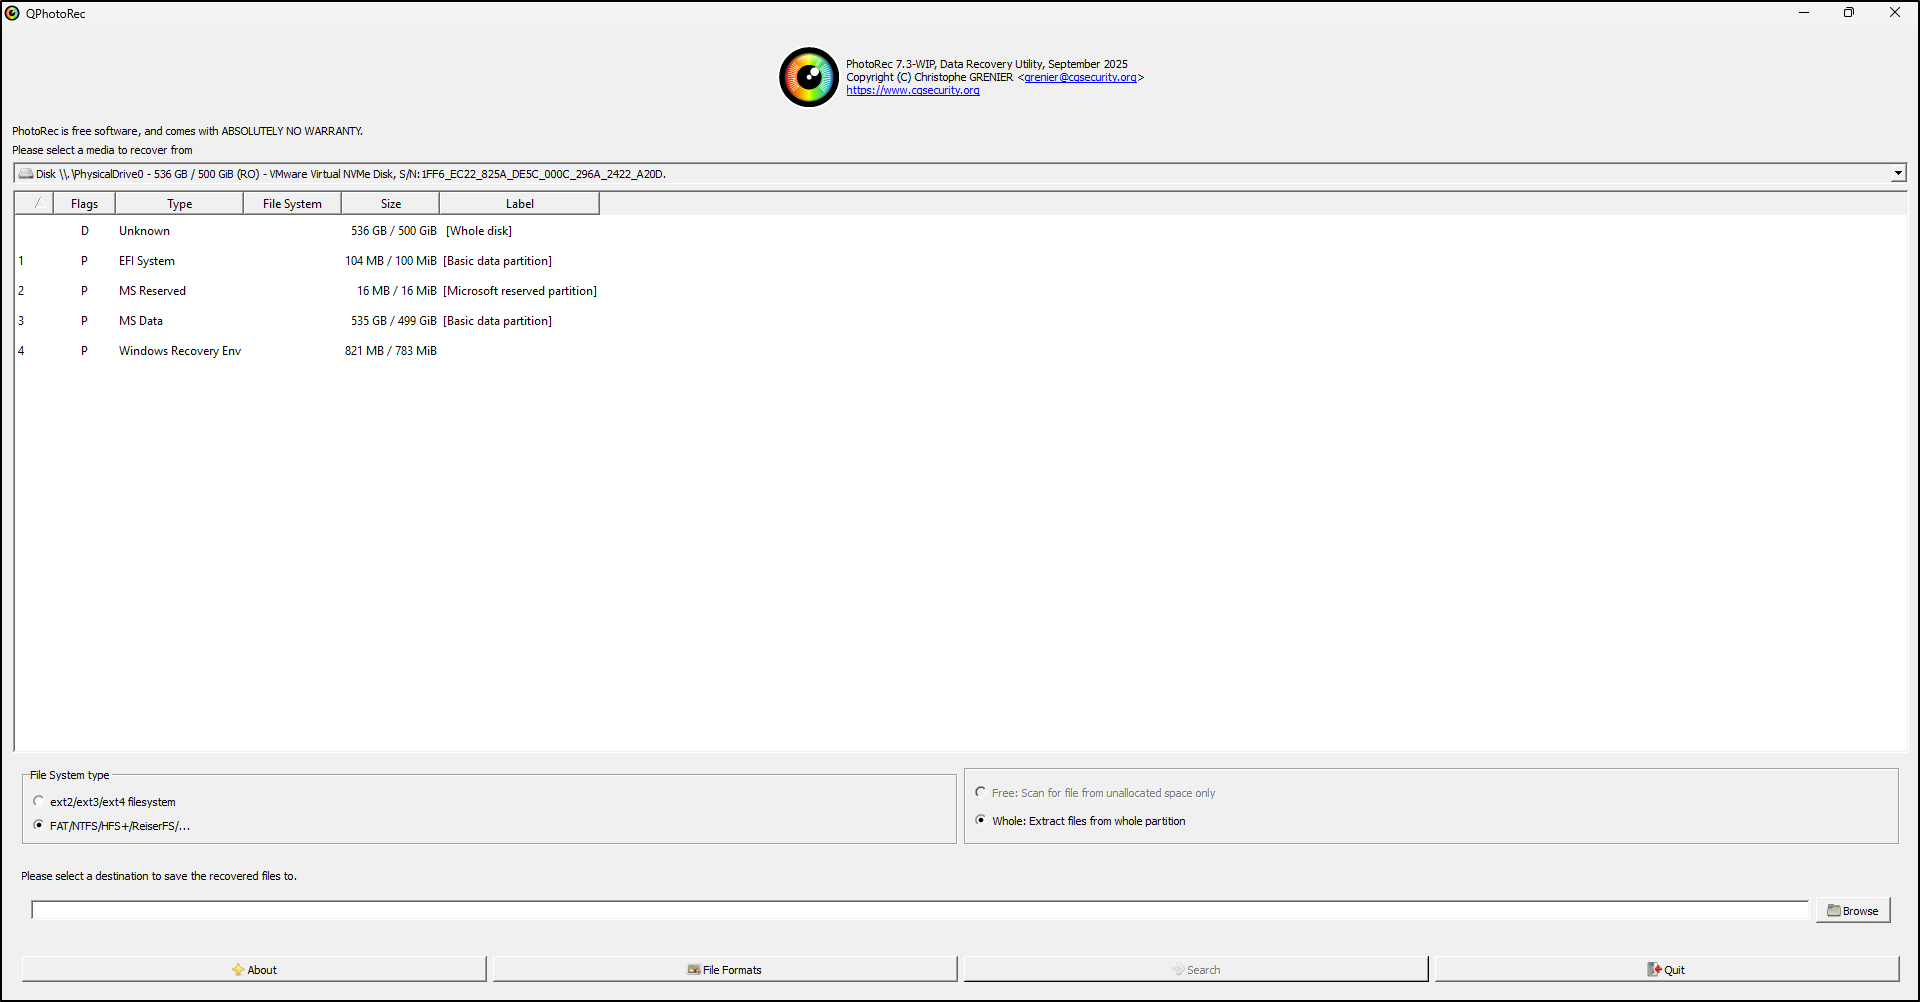
The supplied workflow renames the shortcut or displayed entry to PhotoRec GUI for convenience. Do not rename only the executable if doing so separates it from required package content; record the actual executable path.
| Record | Example |
|---|---|
| Package | TestDisk/PhotoRec Windows archive |
| Executable | qphotorec_win.exe |
| Staged path | C:\Tools\testdisk-<version>\ |
| Verification | Source, version, filename, size and SHA-256 |
Do not test against evidence
Confirm that QPhotoRec opens before attaching or selecting case material. Work with a verified copy and keep protected originals unavailable for routine carving.