Install and Open Autopsy
Stage the Windows installer from the Autopsy download page in C:\Tools\Autopsy. Record the retrieved filename, version, source, download date and SHA-256 value before execution.
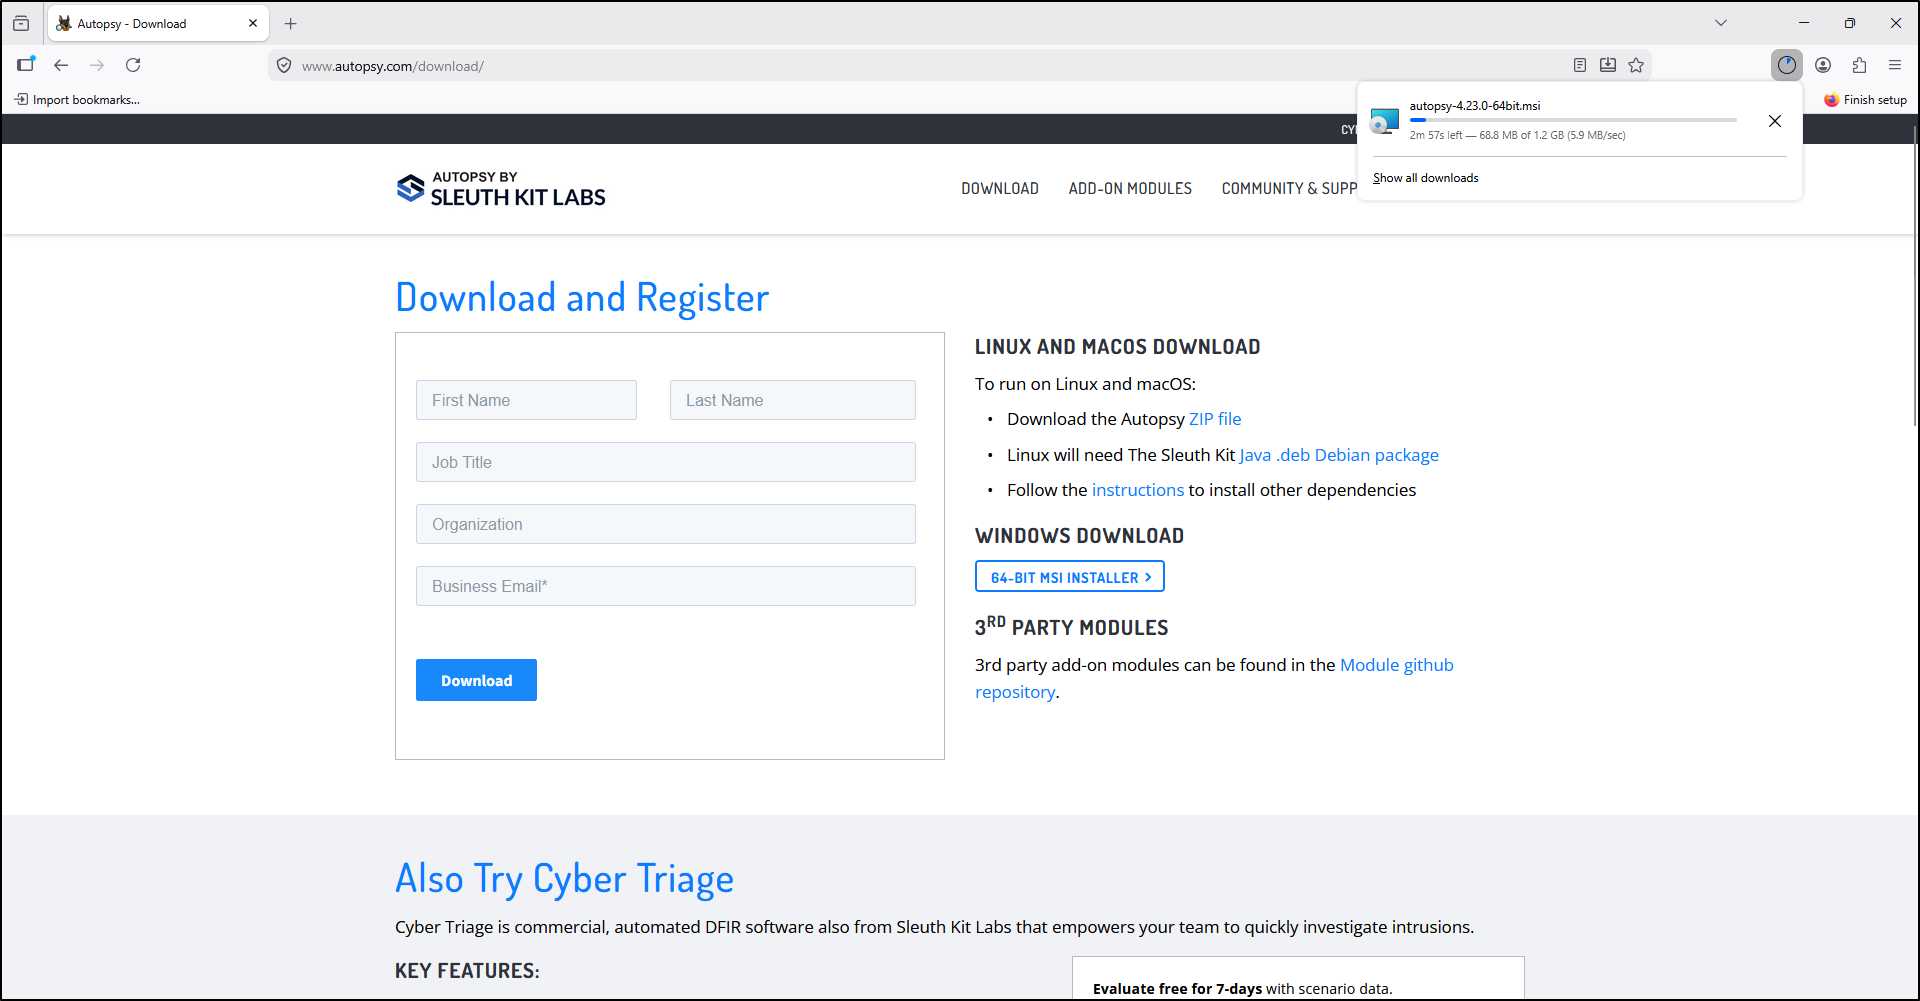
Version-aware procedure
The preserved screenshots show Autopsy 4.22/4.23-era interfaces. Directory names, prerequisites and prompts may vary. Record the version actually used and review its release notes before relying on a production workflow.
Install the application
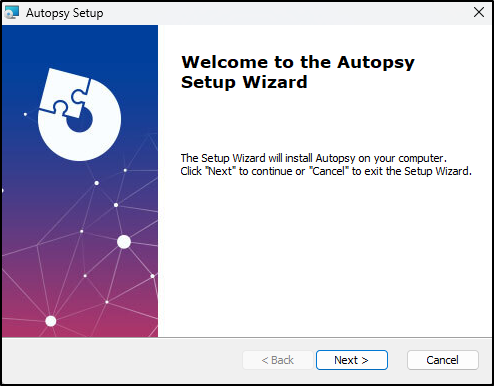
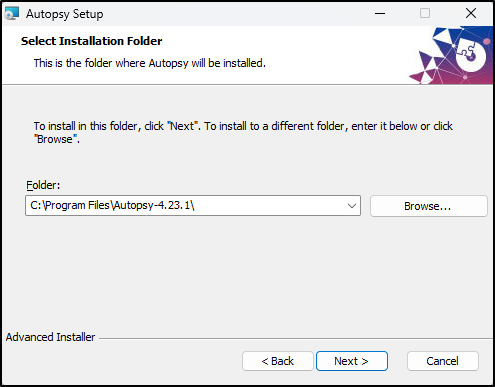
- Double-click the staged installer and review the publisher and requested path.
- Retain the default options unless your lab build documents a different requirement.
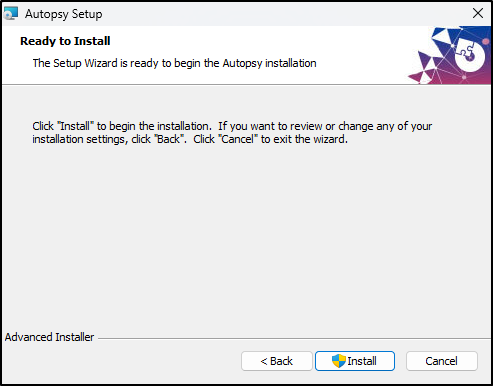
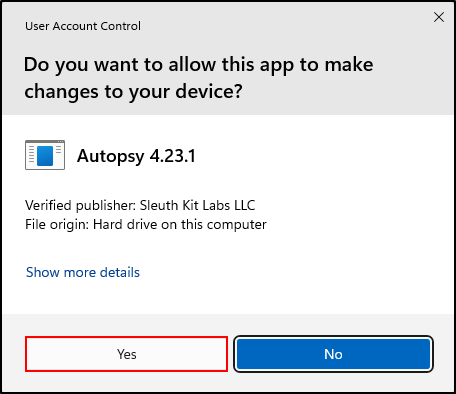
- Select Install, approve the authorised UAC request, and preserve any warnings.
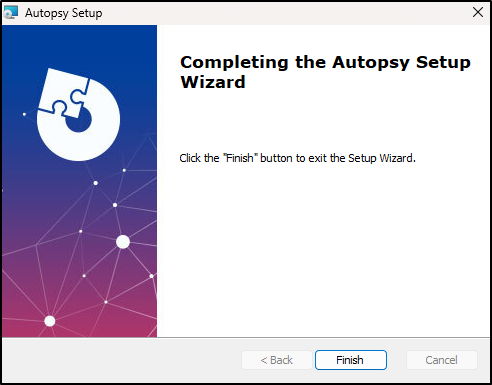
- Select Finish only after the installer reports completion.
Record and organise the shortcut
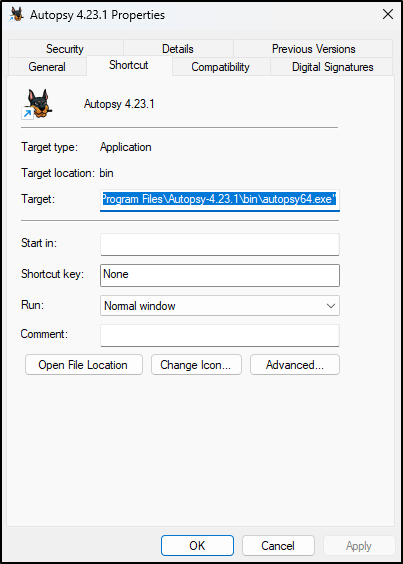
Right-click the desktop shortcut, open Properties, and record the target. The
reference build used C:\Program Files\Autopsy-4.23.1\bin\autopsy64.exe; your
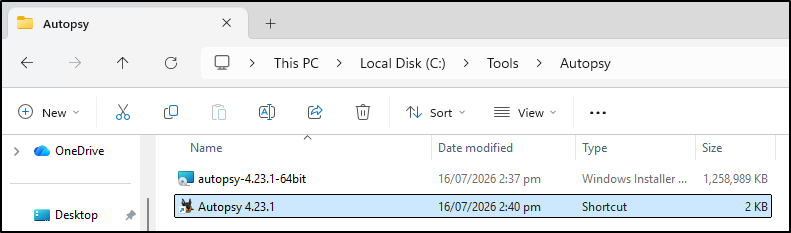
versioned path may differ. Move the shortcut to C:\Tools\Autopsy and name it
Autopsy so the executable remains discoverable without obscuring its version.
Verify first launch
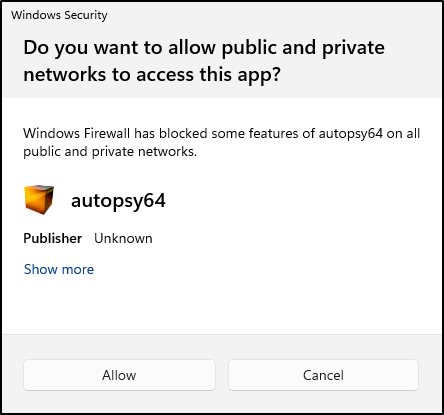
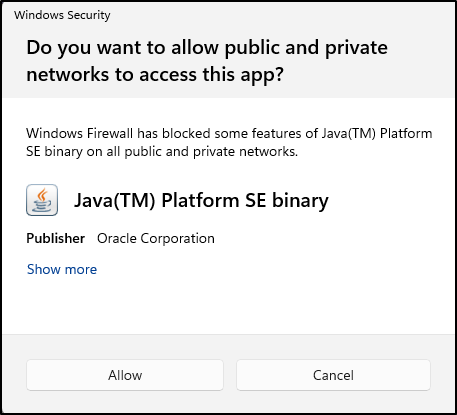
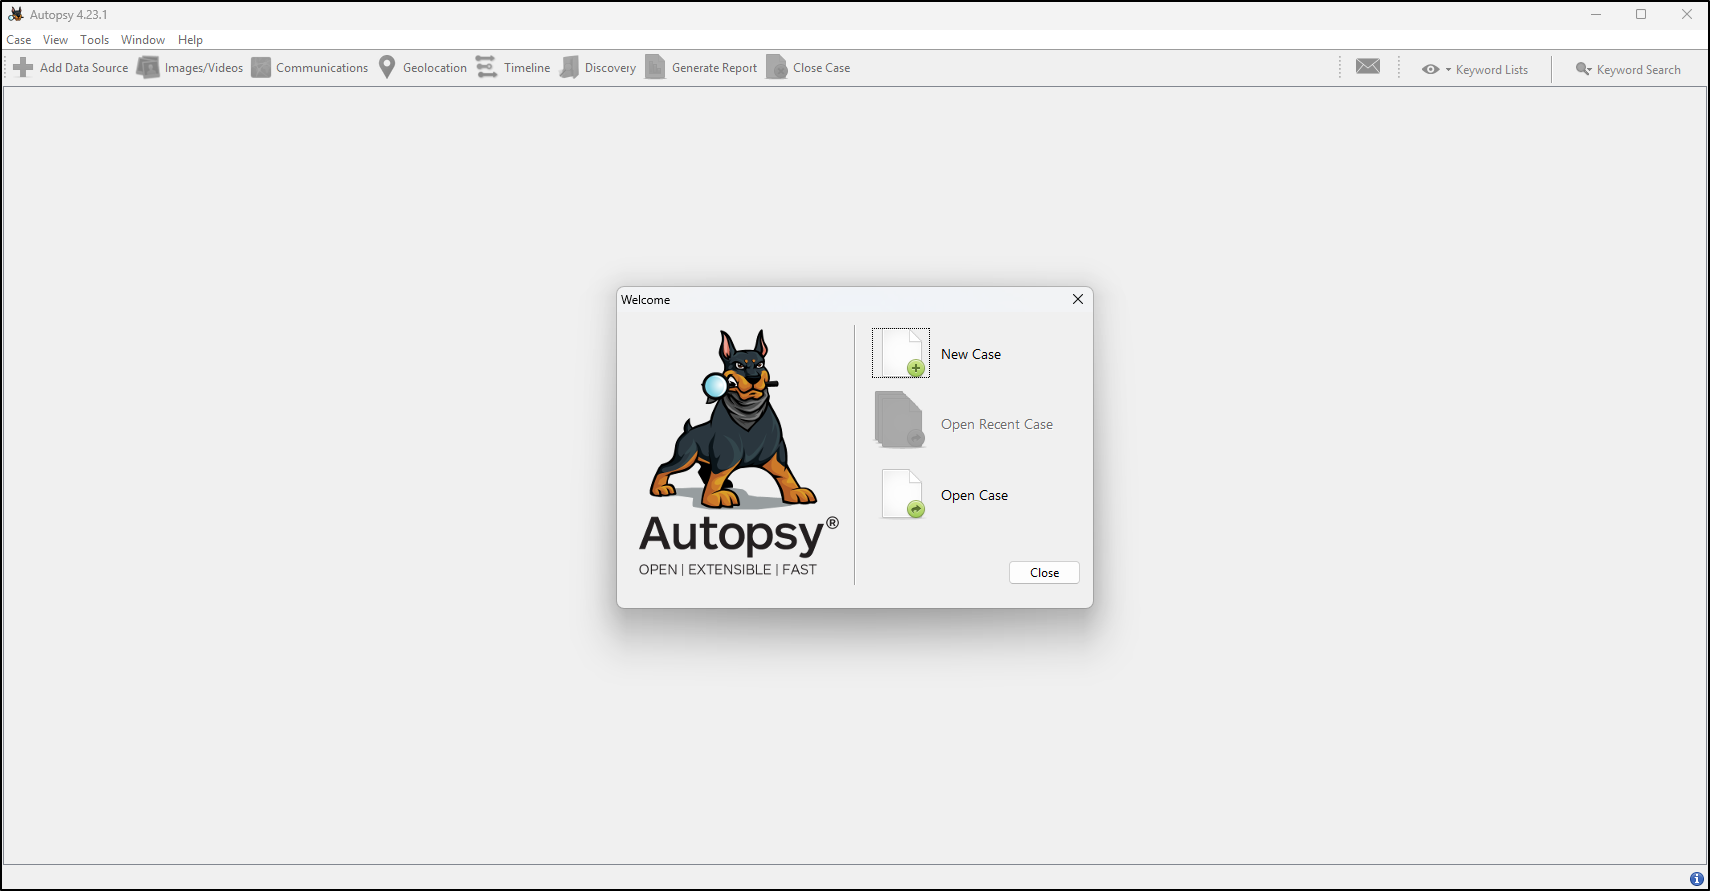
Run Autopsy and confirm that the welcome screen opens without an error. If Windows Security requests network access, approve only the network profiles required by the authorised lab and record the decision.
Installation checkpoint
Autopsy opens successfully, its executable and version are recorded, and the shortcut points to the expected installed target.