Mount and Verify a Disk Image
Prepare the working basis
Use a training image or a verified working copy; protect the original. Record the case reference, image path, format, byte size and SHA-256. Note the analysis workstation time and AIM version before mounting.
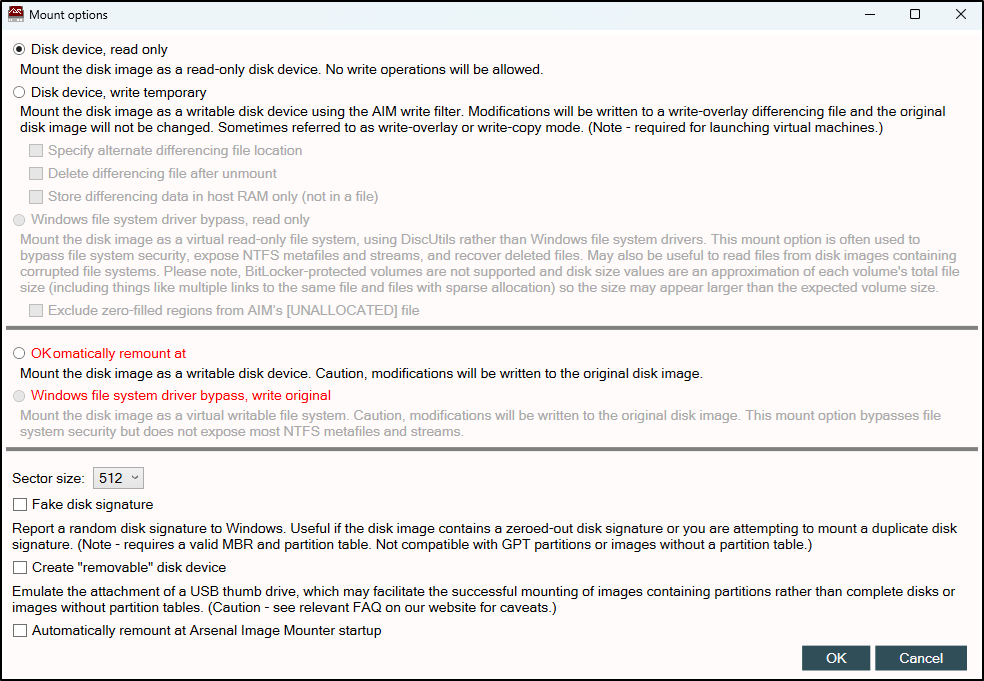
Prefer read-only for examination
Select Disk device, read only for browsing and evidence recovery. Export files to separate controlled storage. Do not select a mode that writes to the original image.
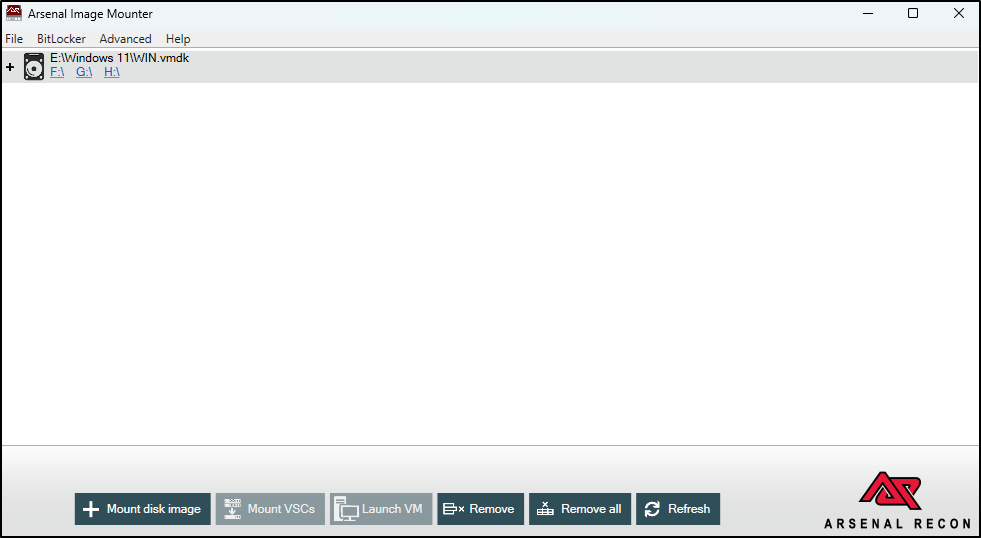
Select the image
Open AIM as administrator, select Mount disk image, browse to the approved
working image and confirm that its identity matches your record. The preserved
SUSA example uses a Windows virtual disk (.vmdk).
Choose the mount mode
In Mount options, select Disk device, read only. Review sector size and other options without enabling changes that are not required by the case. Note that BitLocker-protected volumes may need separate authorised handling.
Inspect and record volumes
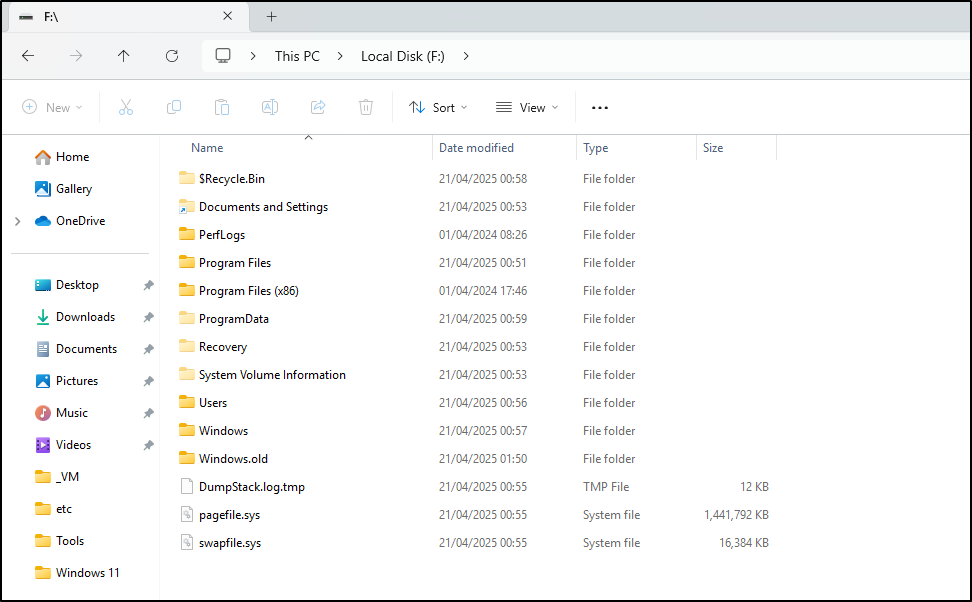
After mounting, record every drive letter and volume AIM exposes. In the SUSA
example the Windows volume appears as F:\. Browse only as needed to answer the
investigation question; opening files may affect workstation-side metadata but
should not write through the read-only mount.
Unmount and verify
Close applications using the mounted volumes, select the mounted image in AIM and choose Remove. Confirm its drive letters disappear. Recalculate or confirm the working-image SHA-256 according to procedure and record whether it matches the pre-mount value. Preserve errors, forced removals and unexpected write activity.
Minimum mount record
| Record | Minimum detail |
|---|---|
| Image | Case reference, path, format, byte size and verified SHA-256 |
| Tool | AIM version, executable provenance and analysis workstation |
| Mount | Start time, exact mode, sector size, options and assigned drives |
| Examination | Question, locations inspected and files exported separately |
| Completion | Unmount time, removed drives, errors and post-mount integrity check |