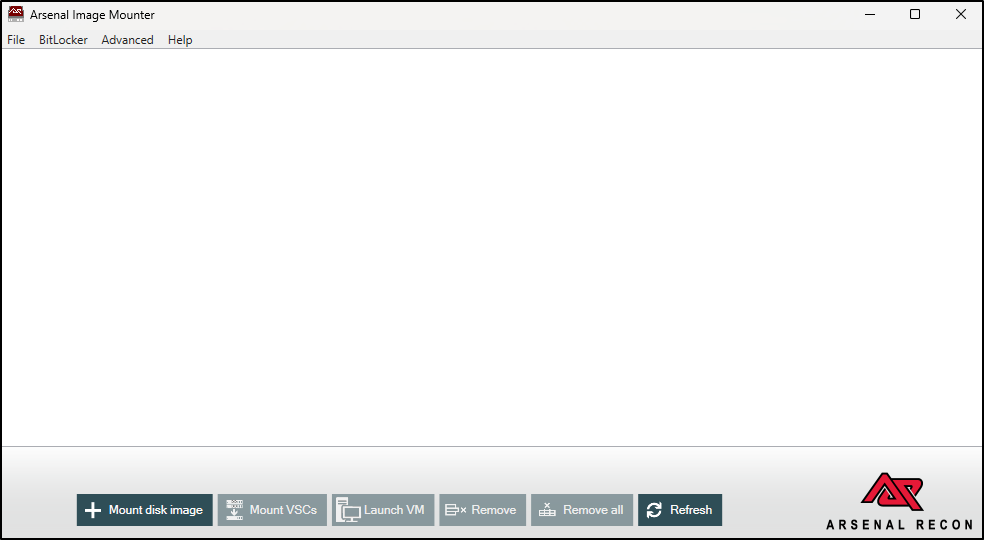
Install and Open Arsenal Image Mounter
Retrieve and stage AIM
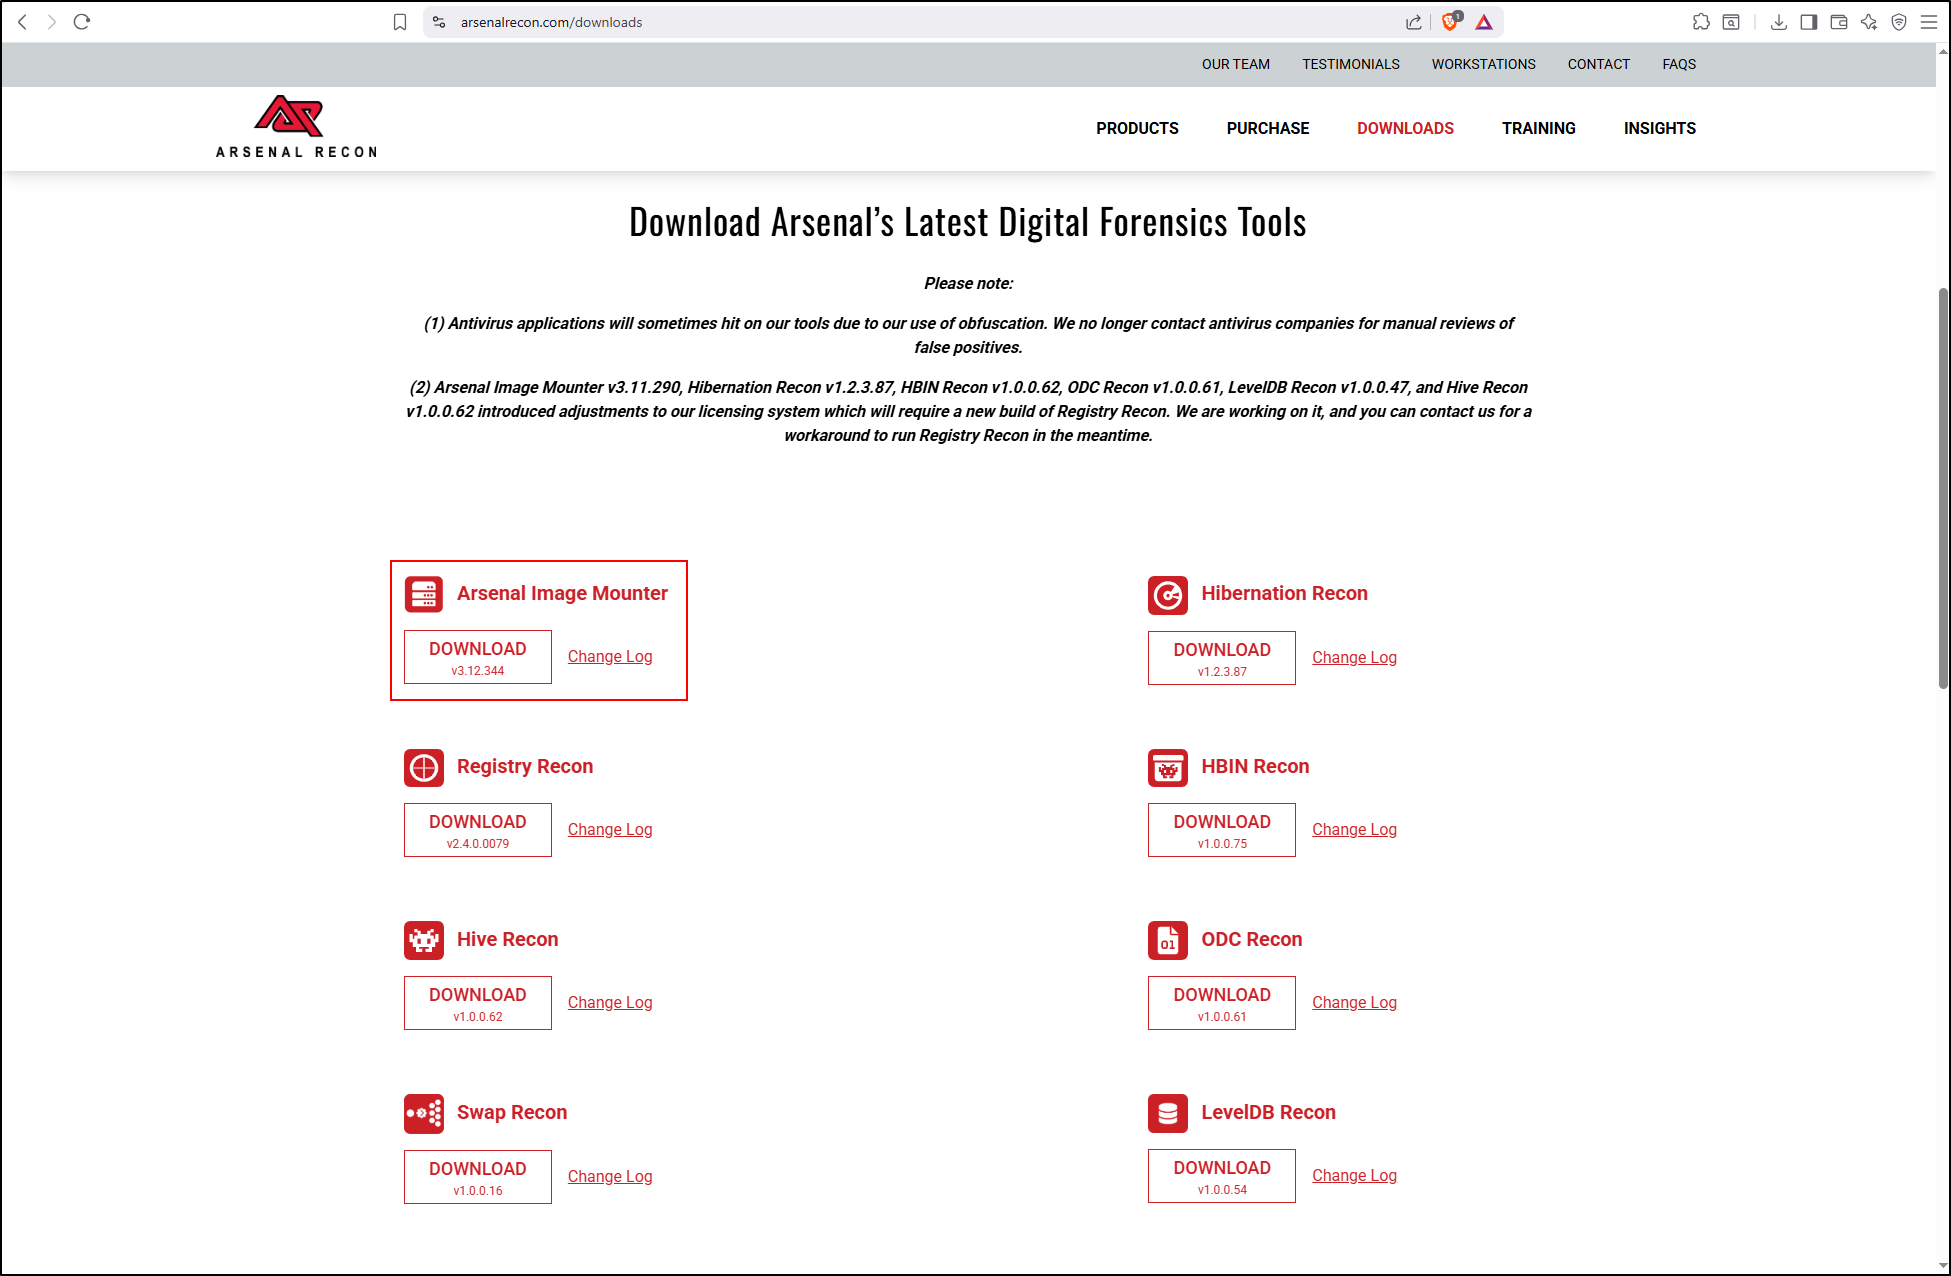
Navigate to Arsenal Recon's download page and retrieve the authorised Arsenal Image Mounter package. Record the source, date, archive filename, version and SHA-256 before extraction.
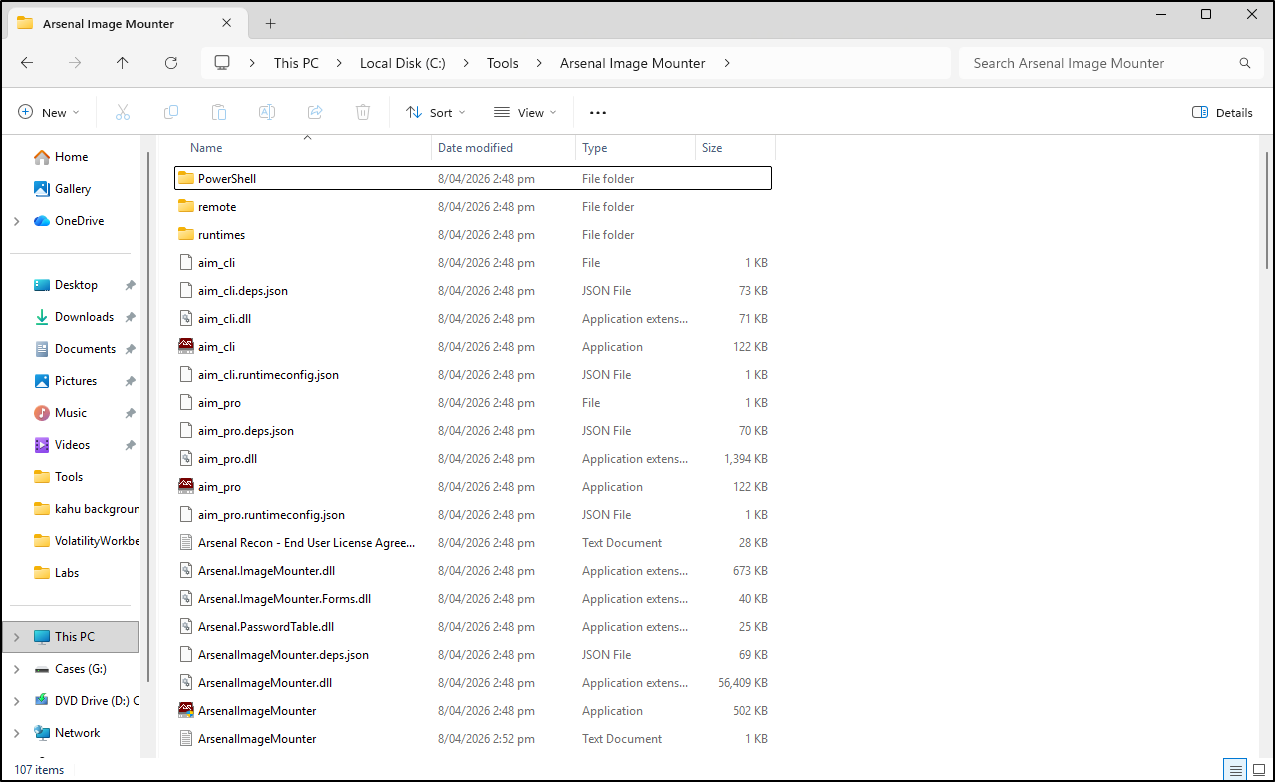
Extract the ZIP archive into C:\Tools. Rename the versioned folder to
Arsenal Image Mounter only after preserving the original package name and
version in your notes.
Install prerequisites
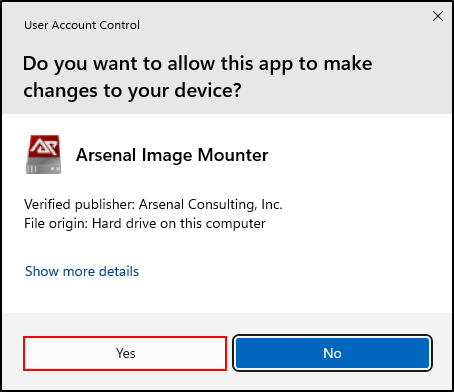
Run the expected AIM executable as administrator and approve User Account Control after checking its filename and provenance.
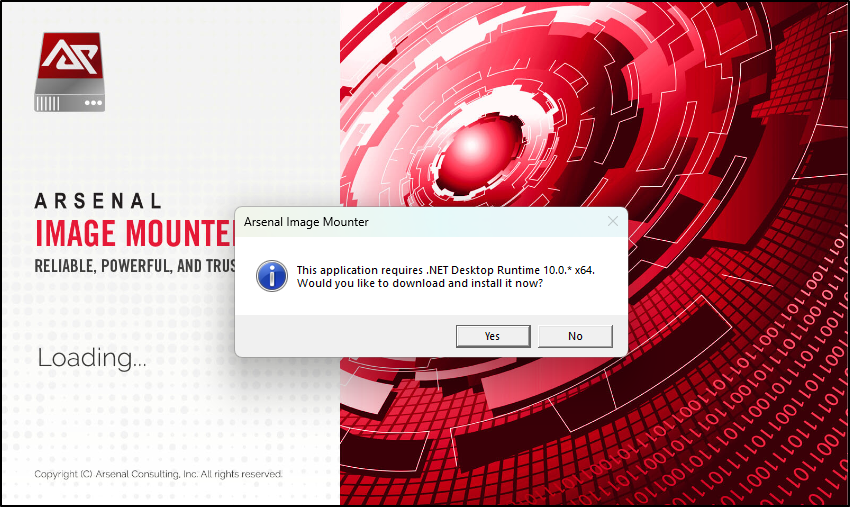
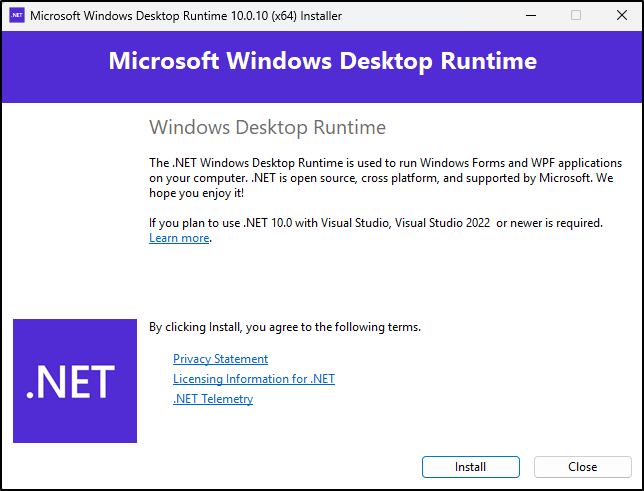
If prompted for the required .NET Desktop Runtime, retrieve it from the authorised Microsoft source and complete installation.
Install the virtual SCSI driver
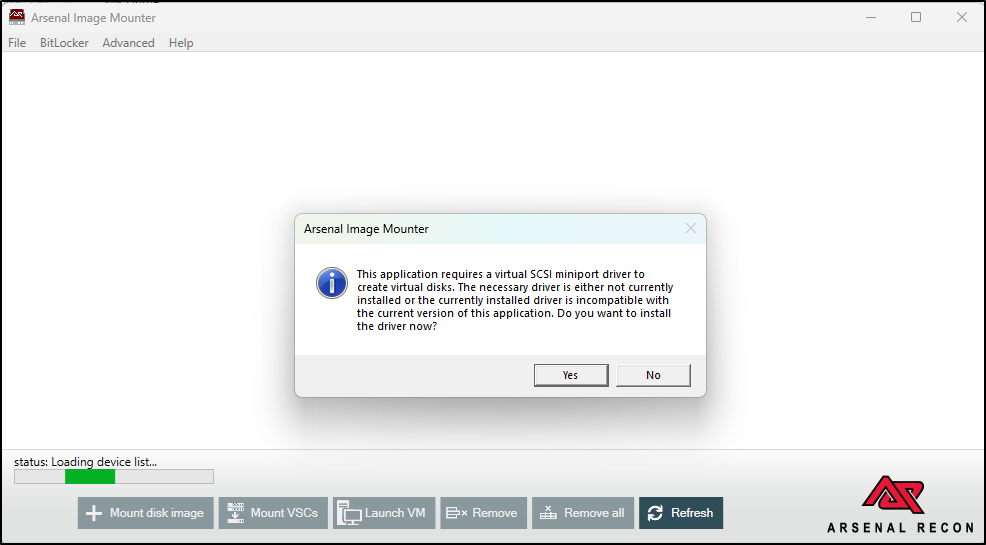
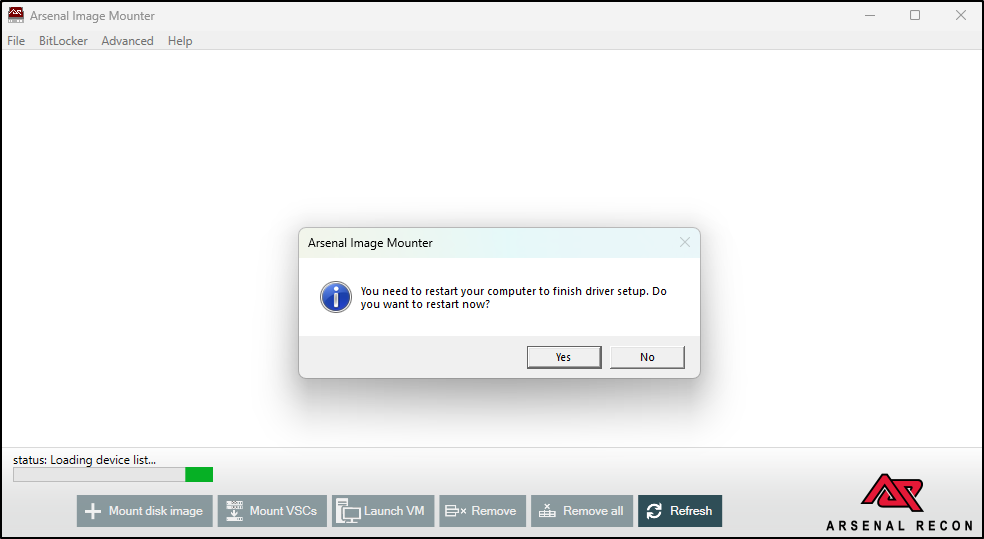
Run AIM again and approve installation of its virtual SCSI miniport driver. This changes the analysis workstation; record the driver prompt and result.
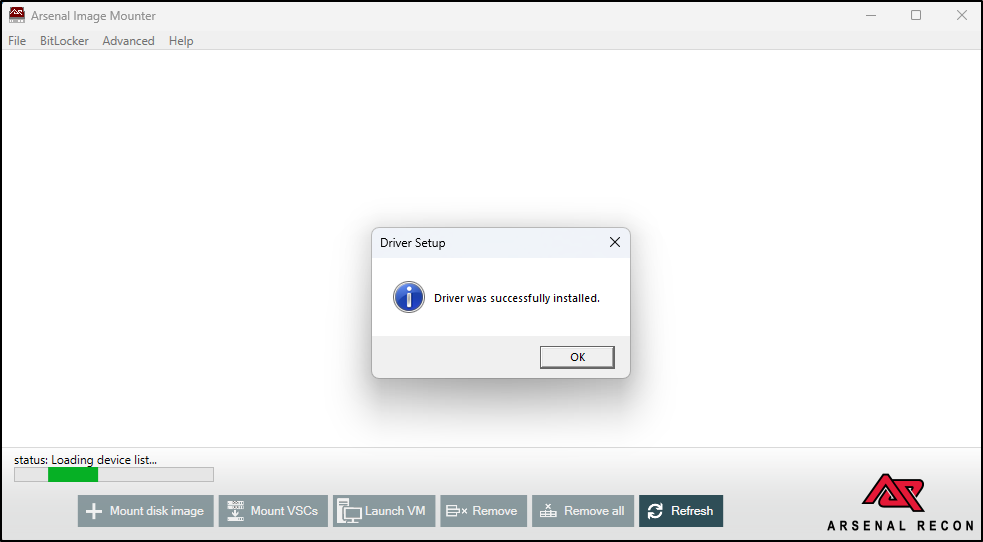
After installation, acknowledge completion and restart Windows when requested.
Open the extracted Arsenal Image Mounter folder and confirm AIM starts without
an error. Record the running version before mounting evidence.