Creating a Windows VM
Create a dedicated virtual machine for SUSA so tool installation, evidence handling and lab activity remain separate from the host computer. The resource values in this guide describe the reference build; adjust them to suit the host and the size of the evidence you plan to examine.
Create a clean snapshot
After Windows is installed and updated, create a hypervisor snapshot before adding forensic tools. Create another snapshot after the SUSA setup is complete. Snapshots support lab recovery, but they do not replace backups of evidence or analyst notes.
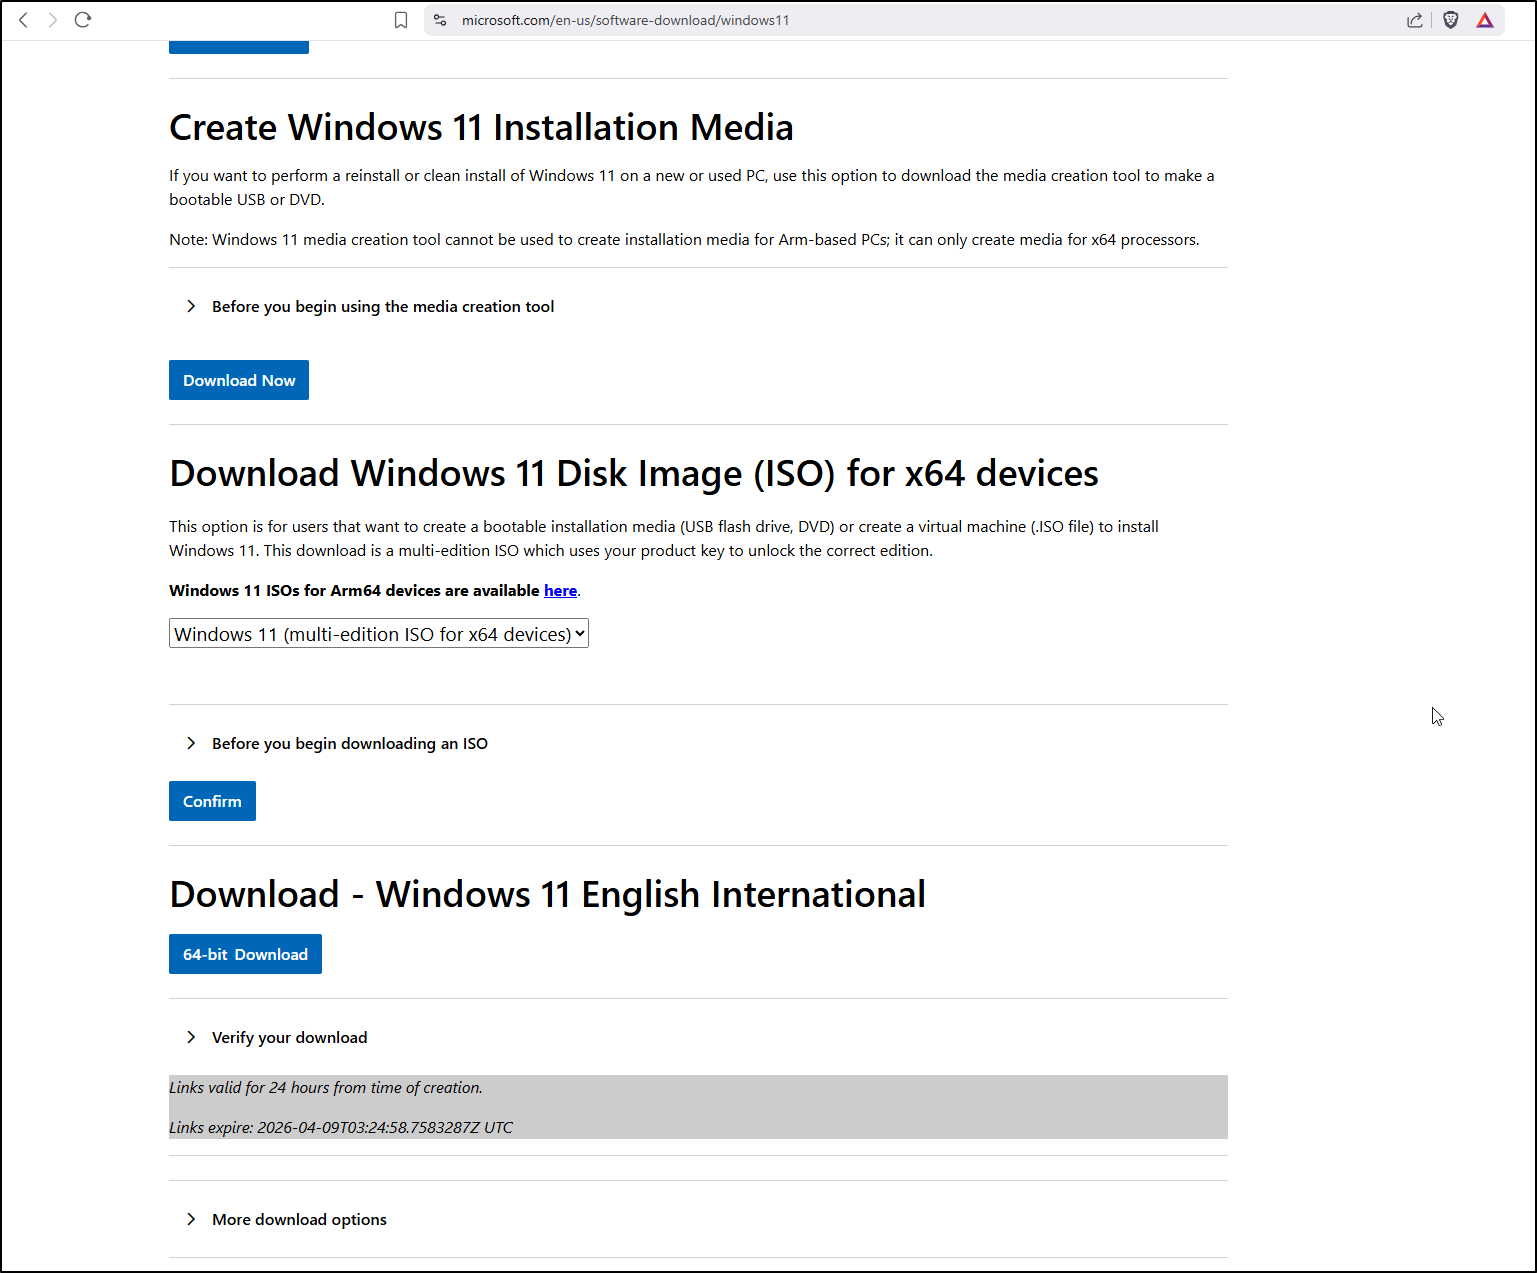
Downloading the Windows image file
Navigate to the Windows 11 download page. Select Windows 11 (multi-edition ISO for x64 devices), then choose English International as the language. Click 64-bit Download to download the ISO file.
Creating a Windows Virtual Machine (VM)
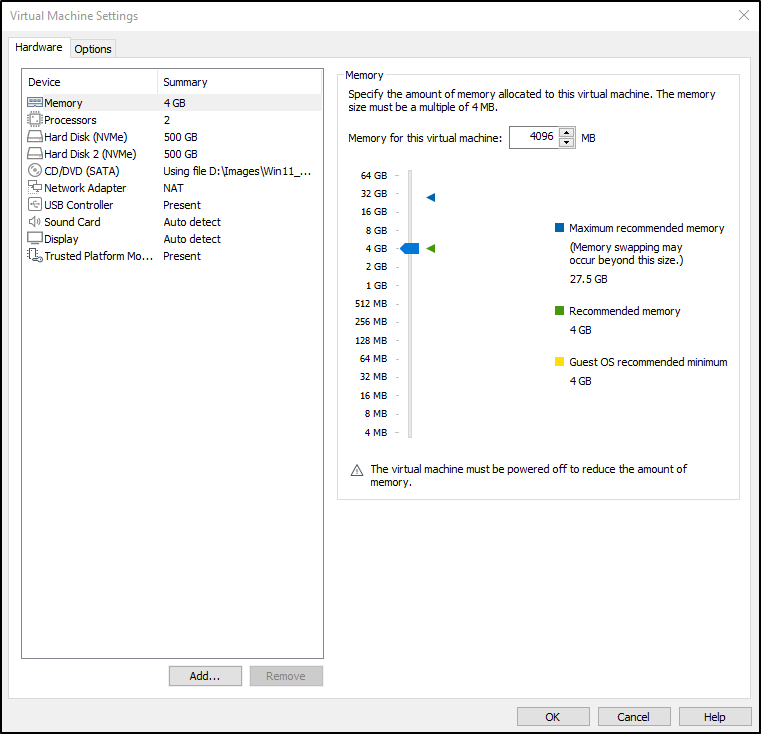
Use VMware Workstation Pro or a hypervisor of your choice to create a Windows virtual machine (VM). For this guide, the VM was configured with 4 GB of memory, 2 processors, two 500 GB virtual hard disks, and a NAT network adapter. A Trusted Platform Module (TPM) was also assigned, although this is optional.
Setting a Custom Lock Screen, Background and Profile Image
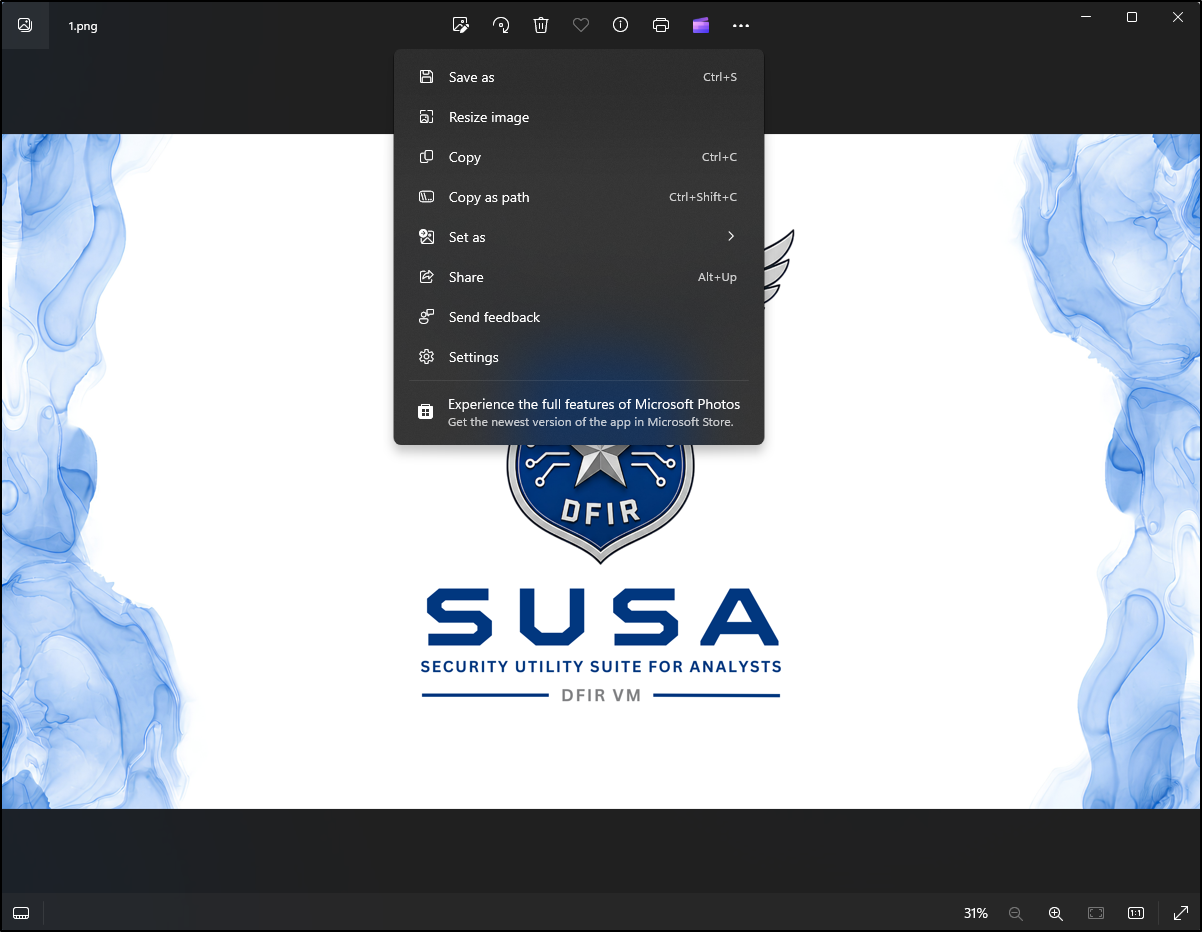
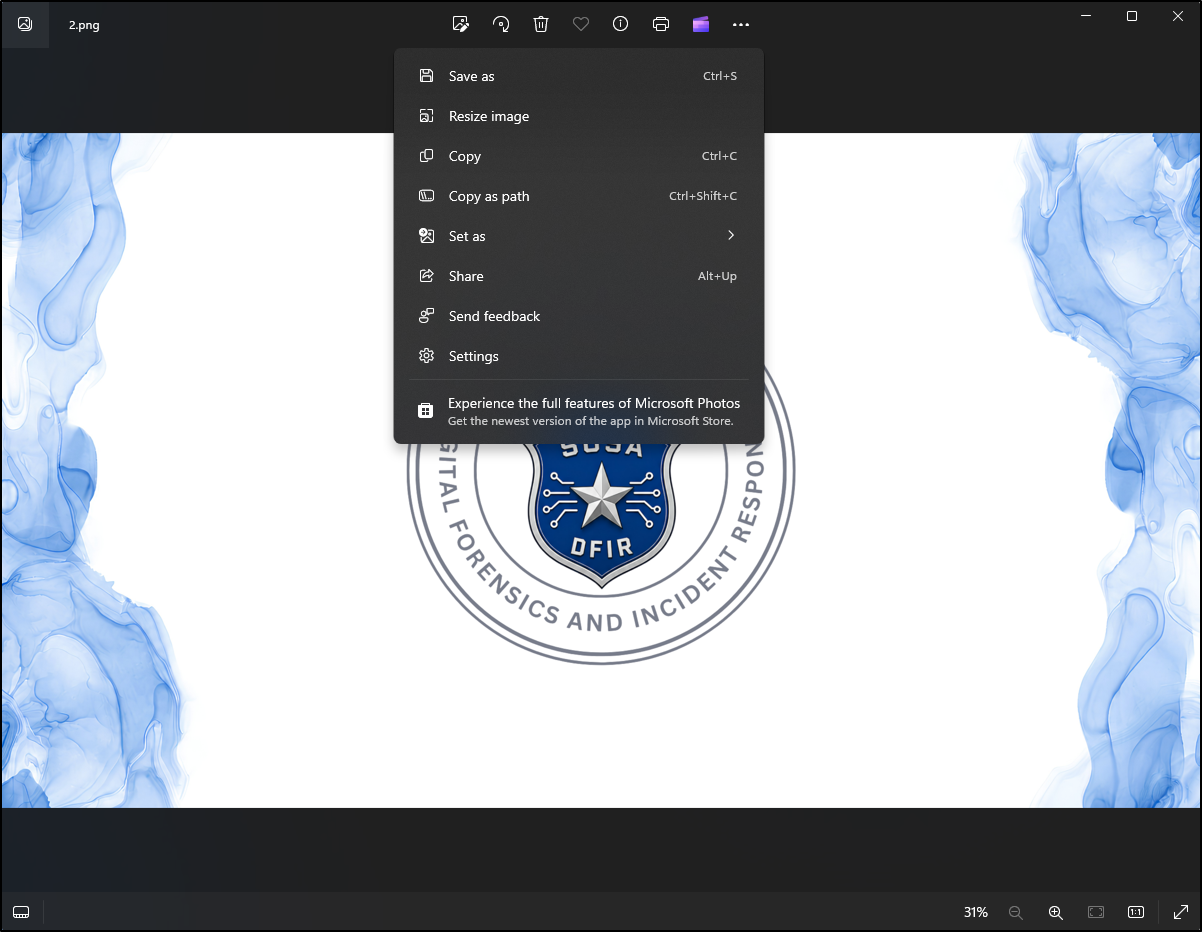
Open the desired custom image in the Photos app. Select the three-dot menu, then choose Set as > Lock screen. Windows must be activated before the lock screen image can be changed.
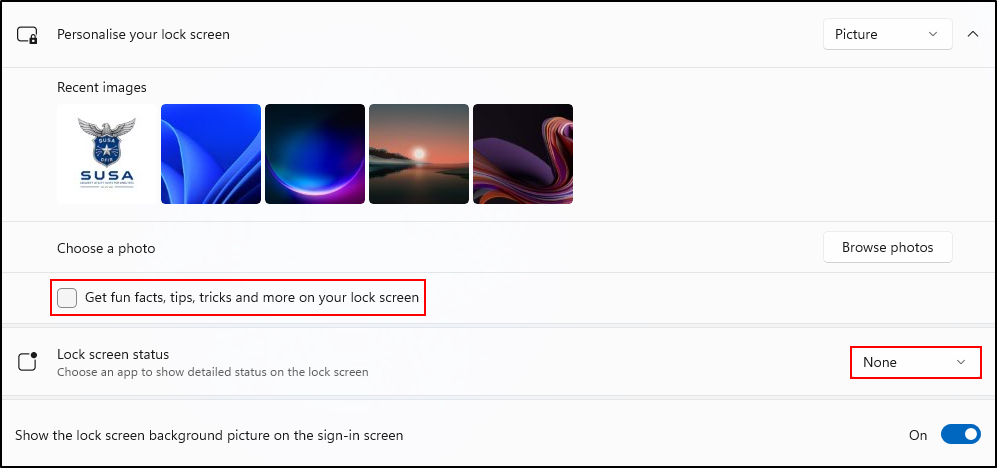
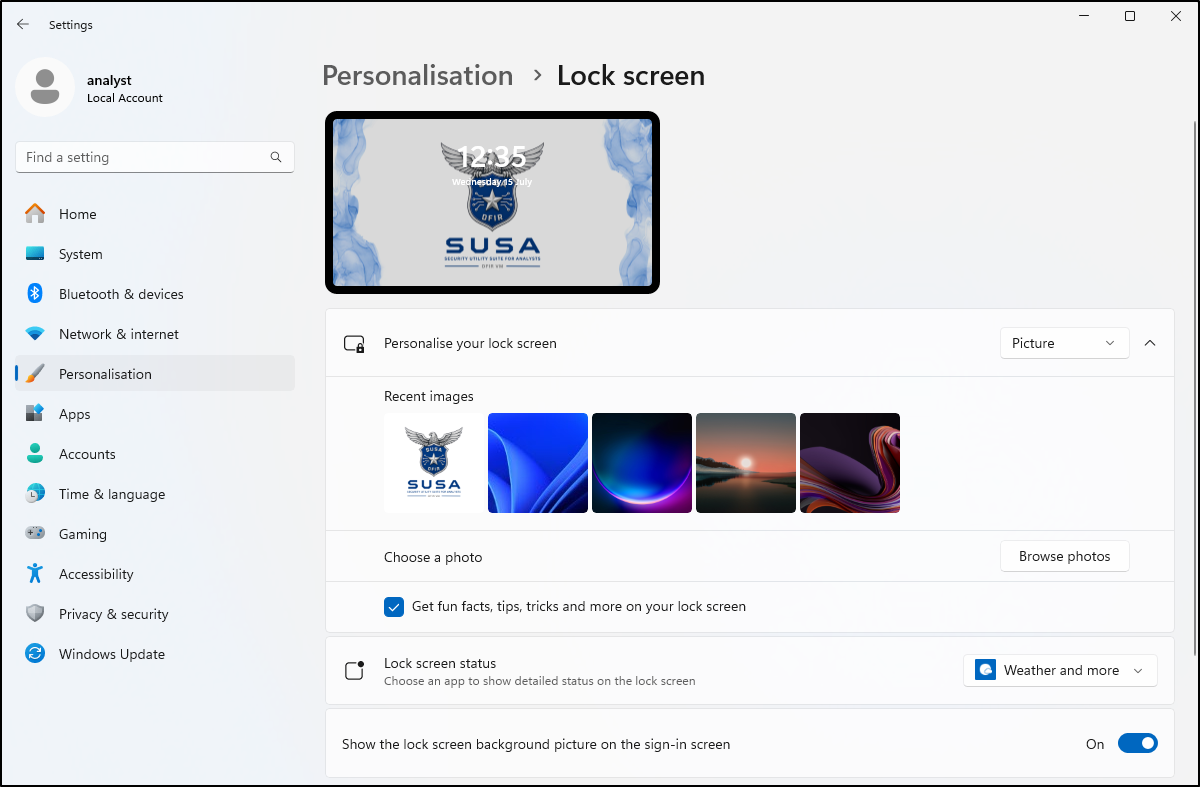
If the above method does not work, open Settings > Personalisation > Lock screen. Under Personalise your lock screen, select Picture, then choose the desired image.
Repeat the same process to set the desktop background. Unlike the lock screen, changing the background image does not require Windows activation.
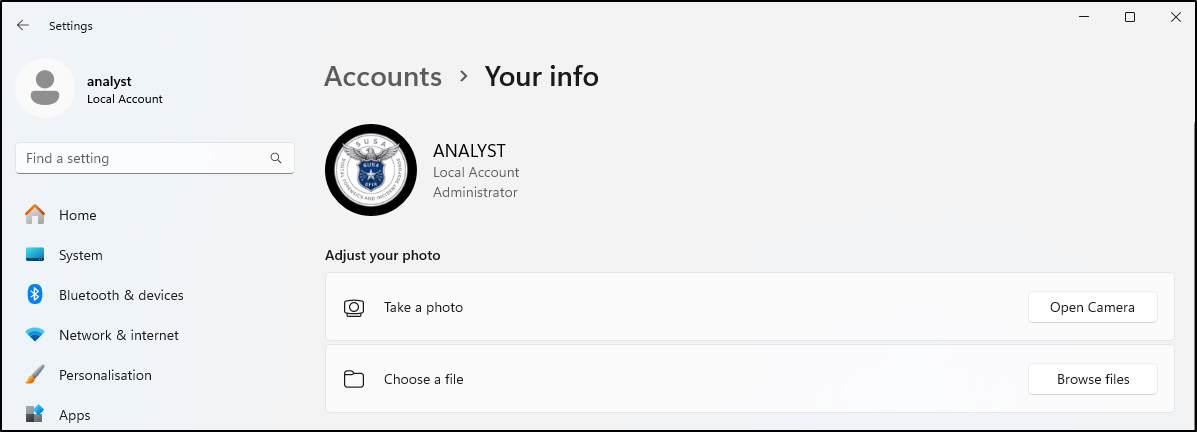
Navigate to Settings > Accounts > Your info. Under Adjust your photo, click Browse files and select the desired profile image. This will update the account profile image.
Clear Get fun facts, tips, tricks and more on your lock screen, then set Lock screen status to None. This optional step produces a cleaner lock screen.